Showing posts with label Checkerboard Clumps. Show all posts

Tuesday, November 8, 2022

'Lillian' - by Emma Zappone

Hello lovelies.
Today's share introduces you to Lillian. Lillian is 25yrs old, shy with a hidden extrovert inside. She has been working at the National Museum since she left uni. She majored in Entomology but enjoys the theory of Taxidermy, which is what drew her to the Museum. Lets visit Lillian now....


Now lets see our focus pieces in our first exhibit....

Bracket Frames
6" Mandala
Checkerboard clumps
12" Lucy Border


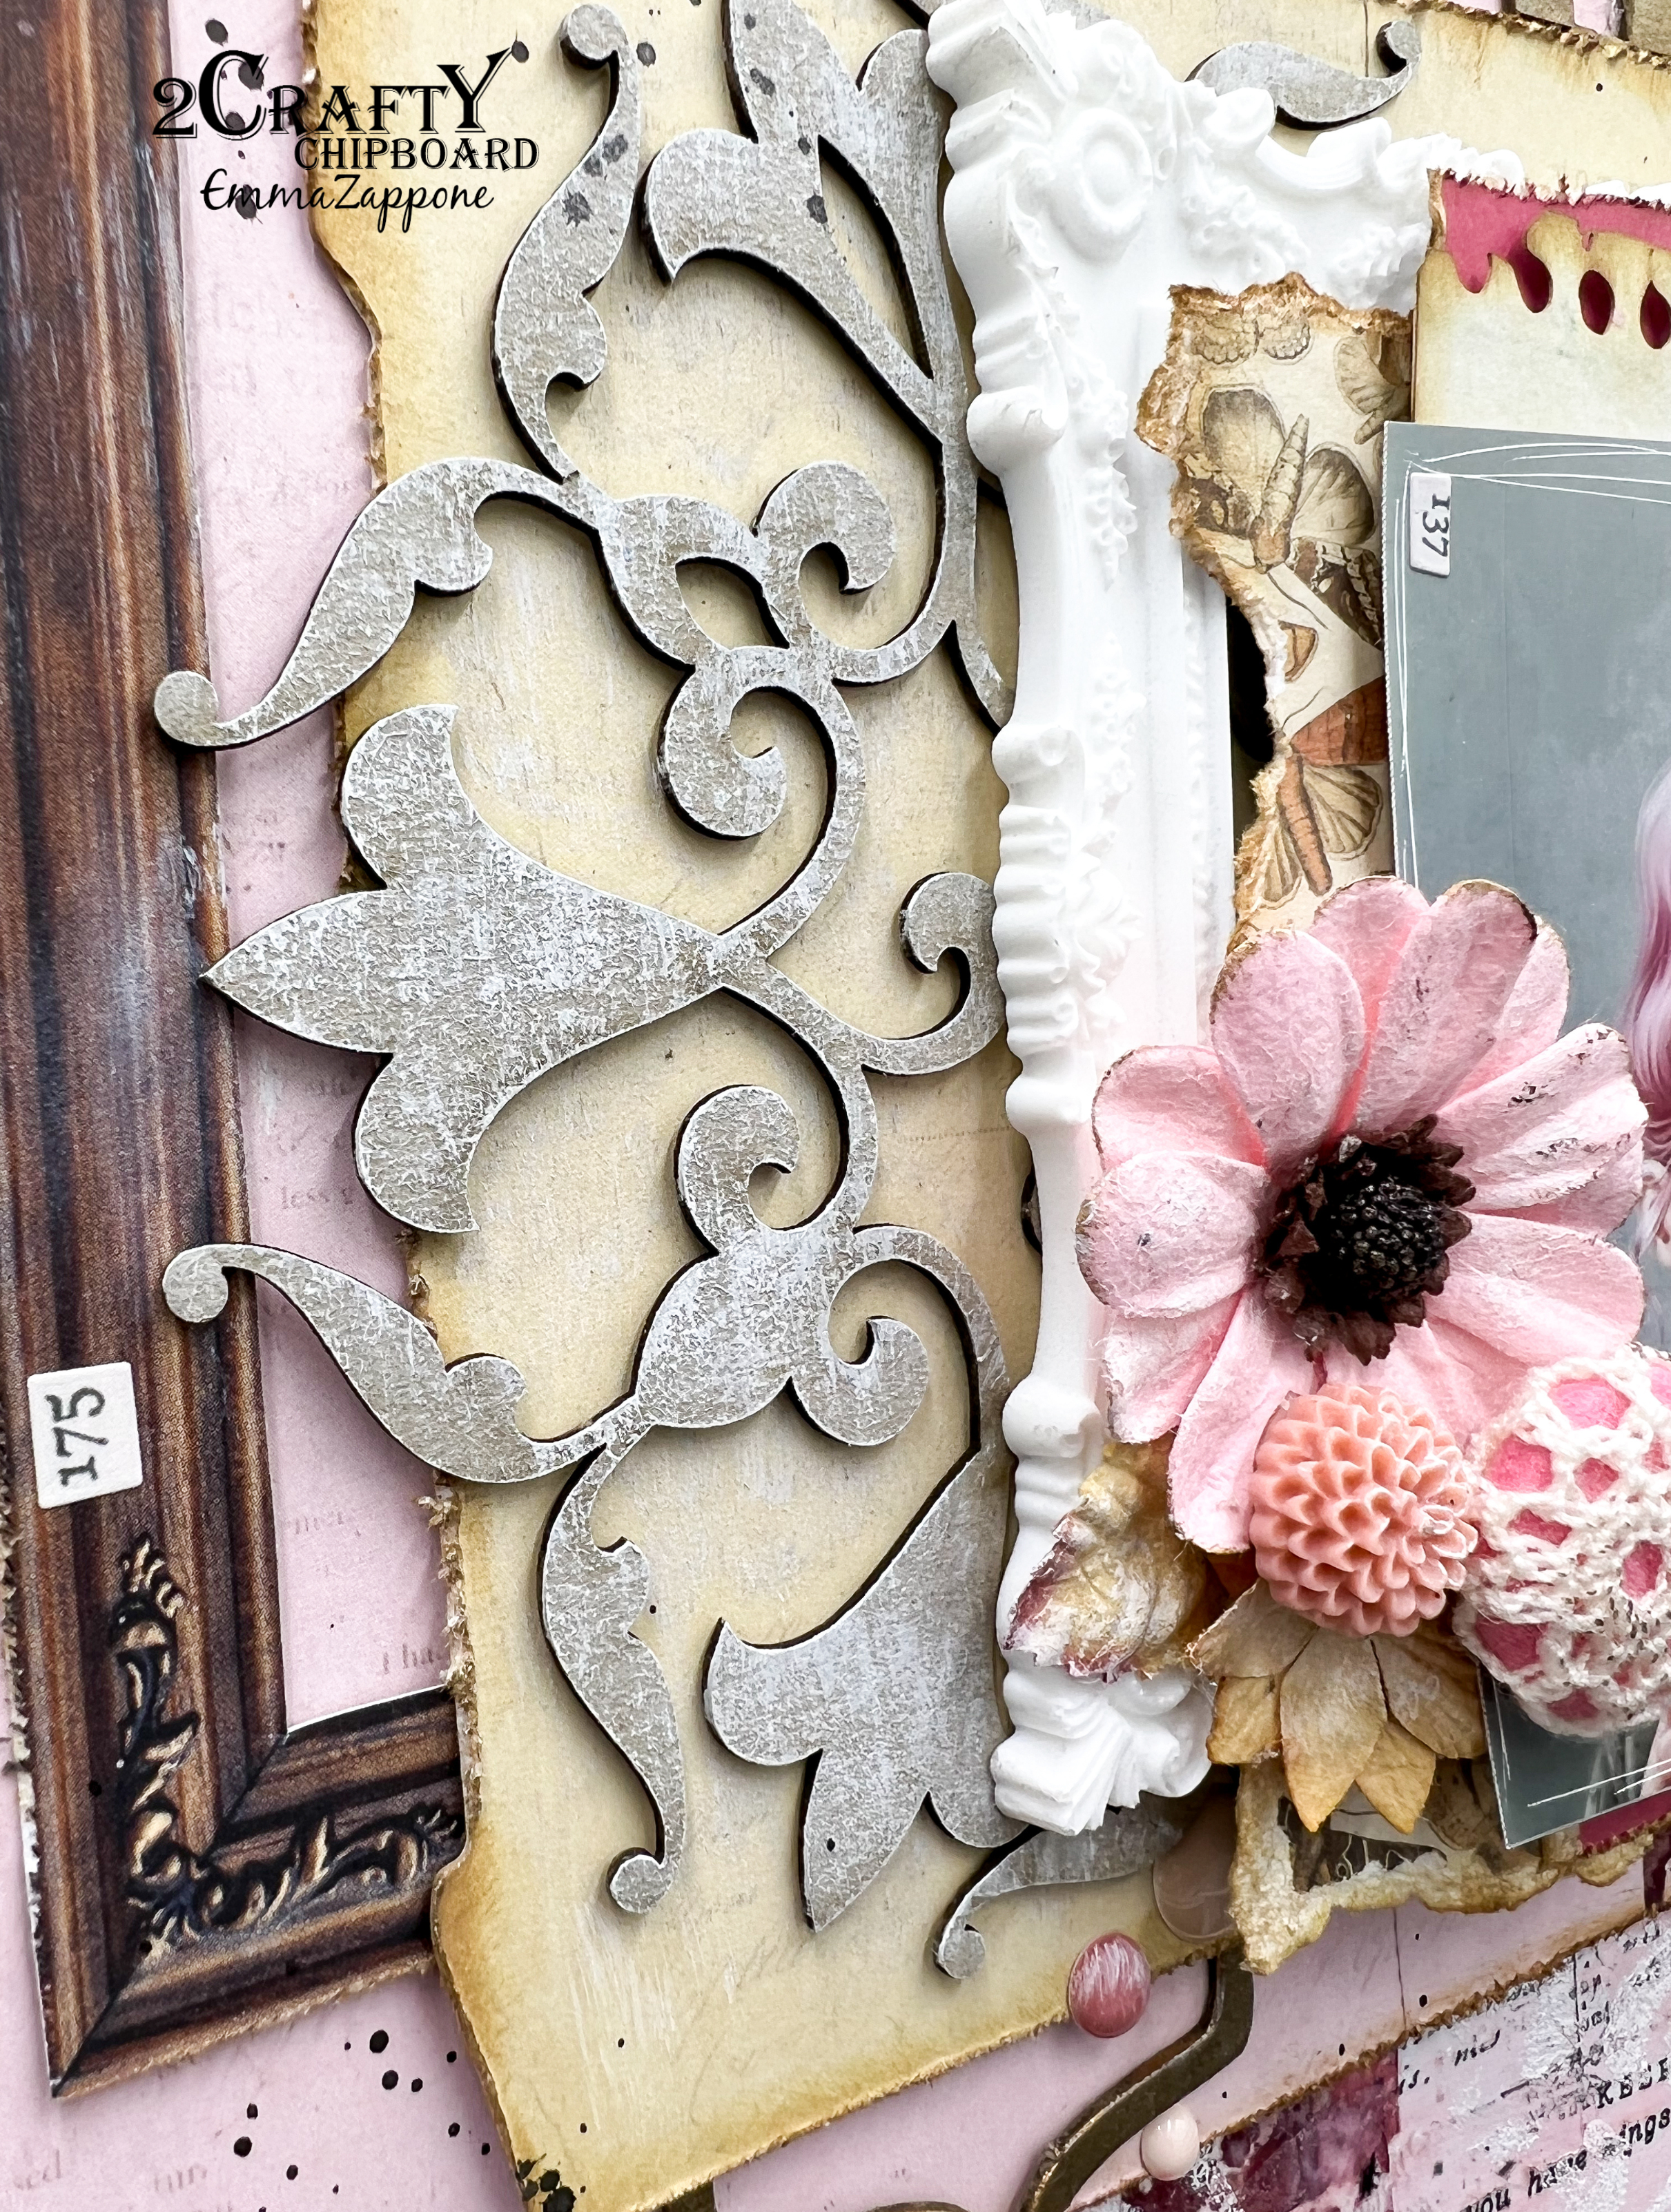
Choosing to play with most of the pieces raw meant I still had to allow the chipboard to shine through.
I left the Mandala raw until the end, which I then added a dry brushing of white Gesso to 'antique' the piece a little.


I wanted to use up some of my left over pieces, so with the little bit of the Checkerboard Clumps I had left in my stash, a dabbed a little amount of Brown ink to stain the chipboard ever so slightly.


The Lucy Border is raw with the exception of a hint of wax applied right at the end of creating the layout. This meant that it still stood out amongst the layers.


The Brackets are the only thing painted. These are painted with a shimmer acrylic but in a rustic brown to still appear raw yet shine throughout the layout.


A project that is simple yet quite interesting, just like Lillian.

I hope this project has inspired you in some way.
I look forward to sharing with you all again later in the month.

Stay crafty, Em xx


Friday, January 31, 2020

Destination Go - with Emma


Hi friends, Emma here for my first share of 2020!
Today I used up some left over products in my stash and incorporated awesome
Chipboard to my layers.

"Destination Go"


Here is the amazing 2Crafty chippy I used.....


Flower Set 1
Checkerboard Clumps
Mini Travel Word Set 1


I really wanted to make the checker pattern extend out from the photo so I chose
to use the checker plate chippy.

For the finish on this, I painted in black gesso first and then went over in a green
 rust effect paste. Once dry I then added a ranger emboss powder to make it have
contrast from all the green but also shine from the paper elements.


The flowers I continued with the same process as the checks.
I really loved the effect it gave. 


My title words I kept simple but I feel are still striking in a simple black gesso
 with clear emboss over the top. 


That’s it! Chipboard that certainly pops and compliments the
layers of papers and elements of my layout. 

I hope it has inspired in a small way and I look forward to sharing agin with you soon.

Emma xx


Sunday, November 10, 2019

You rock my world
by Sabrina Turpin

Hello 2Crafty fans!

My big boy is growing up too fast! This week he's leaving for a full week-end by himself to go to a big swimming competition. It's the first time he'll be so far from home by himself! He's growing up to be such a wonderful boy. That's why I decided to create a layout of him sending his love to the world. I'm sharing this layout with you, I hope it'll give you some inspiration!

"You rock my World"


On the "Stars" chipboard, in the back, I applied a black embossing ink and a glittering pencil on top (that's why it's shimmering like this). For the the "Swirly Star Border", in the front, I used a black gesso and then I applied some green wax on top that gives that metallic gold look.


On the "Checkerboard Clumps", I used some mint green embossing powder. For the title, "You Rock My World", I used a shabby green embossing enamel.

For this layout I used the following chippies:

Stars [M00265]
Checkerboard clumps [M00584]
Swirly Star Border [DB0110]
You rock my world [W00402]


That's all for me today! I hope you enjoyed this layout and it helped inspire you to create great stuff! I'll be back in a few weeks with more ideas to share with you! Cheers!


Monday, February 25, 2019

Bro - layout inspo by Emma.


Hey there 2Crafty friends!!
Emma with you all today, sharing a boyish layout.
This was a fun one to create especially with this fun photo I found on Pinterest.


Here are the chipboard pieces I used...


Assorted Chain lengths
Bro
Checkerboard Clumps


Firstly I want to talk about this awesome title and the finish I used on it.
Firstly I inked it with a black ink and then once dry rubbed over the top with my finger some wax to give it this cool sheen.


The Checkerboard clumps I sprayed with a ink mist which coated the chippy perfectly with out any primer used first. And stand out from the grid paper I had chosen to use but totally suited it as well.


And then finally I chose two lengths of the assorted chains and layered them behind my image after I had used a Distress Oxide over the top to give it a matte finish.


Soft and subtle yet totally making their presence known.

I hope you enjoyed my share today and I look forward to seeing you all again real soon.

Till then, Em xx


Thursday, July 5, 2018

Art Journal page & Video Tutorial with Kripa

Hello friends,

My project this month is an art journal page inspired by the moodboard at Mixed Media Place. Further down this post, there is link to a video tutorial of how the page came together.


Ive used several 2crafty chipboard pieces on my page: Checkerboard Clumps and Square Collage Panel to build layers and gears small & medium to embellish. As always, my first step was to gesso all the chipboard pieces. Can you see impressions of the square collage piece on the background? They were made by pressing down the chipboard while the gesso was still wet. 


To match the pattern of the Checkerboard Clumps & gears, I've used similar pattern stamps on the background. The gears were coloured with sprays or inked with a stamp pad.


I hope you enjoy watching the tutorial.


Thanks for stopping by today.
Until next time, happy crafting,
Kripa

2crafty chipboard used:
Steampunk Gears Medium
Steampunk Gears Small
Checkerboard Clumps
Square Collage Panel


Friday, March 9, 2018

March Inspiration with Kripa Koushik

'Smile'


 My first share this month is a canvas which now sits on my son's desk. 
I love how easy it is to create texture and interest just by layering chipboard pieces.


 To begin, I collaged some papers on the canvas and added texture paste and paints.
 On top of this I've built layers of chipboard on top of each other and tucked under
 the layers behind the photograph.


All the chipboard pieces were coated with white gesso. Then, except the 
checkerboard clumps, the rest of the pieces were painted on using 
Colourarte Acrylic Silks. Some checkerboard clumps were left plain,
 the rest were painted on with a brush loaded with Twinkling H2Os (watercolour).


 2crafty chipboard used:
* Summertime
 * Filmstrip Tiny
* Gears Medium
* Checkerboard clumps 
* Steampunk gears tiny
* Steampunk gears small


 'Love these kids'

The next project is a 12 x 12 scrapbook layout of my kids with something
 out of my comfort zone - a lot of visible journalling..


In order to have lots of space for journalling, I centred the photograph and extended
 the layout horizontally using the pretty Squiggly Hearts Cluster. Under the 
Squiggly Heart Cluster on either side is a Film Strip - Tiny. Ive cut to  
Sequins negative bits in two and tucked it around the photograph.  


 I wanted the {heart}in the title - I just {heart} these kids next to the photograph, 
so I cut it in two and layered them one below the other. All the chipboard pieces have
 been altered the same way - first a layer of white gesso and then painted on with 
Colourarte Vivid Ultra Metallics using a make up sponge.

2crafty chipboard used:
* Film Strips - Tiny
* Squiggly heart cluster
* Sequins Negative Bits
* I just {heart} these kids - Title


Thank you for visiting us today.
Happy creating,
Kripa


Saturday, September 9, 2017

September projects with Kripa

Hello friends,

Am I glad its starting to get warmer here in Sydney. Im eagerly looking forward to perfect beach weather. My first project reflects this mood of mine with 2craftychipboard Intricate Seahorses as the focal point.

Summer Canvas

All chipboard pieces were coated with white gesso & then Colourarte Vivid Ultra Metallics applied using a sponge. After the base layer of teal dried, dry brush with white acrylic paint dabbing more paint on the tail & fins.

Gesso can also be used instead of white acrylic paint. The stars in the Star Bubble Set have been painted with peach acrylic paint. Ive used a compass chipboard on either side for balance after painting it with silver & peach paints.


2crafty chipboard pieces used:
- Compass
- Star Bubble Set
- Intricate Seahorses 

 ------------
Cute Kids Canvas

My second project is a special request from my son - a canvas to put on his room door. He didn't want a name board, so I used the Title chipboard Caution Kids at play as the focal point.


 My favourite way of using gears is to pick a couple of pieces from the many gears and cogs sets available at 2craftychipboard - Cute cogs, Gears, Steampunk gears medium and small. All the gears were coated with white gesso before applying paint. Dab gesso with a sponge to create a grungy texture on the cogs & title.


The Checkerboard Clumps were directly painted on with red, maroon and gold paints. 
To give them a darker and grungy look, no gesso was used to prime the pieces.


For the 'Caution' part of the title, after painting red, dry brush with white gesso. This technique uses a completely dry brush with the tiniest amount of paint. Once you pick up paint, dab the excess on scratch piece of paper till you think almost all the paint is gone. Then lightly drag it over the title. The paint will hit all the raised portions & highlight the texture.

2crafty chipboard Used:
- Gears
- Cute Cogs
- Caution Kids at play
- Checkerboard Clumps
- Steampunk gears medium & small

Finally, I have a few more projects to share from last month. 

Mini Album Cover
  Can you find a 2crafty chipboard Vintage Key tucked in behind the flowers covered with shiny sequins and micro beads? The title chipboard piece 'A Wish Come True' felt like the perfect title for this mini album which will be used to document my trip to Europe.


ART - Journal Page 
My next share is an art journal page that uses Moroccan Panel alongwith gesso & sand paste to create the textured background. The words ART have been made using sand texture through a stencil. Over the word is placed a chipboard Vintage Key. After painting the key with acrylic paint, Ive stamped a text stamp with black archival ink.


2craftychipboard used
- Vintage Keys
- Moroccan Panel
- A wish come true Title


Thank you for stopping by .
I hope you enjoyed today's post.

Cheers,
Kripa