
Hi there!
Tania joining you today to share the last of my DT projects for June.
I have created another layout for my second share.

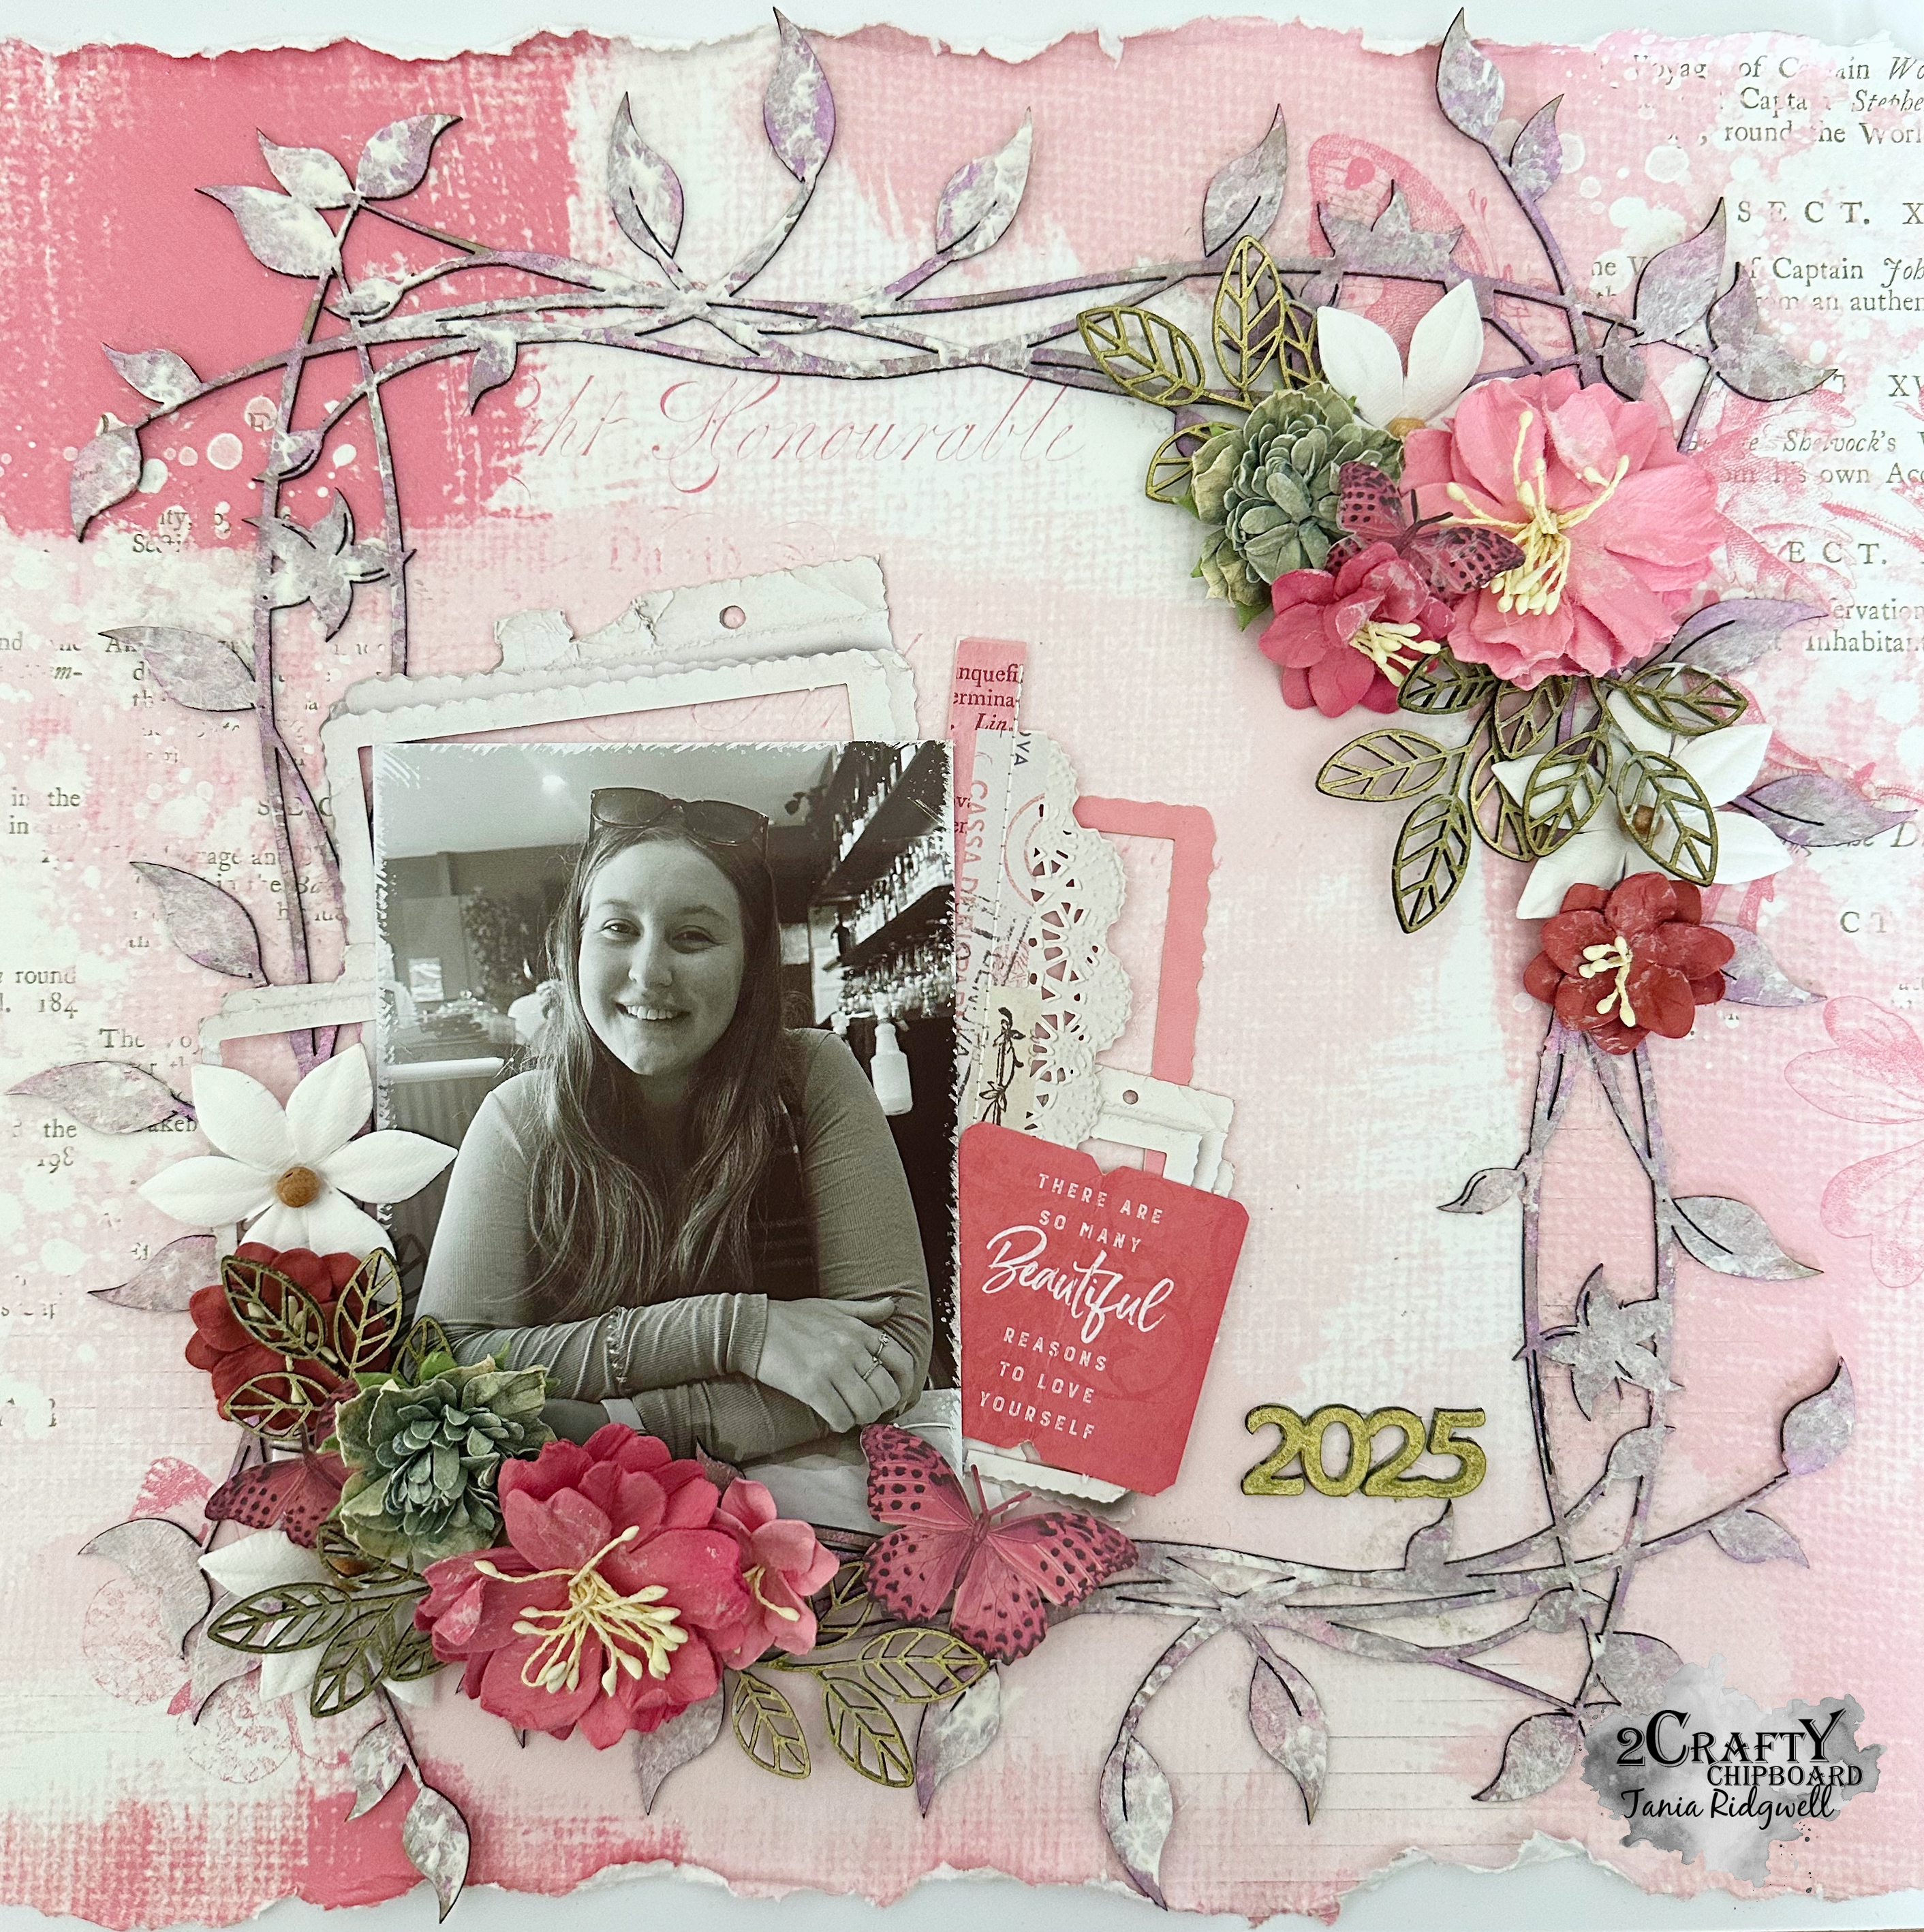
2 Crafty Chipboard Used:
*Ginny's Flourish Set
*Hello Beautiful
*Foliage Set 14
*6" Messy Square Frame"

I have used the stunning Uniquely Creative 'Serenity' Collection to create the base for my layout.

I first painted all the chippie pieces with gesso. Once dry I randomly dabbed on Kaisercraft Lavender and Heidi Swapp Amethyst Color Shine Sprays to all the pieces. I then randomly dabbed on some more gesso over top of all the pieces.

I added paper layers under my photo and then added it to my background page. I added the Messy Square Frame chippie over my photo and then embellished around the Frame using lots of fussy cut elements and paper blooms. I tucked the Ginny's Flourishes & Foliage chippies in amongst all the fussy cut elements and paper blooms. I finished off my page by adding the HELLO Beautiful chippie to the top left of my layout.

Thats' all from me today, I hope I have inspired you all with my Layout.
Until next time thanks so much for stopping by.
Tania xx

.jpg)


.jpg)


