Showing posts with label video. Show all posts

Monday, September 2, 2024

"Love my Mum"
Layout and tutorial by Marie Sabatier

Hello everyone,

I present to you me first layout of this month of September.
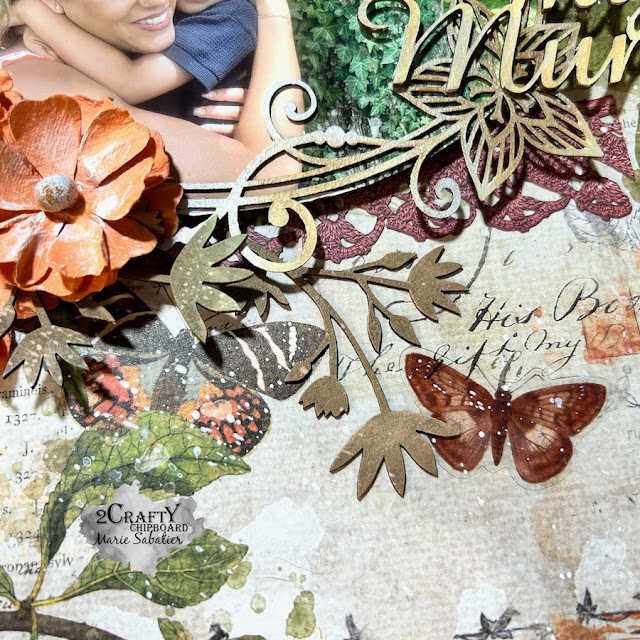
A botanical atmosphere with this adorable photo of my grandson with his mum. 
To embellish this beautiful moment, I chose this superb chipboard "Rosa Frame".

"Love my Mum"


I made a video tutorials that you can watch HERE


The chipboard used:

- Love my Mum
- Rosa Frame
- Foliage Set 10

This chipboard "Rosa Frame" is really elegant, perfect for framing your beautiful photos!
These dimensions are 10 cm X 14.5 cm.
The perfect size to highlight your photo.

My background is very colorful, I chose a neutral color to embellish the chipboards.
A 'Vintage Silk' wax that I then adjusted. 


    This title "Love my Mum" inspired me to choose my photo.
    It is superimposed in an impeccable way and adds a lot of charm to the decor.
I raised the beginning of 'Love' and 'Mum' to balance it well.
I preferred the arrangement with the flower at the bottom for my title layout, but it suits your convenience.


To give more volume to my bouquet, I add this foliage that blend perfectly into the decor of my layout.


Watching the video is a good way to get more details.


It’s always a pleasure to meet you here!


Monday, May 1, 2023

"Sweet Moment"
Layout and tutorial video by Marie Sabatier


Hello everyone,

Here we are already in May, and it is time to present my first inspiration. 

A layout with mochromatic, pink and romantic decor. 


"Sweet Moment" 


I made a video tutorial that you can watch HERE


The 2Crafty chipboard used:

- Sweet Moment
- Kara's Oval Frame
- Feather Outline Set


I always start by applying a layer of white gesso to each chipboard.


I chose this new chipboard  "Kara’s Oval Frame" which perfectly frames my photo on which I pass a layer of metal wax "White Gold" to stay in the colors of the mane of the horse. 


I process the same way on the chipboards "Feather Outline Set". 

After placing my photo I create two clusters of embellishments starting with the feathers while being careful not to hide them. They’re so fine and elegant.


For the title I embellish it randomly with powder to emboss in shades of pink.  

For this I use a stamp with stains that I print with watermark ink.


I hope that all this pink will not hurt your eyes too much and that you will find some 
inspiration in this layout.


To know how I created this layout, do not hesitate to watch the video. 


See you soon and thank you again for your loyalty.


Tuesday, November 1, 2022

"Merry Christmas"
Layout and tutorial video by Marie Sabatier


Hello everyone,


I hope you are well, here we are on November 1 and soon Christmas will be here! 
Time passes at high speed! That’s why we must quickly take advantage of it. 

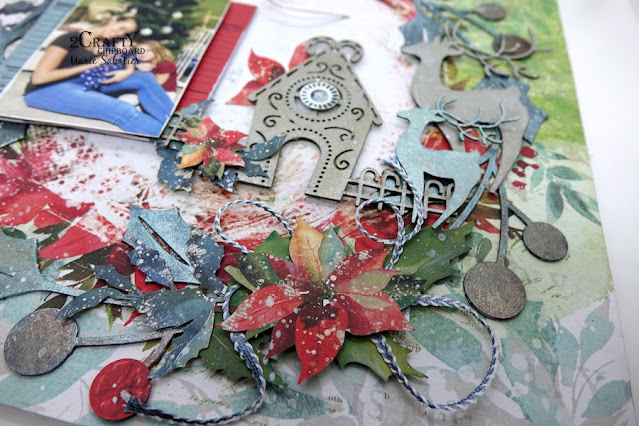
My first inspiration a festive and colorful layout with this beautiful chipboard "Holly Frames".
In the picture is my daughter-in-law with my grandchildren Mia and Leo. 
It is also in the photos that we see that time passes quickly.

"Merry Christmas"


I made a video tutorial that you can watch HERE


The 2Crafty chipboard used:

- Mini Title Stick Christmas Set 1
- 3 piece Holly Frames
- Ginger Bread House
- Majestic Reindeers


To start, I applied a first layer of acrylic paint "Raven Black" on the chipboard "Holly Frames" 

which I then covered with a light green and a dark green. 

On the holly balls of the brilliant antique wax Red Amber and Fire Ruby.


On the chipboard "Ginger Bread House" and "Majestic Reindeers" 
I also used the acrylic paint metallic "Silver" and "Mermaid Sparkle".


I love watching the chipboards change. I then arranged my photo, 
chipboards and other embellishments until getting a good result. 


I played with the colors to get the nuances of my paper and I love the result. 

Feel free to watch the video and leave your comments, I would be pleased.

I hope you enjoy this layout. We look forward to seeing you again soon. 


Marie


Monday, May 2, 2022

"Enjoy the Journey"
Layout and tutorial video by Marie Sabatier


Hello faithful friends of 2Crafty.

Like every beginning of the month, I am happy to meet you again to present
my new inspiration.
A spring layout with lots of chipboard. 

"Enjoy the Journey"


I made a video tutorial that you can watch HERE


The 2Craftychipboard used:

- Enjoy the Journey
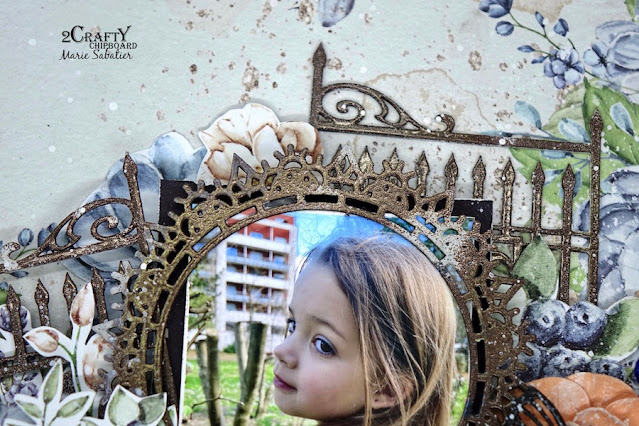
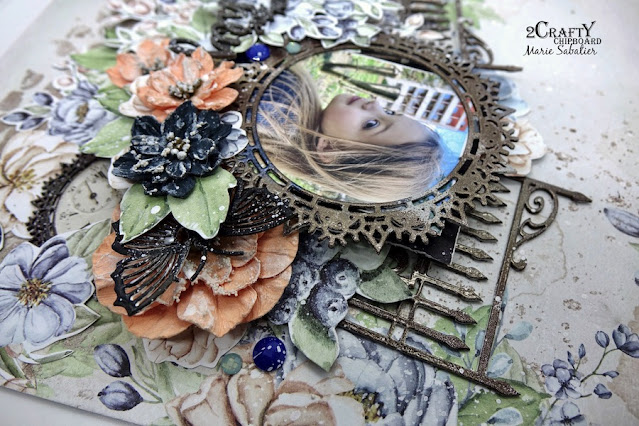
- Iron Gates
- Pointed Doily Frames 1
- Addy's-Butterflies


Always the same process, I add a layer of white gesso on each chipboard.
Which I then embellished with Lindy's Gang "Bratwurst Brown" embossing powder.

I start by placing the "Iron Gates" chipboard, it is splendid and gives all its
importance to my layout.
It adds texture to the background and is the focal of my arrangement.


I love layering chipboards and embellishments to give relief. 

For me the photo is very important that's why by surrounding it with this
magnificent frame in chipboard it remains the essential.


"Enjoy the Journey" because my granddaughter had just had her hair cut! 
It was necessary to immortalize!


Thank you again for your loyalty and see you tomorrow for a new inspiration.


Monday, February 14, 2022

"Princess"
A layout with a video tutorial by Marie Sabatier


Hello everybody,
 
I'm back to present you my second inspiration of this month of February
accompanied by a video tutorial.

It's so cold and gray right now and I wanted to create a layout
soft and flowery "Shabby Chic" trend.

With Mia we had a photo shoot.
She laughs it was really fun to share these moments with her.


"High Maintenance Princess in the Making" 


TO VIEW VIDEO CLICK HERE


The 2CraftyChipboard used:

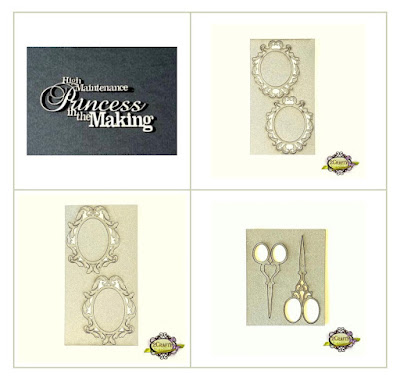
- "High Maintenance Princess in the Maintenance"
- Mini Decorative Frame Set 4
- Mini Decorative Frame Set 1
- Sissor Set of 2
- Corner Gemma
- Flowers Doilies 3  


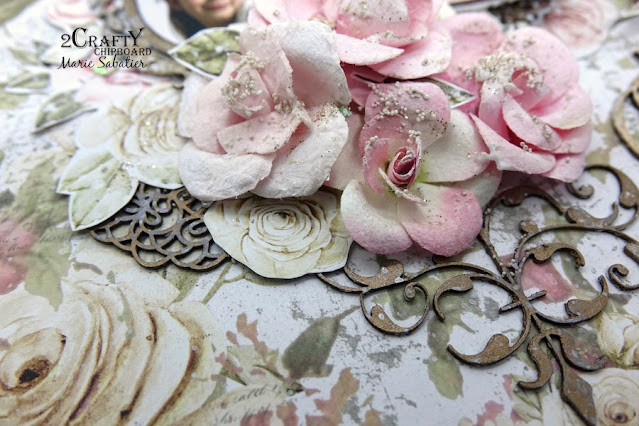
Here are some close-ups, but feel free to watch the video for more details.

To diversify, I used three photos on this layout.
I cut two of them to frame them in the "Mini Decorative Frame Set 4" chipboards.

I found it amusing to position them like this.

After applying a coat of white gesso to each particle board, 
I finger-rubbed Bronze Age and Vintage Silk waxes.

I then positioned my photos and created my clusters of embellishments while inserting the chipboards that I find perfect for my "Shabby chic" theme.


For the title I applied a 3D paint without letting it dry to get a cracked effect.


I hope you can watch the video, feel free to leave your comments.


Thanks again.
Good scrap to you.


Sunday, November 14, 2021

"HoHoHo"
A layout with a video tutorial by Marie Sabatier

Hello everyone,

Here I am back, to present my new inspiration for this month of November.

Hope you won't get bored with my Christmas layouts 
but it doesn't last long, you have to enjoy it.

And the range of particle boards is so big and beautiful that you want to use them all ...
And, My granddaughter is growing so fast that I keep photographing her.


"HoHoHo"


TO VIEW VIDEO CLICK HERE 


The 2CraftyChipboard used:


-Word HoHoHo
- Santa Gnome Set 1
- Carrie's Border
- Bauble Flourish


Here are some close-ups, but feel free to watch the video for more details.

I used embossing markers to color the "Bauble Flourish" chipboard.

If you watch the video you will see the process but I didn't get the effect 
I wanted so I added some embossing powder for a more mixed effect.

The colors of the photo do not really reproduce reality especially in close-up.


For the branch green, no problem getting the color I wanted.


I used white embossing powder to embellish the "Carries Border" 
and "Santa Gnome" chipboards.

For the title I used red embossing powder and added touches of white.


Hope you take the time to watch the video, feel free to leave your reviews.

For me, as always, I loved embellishing these chipboards!

Thank you again for your loyalty to 2CraftyChipoard.


Sunday, August 1, 2021

"journey"
Layout and Video
by Marie Sabatier


Good morning all,

I am always happy to meet you again and to present my new inspiration to you.

A simple layout with a lot of attention to chipboard!

I also made a step by step video that you can watch right after.


"journey"


TO VIEW VIDEO CLICK HERE 


2Crafty Chipboard used:

- 2C Fine Word Set 3
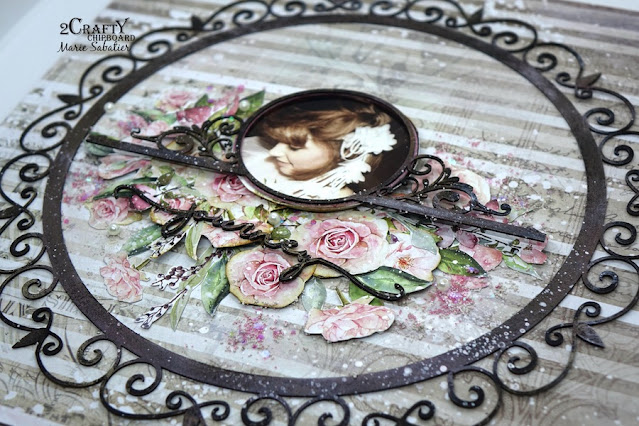
- 11" Flourish Round Frame
- Frame Celia's Flourish

Here are come close-ups, but feel free to watch the video for more details.

I started by applying a layer of black gesso on the chipboards.

Depending on the color of the gesso, the effect of the colors applied subsequently 
not at all the same result, here I was trying to achieve a dark effect.


I embellished each chipboard in the same way.

I used two colors of Finnabair metallic wax "Bronze Age" and "White Gold" 
to finish I just lightened with a shade "Sweet Rose".


I love the contrast effect on my layout, the dark chipboards, and the light embellishments. 

All the magic of scrapbooking!


I hope this layout has inspired you, don't forget to check out the video.

Thank you for your visit and loyalty to 2 Crafty.

Good scrap to you.