Showing posts with label scrapbooking. Show all posts

Wednesday, April 21, 2021

Woodland Fun!! - by Chrissy Tingey


Hi everyone,
 I couldn’t wait to play with this set of chipboards - the "12inch “Fine Floral” set - 
wow!!! you get so much in this 
pack….and I still have some pieces left over
for another project. 

I created my base by using two sheets of paper, then matted the central "wood slice" paper on top,  
some stitching around the edges in a coordinating thread colour
just adds a little something extra to the layout. 

I had the perfect colour ink pad that coordinated with the teal paper, so inked all
those wonderful chipboards, inking with a pad was really quick
and easy. 

I fussy cut lots of beautiful floral and foliage elements from various papers and also 
stamped and fussy cut the teal flowers to bring all the 
colours together. 


Chipboard used: 

12 inch Fine Floral Set.
Iron Gates.


I framed my photo by using the gorgeous Iron Gates chipboard, then matted this
to the centre of my layout. I then arranged all my fussy cut elements around
the edges of my photo. I tucked the main section of the
Fine Floral set in and around the bottom left hand cluster of
fussy cut elements. 


Don’t be afraid to cut into your chipboards, any pieces that would
be covered I try and cut them out and use else where on the layout, for example: the little flourish 
pieces. 


I love how these chipboards work perfectly alongside the fussy cut and layered flowers - 
a tiny colour coordinated rhinestone to the centre of the chipboard flower
sets it off beautifully. 

I highly recommend these wonderful floral sets, there is so much in them, they would be great on a 
double page spread as the main feature. 

Thanks for stopping by, you can find lots more close-ups of this layout over on my Instagram page


Hugs & Happy Crafting,
Chrissy 
xXx 


Tuesday, April 6, 2021

“Mandala magic!!" Layout By Chrissy Tingey


Hi everyone, I have had these gorgeous papers in my stash for years, 
I love them so much with the mandala type designs -  
I now had the perfect Chipboards to use with them. 
My first job was to fussy cut all the beautiful images from the papers
once that was done I began to layer them up, in readiness for assembling on my layout. 


Chipboard used: 
Aztec Flower Set 1.
2c 4 inch Mandala 3.
2c 4 inch Mandala 1.
Fifi Flourish. 


I wanted all the chipboard to colour coordinate with the papers, 
so I picked out the gorgeous teal colour.
 I didn’t have the exact match of medium so I just mixed a few colours of paint and mists together
 until I was happy. 
A couple of coats and they were done. I love that these chipboards take anything 
you put on them. Even those very delicate Aztec flowers took the paint mix perfectly. 
I started to make clusters of the fussy cut and layered paper elements around my layout
then tucked a piece of chipboard in with them. 


The Aztec flower chipboards are stunning! - I carefully lifted & shaped the inner section to give
some height and dimension. 


I just love the added texture the chipboards give to a layout or project - 
the chipboard mandala’s are so beautiful, they would also look fabulous layered up
like the fussy cut paper elements. 
Mmmm I feel another project coming on using them this way.


Don’t forget, if you want to colour coordinate your
chipboard but don’t have the right colour, just mix a few colours of mediums up - 
I used acrylic paint and mists, it
worked perfectly. 

Thanks for stopping by, you can find lots more close-ups of this layout over on my Instagram page 

Hugs Chrissy xXx 


Thursday, January 21, 2021

"Pretty in Pink" By Chrissy Tingey

Hi everyone, I'm back with my second post for January featuring
some wonderful flourishes & border chipboards.

2Crafty Chipboard used…

Maggie’s Swirls
Flourish Adornment set 4
Fanciful Butterflies
Lacy Border set 1


 I love the beautiful Lacy Border Set and wanted to show them all off, so I hope
 my layout “design” has achieved this, the lacy border chipboards make such
 pretty edges to the different paper sections.
 With a quick coat of black acrylic paint they then coordinate beautifully.


I have used both sets of Flourishes and tucked them in and around my fussy
cut elements, I cut some of the bits off that would have been hidden and
dotted these around my layout to make good use of them.


I can never resist a butterfly, painted with black acrylic paint again to coordinate,
the beautiful "Fanciful butterflies" finish off my layout, there are two sizes in the pack,
so I have layered them up to give some height and dimension
 to my layout, I have then added a tiny pearl to each. They look so pretty.


I hope you have enjoyed my post and layout and I hope I have inspired you
 to use those pretty border chipboards

Thank you for stopping by - happy crafting!!
I’ll be back next month with two more projects

Chrissy xXx 


Sunday, May 3, 2020

"Dream" Layout By Ro Miqueletto

Hello 2Crafty friends!

Today I share with you a monochromatic layout. 
With colors in pastel tones and delicate chipboards.

"Dream"


2Crafty Chipboard used:

Frame Celia's Flourish
Frame Madeline's Flourish 
Dream Loopy Font


 The delicate frame is painted with white acrylic gesso and a soft layer 
of metallic pink acrylic paint.


Detail:


The delicate frame with small branches painted with white acrylic plaster
 and a soft layer of metallic acrylic paint in the old pink color,
 decorates the border of the flowers.

Love this title!
 Delicate and sophisticated!
I painted with gold metallic paint and antique pink.

Dream Loopy Font


Thanks for looking at my layout!

XOXO


My Blog:

https://romiqueletto.blogspot.com/2020/04/dream-layout-2crafty-chipboard.html


Saturday, April 18, 2020

"Gorgeous" By Ro Miqueletto

Hello 2Crafty friends!

Today I will present a baby-themed layout.

I used gray and black paper and lots of flowers in soft tones.

"Gorgeous"


2Crafty Chipboard used:

Element Set 1
Corner Ornate
Gorgeous


Decorative elements make the layout more delicate.

I painted with white acrylic gesso and then embossed it in pink.


Detais:


A large arabesque to decorate the bottom of the photo.

I painted with white acrylic plaster and embossed it in pink.

I glued a beautiful rhinestone stone.


To finish a beautiful title painted with white acrylic gesso.

I love this writing!!!!


Thanks for looking at my layout!

Until next time!


My Blog:

https://romiqueletto.blogspot.com/2020/04/gorgeous-layout-2crafty-chipboard.html


Tuesday, March 3, 2020

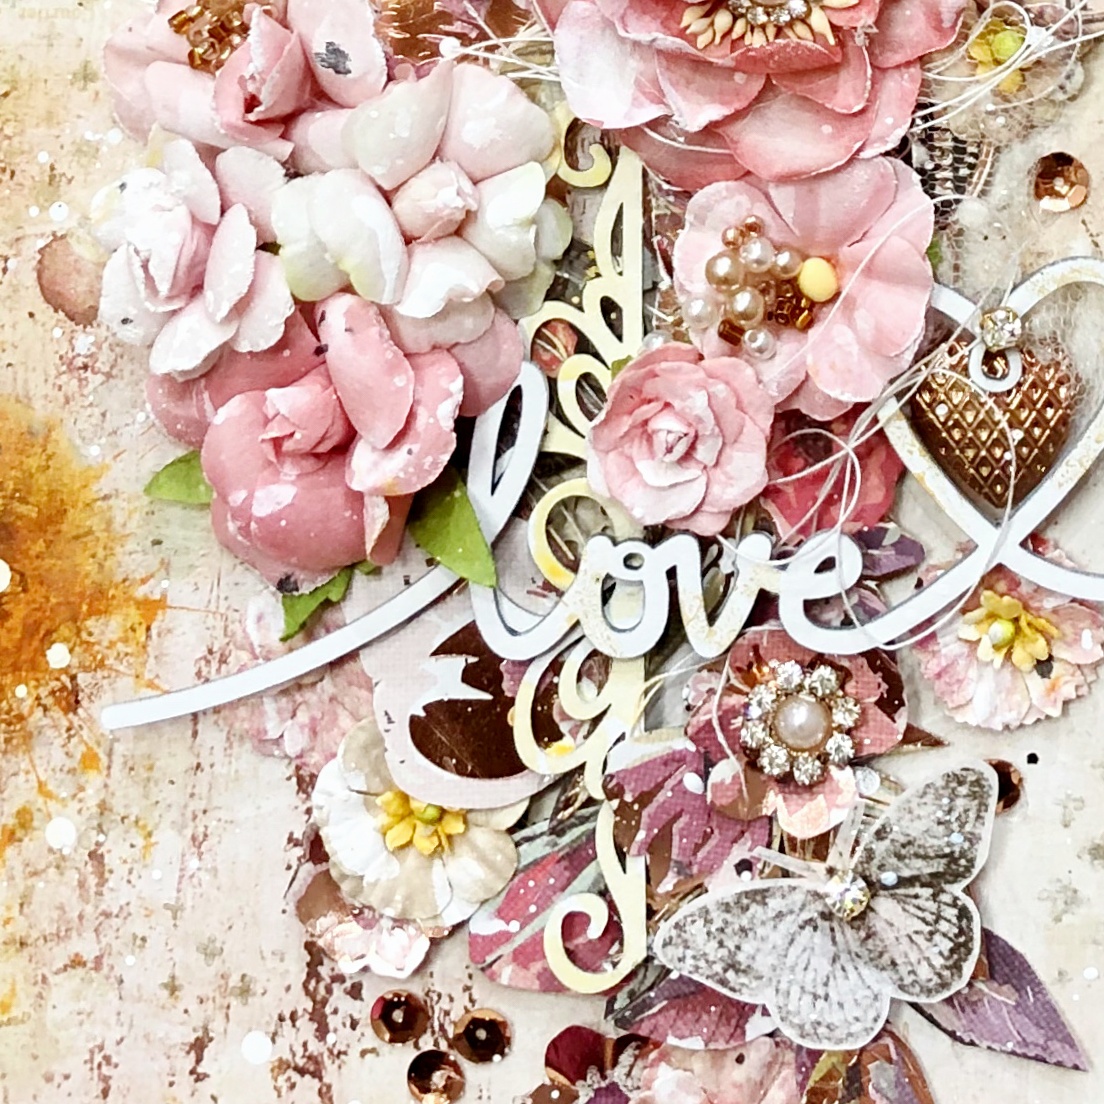
"Love You"
Layout By Ro Miqueletto

Hello 2Crafty friends!

Today my project is a beautiful and delicate layout like a mother's love!

"Love You"

2Crafty Chipboard used:

Doodled Frames
Element Set 1
Love You


A beautiful square frame, but the photo is rectangular.

I cut out the bigger one and pasted a piece next to the photo. 

I painted with white acrylic gesso and watercolored.


I pasted another piece of the frame between the flowers.


The beautiful arabesque decorates the flowers.

I painted with white acrylic gesso and watercolored.


The beautiful title shows my love for my beautiful daughter.

I painted with white acrylic gesso and watercolored.


Hope you like it!

Until next time!

 My Blog:

https://romiqueletto.blogspot.com/2020/02/love-you-layout.html