Showing posts with label "Mini #Word Set 2". Show all posts

Thursday, May 1, 2025

"#JOY"
Layout and tutorial by Marie Sabatier

Hello everyone,

I hope you are all well!
This month of May inspired me to create a floral and colorful spring layout. 
The winter has been long. Welcome to spring.

#JOY


I made a video tutorials that you can watch HERE


The chipboard used:

2023s


To begin, I apply a layer of white gesso.
I used Distress Oxide inks to enhance each chipboard.
I used a "peeled paint" for the "window-shutter-set 1" chipboard. I mixed it with water to obtain a very light shade.
Next, I use the "ironworks-gate" chipboard. I cut it and only use the top half. I keep the other half to use another time. I start with "mustard seed" ​​ink, then add "picked raspberry" and "peeled paint" for a mixed media effect.


I really like this "fine-flower-photo-adornment-set-1" chipboard template.
I'm placing it under my photo.
Then I add 2022 and 2023. This photo was taken on the first day of the 2022-2023 school year.
They are colored with "picked raspberry" ink like #JOY.
And, this beautiful "loopy-heart-swirl", I think it goes well with the flower.


To add more volume to my cluster, I add "leafy silhouettes".


Watching the video is a good way to get more detail.

It's always a pleasure to meet you here!


Monday, December 20, 2021

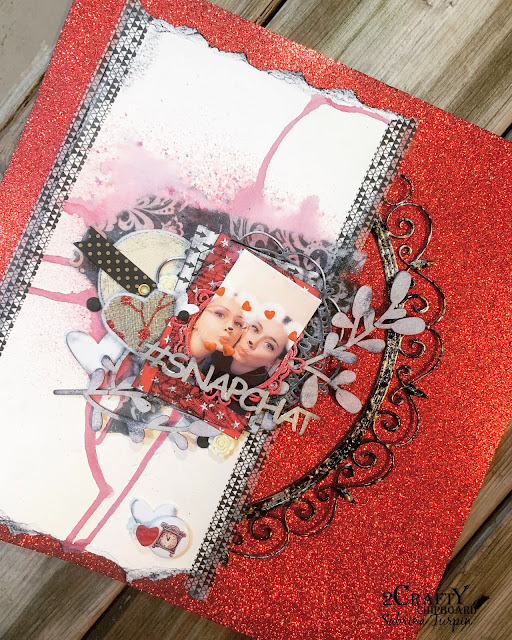
#snapchat
by Sabrina Turpin

Hello 2Crafty friends!

I hope you're doing great in these festive times! Today is a bit of a bittersweet one for me: it is going to be my last post for 2Crafty, as I'll be going on a scrapbooking hiatus for the foreseeable future. But nevertheless, I will for sure keep an eye on what team 2Crafty is brewing while I'm away!

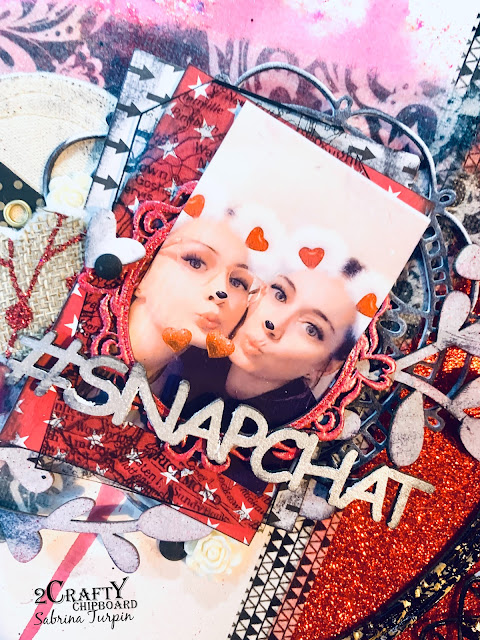
"#snapchat"


On the '11" Round Flourish Frame', I used silver-black embossing enamel. For the "Twiggy Branch", I applied 1 coat of white embossing ink then dabbed a bit of red embossing ink on top and finally inked  the borders in black.


For the "Mini Decorative frame set 6", I used two coats of red shimering embossing powder and applied a pearly white wax on top. On the title, "#snapchat", part of the "Mini #Word set 2", I applied two coats of pearly white wax with my fingers and inked the borders in black.

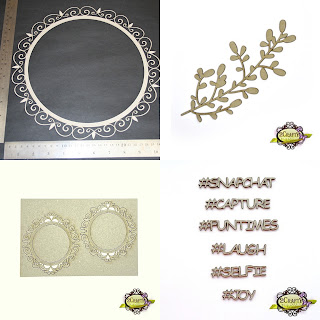
I used the following 2Crafty chipboards in this layout:

11" Round Flourish Frame [120063]
Twiggy branch [m00359]
Mini decorative frame set 6 [fr0149]
Mini #word set 2 [mb018]


That's all for me today! 
I hope you enjoyed my festive creation! 
I wish you the best for the holidays and the new year!


Saturday, June 20, 2020

#Capture
A Beautiful Destinations Layout by
Jenny J.

Hi everybody!

Here is my lastest creation with the most gorgeous chippies on Earth!


  2Crafty Chipboards I have used on this layout...


*Mini #word set 2
*6x4 phrase sticks set 1
*skeleton leaves
*Charlotte flowers

First, I have started by applying some platinum crackle paste on my layout.
Then, I've built up my focal point by layering paper tags under my picture.


Above, you can see that "Charlotte flowers" are really gorgeous and 
they are among my favorite chippies of all categories.
They are simply heat embossed with an ivory powder.

My title, which is part of  "mini #word set 2", is treated with a pearl white spray from Prima.


At the bottom of my picture, you will see a piece of "6x4 phrase sticks set 1".
This chippie is covered with blask gesso and then, treated with 2 colors of waxes.

Finally, the "skeleton leaves" are also heat embossed, but this time, 
with a taupe colored powder.  
They are many of them on this layout.


After that, I added a bunch of flowers and that was it for this time.

See you next month with new inspirations.

Stay safe xxx


Saturday, May 25, 2019

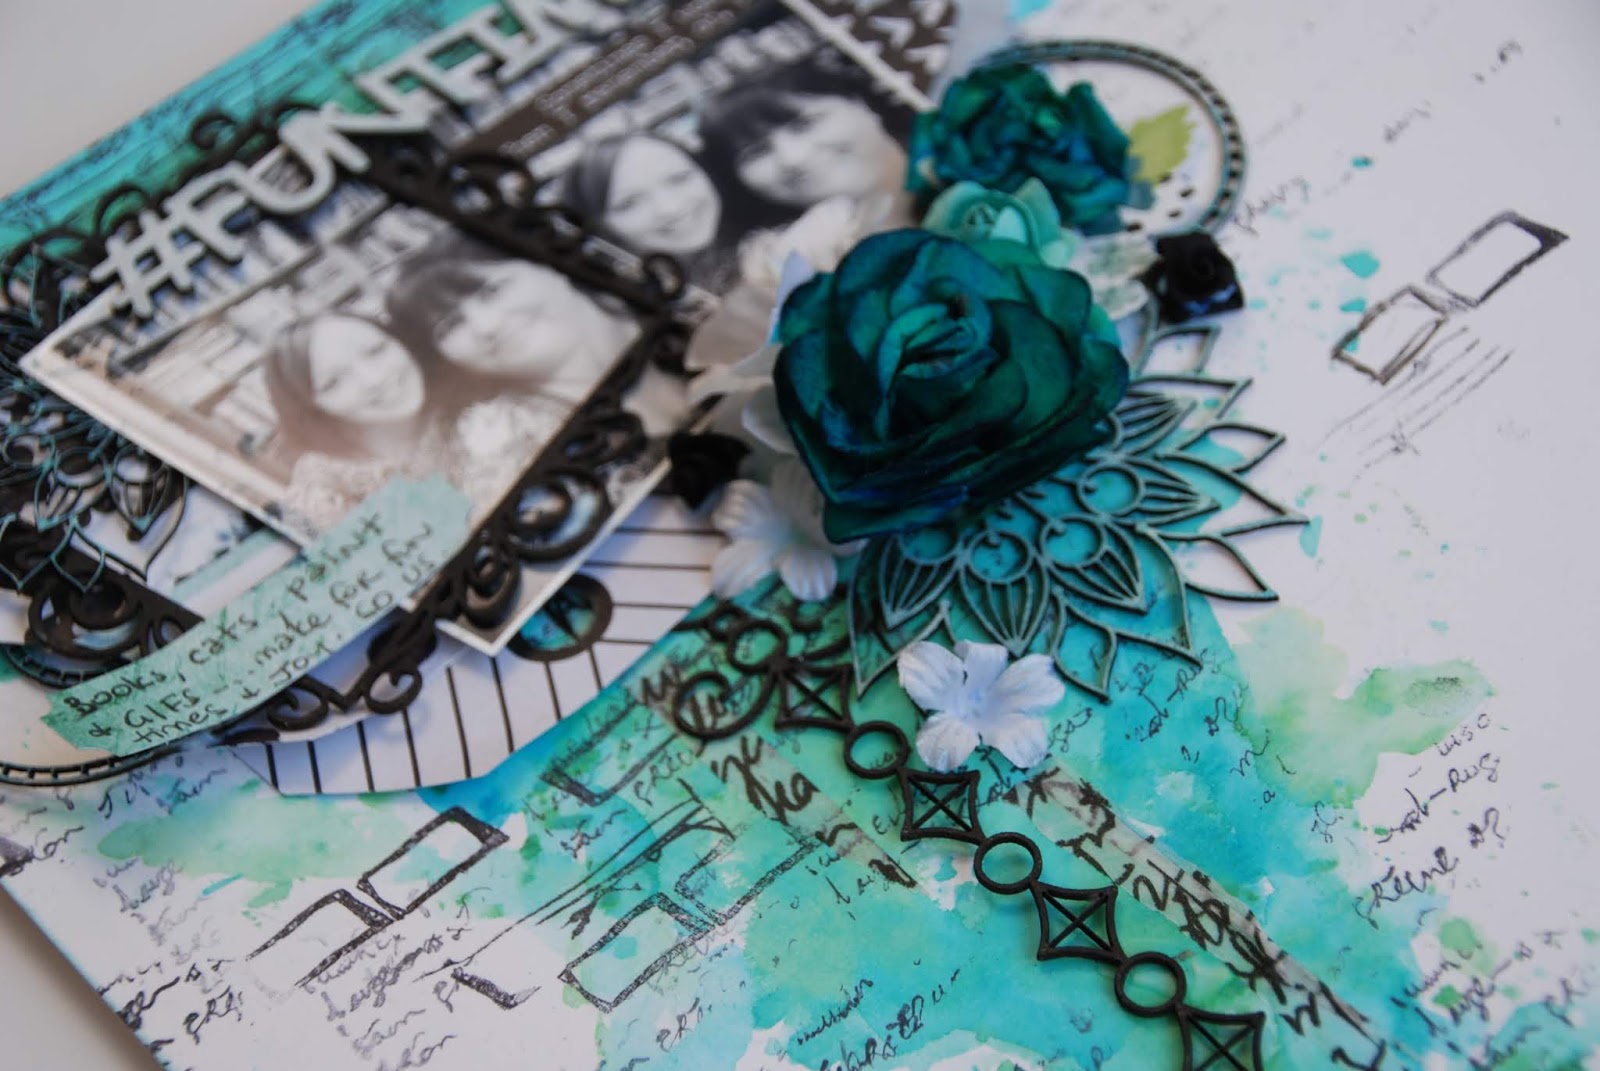
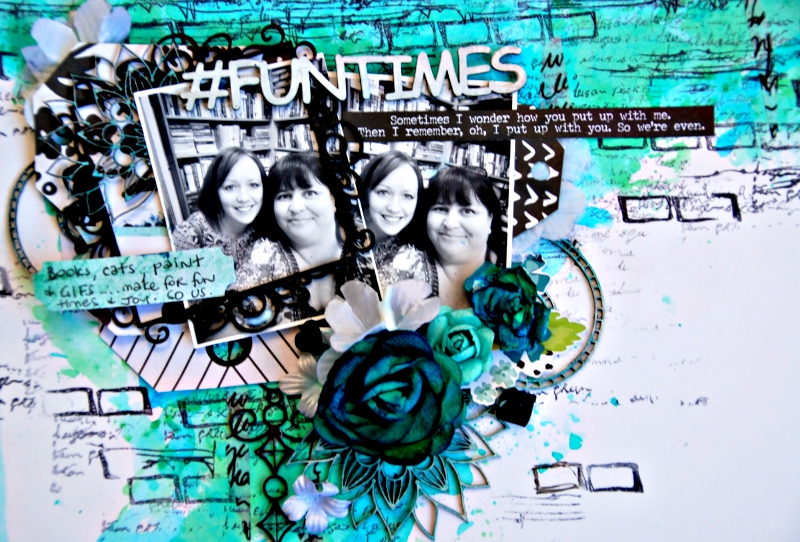
'Fun Times'
by Tammy Klingner

Hi there Creative souls.
Tam here and I've popped in today to share my latest.....
A fun layout celebrating a very special friend and all that we have in common!!
I used the following 2Crafty Chipboard:
"Decorative Dangling Bits Set 1" *NEW*
"Aztec Flower Set 1" *NEW*
"Mini #Word Set 2"
"Doodled Frames"
I added black ink to one of the "Doodled Frames" and also to one
of the "Decorative Dangles".
I love the contrast of the black against the gorgeous teal colour.
.I painted those gorgeous NEW "Aztec Flowers" in white paint,
and then added a few swipes of teal ink.
They are so intricate that they didn't need anything else. 
They shine on their own.
I used two of the words from the "Mini #Word Set 2"
 - #funtimes and #joy.
I simply added white paint to these.
Such a fun layout to create!


I hope this has inspired you to get creative......
Using 2Crafty Chipboard certainly makes it EASY!!!
You can head to my BLOG to see more of my work.
Luv Tam
xxx


Monday, May 20, 2019

Dream Catcher with Karan Gerber

"Dream Catcher"
With Karan Gerber

Hi Friends and welcome the 2 Crafty Blog. 

I have a mixed media Dream Catcher for you today along with a step x step tutorial.

I used a 6 inch embroidery hoop along with some fabulous pieces from
 2 Crafty to create this beautiful addition to my craft wall. 


The chipboard takes to mediums quite nicely and I love the bold colors on this project. 
I used the inset smaller clock from the large set as it fit the hoop perfectly.


A couple detail shots of the Dream Catcher.


I love layering my chipboard pieces, check out the guide below and you can
 see a step by step on how I put this project together. 

by Karan Gerber on Snapguide.

2Crafty Chipboard Used...


Materials Used:

Monday, March 25, 2019

#Blessed - with Emma

Hi 2Crafty friends, Emma here today sharing a layout with Autumn tones.
I thought this a relevant colour scheme as here in Aussie land we have just started
 our autumn season, which I must admit I love.

Here is my layout and the Chipboard pieces I used.....


2Crafty Chipboard Used:
Corner Retro
Mini #Word Set
Fine Stem Frames
Fern Leaf Set
Leafy Silhouettes


The frame I tried a few different finishes to get the final look.
First I coated it in 2 different oxides, then clear embossed it and then finally 
went over the dry emboss with ink and oxide again to get the desired rustic old look.


The Leafy Silhouettes and Retro corner I applied a rust paste and then dabbed over them with Dylusion inks to compliment the colours in the layout. Finally on these I added a clear emboss, deliberately missing sections to add a contrast from glossy to matte.

I really like this distressed look.


I liked it so much I did the same thing with the Fern leaves.
 They look so striking against the paper elements.


With the title I decided to emboss an orange powder over a black ink. This contrasted again from the other chipboard as well as complimenting the photo. Standing out on its own. Again not opting for the perfect finish but just letting the powder adhere where it needed.
  

I love scrapping imperfectly as this is what I am, and, if I tried to make every art piece perfect I would never finish a project. Don't get me wrong, I can be quite the perfectionist when I need but I really like the look of something finished but imperfect just as much. I feel it adds personality, a touch of me. #imadethis

I hope you enjoy and are just a little inspired by my layout.
I look forward to seeing you all again next month.

Till then, Em xx


Thursday, October 11, 2018

#Joy by Sabrina Turpin

Hello 2Crafty fans!

Today I have a bright and colorful layout to reveal, featuring my daughter Mila on her first day of second grade. Her genuine excitement inspired me to create something that would pop out of of the page, so I layered a lot of materials and chipboards around the picture.


Here are some close up shots of the chipboard


On the "Frame Flourish 5", I applied a pink embossing enamel. On the title, "#JOY", part of the "Mini #Word Set2", I used black embossing powder.


On the "Heidi's Vines", I also applied a pink embossing enamel, then added white embossing ink on top.

For this layout, I used these following chipboards:
Heidi's Vines (M00156)
Frame Flourish 5 (FR0008)
Mini #Word Set 2 (MB018)

That's all for today! 
I hope you enjoyed this layout and that it will give you some inspiration for your creations! 
See you soon with more ideas!