Showing posts with label "Circle Frame". Show all posts

Friday, March 19, 2021

Good Vibes
by Sabrina Turpin

Hello 2Crafty friends!

One good thing to come out of the various pandemic lockdowns is that I had time to pick up a new crafting skill: I started sewing! At first, I was doing facemasks to help people stay safe&stylish. But over the months I became more comfortable and I recently completed my first pieces of clothing for my kids. 

Last week, I completed my very first long-sleeved t-shirt, custom made for my son, using fabric he choose! We are both super happy with the result so this really deserved a nice picture so I could create a layout to celebrate this success! I've picked some awesome chipboards that fit my son and a color pallette that matches the t-shirt's.

 "Good Vibes"


On the "Brick Panel", I roughly applied some diluted green-gold shimmering paint, still letting a bit of the chipboard color and texture show through.


For the "Foliage Set 5", I used green-gold embossing enamel then inked the borders in black. On the "Steampunk cog strips", I applied pewter paint, then added some rustic mint paint applied very roughly and finally applied some gold wax with my fingers.


On the "Steampunk Gears Medium", I applied the same rustic mint paint and gold wax as on the "Steampunk Cog Strips" (but not the pewter paint), then inked the borders in black. For the "Circle Frames", I just roughly rubbed gold wax, to let a lot of the chipboard color through. On the title, "Good vibes", I used black-gold embossing enamel.

For this layout, I used the following 2Crafty chipboards:

Brick Panel [660038]
Foliage Set 5 [M00802]
Steampunk Cog Strips [M00783]
Steampunks Gears Medium [M00646]
Circle Frames [120022]
Good vibes [W00583]


That's all for me today! I hope you enjoyed this layout and that it gave you some inspiration for your own creations. I'll be back in a few weeks with a new layout to share with you guys! See you soon!


Monday, February 1, 2021

#LOVE
Layout and Video
by Marie Sabatier


Hello, I hope you are all well, here in France the pandemic 
is getting worse and we fear a third confinement is scary.

But fortunately the scrapbook is there to forget this worrying situation for a moment.

For this new page, I wanted to use this wonderful "Steampunk Circle Frame" 
and this photo of Leo my grandson.

I chose this paper for the colors in harmony with the background of my photo.


And I also made a video!


"#LOVE"


TO VIEW VIDEO CLICK HERE


2Crafty Chipboard used :

- Hashtag Word Set 1
- 12 inch Steampunk Circle Frame
- Circle Frames
- Circle Stack
- Steampunk Gears Small
- Steampunk Gears Medium
- Light Bulb Word Set 1


Here are some close-ups, but feel free to watch the video for more details.

As always, I applied a layer of gesso to each chipboard.

On the "Steampunk Circle Frame" particle board, I applied a first coat of shiny 
metallic ink in the color "Hematite" then a second coat of "Turquoise" color

Then several shades of metallic wax until I got the effect I wanted.

I used the "Circle Frame" chipboard for support.


For the "Steampunk Gears Medium and Small" chipboards 
I applied lighter shades to contrast.


On the "Circle Stack" and "Light Bulb" chipboards, I applied a coat of black gesso 
then "Red Amber" antique shine wax.


For the title I proceeded in the same way.


I added yellow paper embellishments to brighten it up.


Here it is finished!

Hope I made you want to watch the video and gave you some inspiration.


Wednesday, December 26, 2018

Experience - with Emma.

Welcome to the 2Crafty blog friends.
Emma here today with you all.

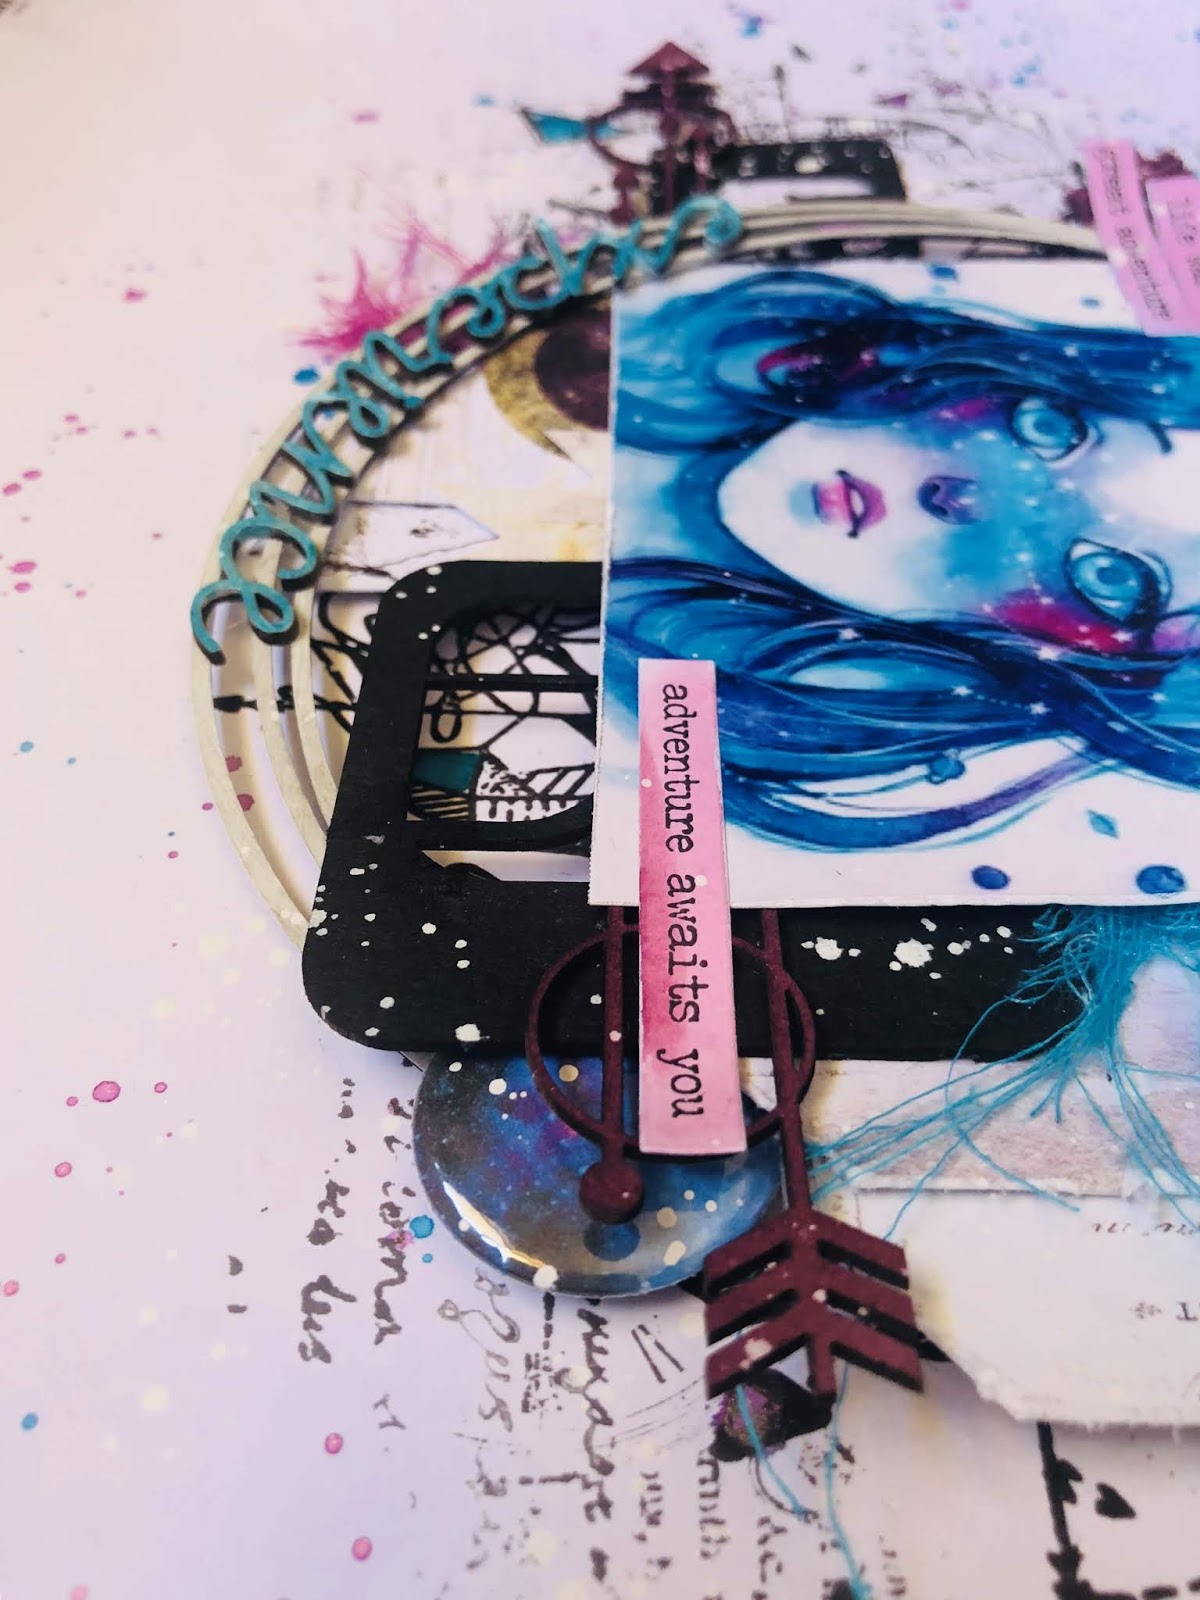
I'm sharing a page that has a slight spacey/melancholy yet new adventure vibe. 


And these are the awesome chippy pieces I have used...…


6" Circle Revolution Frames
Mini Travel Word Set 2
Retro Panel
Geometric Arrows


The retro panel is inked in an archival black ink and left as is.

The geo arrows and circle frame I painted over with white gesso first so the colour would be more vibrant once painted.


I decided to keep the frame in the white but the arrows I painted with a watercolour ink. It covered the chipboard beautifully and the colour really popped also.


For the word I chose the 'experience' word out of the set which I also primed with white gesso and then painted with a complimentary blue shimmer ink.
The words in this set are very versatile as they are flexable and so I could curve the word around onto the circle frame.

I thought this a cool use of a title instead of always just using them straight.


I hope this has inspired you to get creative, maybe you have some time off over this holiday season?

Have a great rest of the year and I will catch you all very soon in the year 2019!!!

Em xx


Tuesday, July 11, 2017

July Inspiration by Tammy Klingner

Hi 2 Crafties!!
Well we are in the middle of winter here in Australia, and where I live it's freezing!

 I always feel a bit flat when it's cold and dreary, so I've created a couple of bright layouts,
 hoping that will offset the cold.......(one can only hope hey)
The first one is titled:

 "Brave"


I used the following 2Crafty Chipboard:
'Indian Feathers'
'Soft Feather Set'
'Polaroid Assorted Frames'
'Dreamcatchers'
'Assorted Arrows'
  'Brave Title'


I had these photos of my warrior daughter who dressed up for her High School Sports Day.
I love them and I adore feathers -  as you can see I've used a lot!


I used a couple of different techniques on them.
On the 'Indian Feathers' I applied black paint and then rubbed on some
Finnabair's Acrylic Paint in Opal Magic - Aqua Rose.
This is a cool product. 
On light backgrounds, it comes out a pinky tone, and on a dark background it's this
beautiful teal colour.


To one of the 'Dreamcatchers' and also one of the 'Soft Feathers' I applied
white gesso and then stamped a script stamp with black over the top.
 I finished off with a bit of ink. 
I really love how these turned out.


I painted some of the 'Assorted Arrows' black.


I painted a 'Polaroid Assorted Frame' in green and then stamped a
 triangle pattern onto this randomly.


To create my title I painted the 'Brave' with black paint and then added the  product
 (the same technique as with the 'Indian Feathers').


I then added a few embellishments - some quotes, a flair, an acrylic tepee, some metal arrow heads
 (all available from Kit the Habit), some thread and of course some flicks of black paint.


The final step was to swipe some black paint around the edges of the page.


My second layout is about my brother and I.

It's titled:

"Our Story"


I used the following 2Crafty Chipboard:

'Interlocking Grid Panel'
'Circle Frames'
'Just love our Story title'


 I began by applying some white gesso to my dark background paper.

I then added some spritz in bright blue and lime.


I painted the 'Interlocking Grid Panels' in teal paint and then stamped a
 random background pattern onto them.


I painted the 'Circle Frames' in a bright blue paint and then also added some stamping.


Underneath the photo, there are lots of layers and strips of patterned paper, and also a pocket.

My brother's and my story is quite traumatic, and as it has details in the journaling that
 I didn't want everybody to read, I tucked it into a pocket.


A very therapeutic process, getting some of those thoughts down on paper.


Finally, I added my title. 

 I chopped off the 'Just Love' section and left it as 'Our Story'
as this suited the layout much better.


I painted the title purple and added Dimensional Magic to give it a glossy shine.

A few flicks of coloured paint, some thread and it's all done!!


I've included another share today created for a Design Team I am on called 'Scrap the Girls'.

It's based on a moodboard challenge and titled:

"Wild at Heart"

I've used the following 2Crafty Chipboard:

'Fine Heart Borders'
'Follow your Heart title'
'6" Messy Square Frames'


 I trimmed down the title and just used the 'Heart' section.


I then applied white gesso and some watercolour paint.

 I also did this to the '6" Messy Square Frames'.


I applied white gesso to the 'Fine Heart Borders'.

I hope you enjoyed these layouts, and they've inspired you to get creating.

If you'd like to see more of my work head to my BLOG

Much love and warmth

Tam
xxx