Showing posts with label paint. Show all posts

Monday, October 29, 2018

"Face Your Fears" By Elisa Ablett -
Mixed Media Boy Layout
PLUS A Step by Step Tutorial

"Scooter Kid"

Hi Crafters 😃

STEP BY STEP TUTORIAL INCLUDED!!!

My turn up on the blog today with my latest inspiration for the month of October.

I was going through some photos and found a great sequence of photos of my
 youngest son on his scooter from a recent trip to the skate park. 

I used the colour scheme from his clothes and the stripes from his shirt as the 
basis of my layout and then added my chipboard to match, great pieces for a boy layout.

 Here are the awesome chipboard pieces from 2Crafty that I used in my layout: - 


2Crafty Chipboard Used
Numbers Panel
Polaroid Assorted 
Scooter Kid Title
Skulls (1) 

💙💚💛💜💙💚💛💜💙💚💛💜

STEP BY STEP


STEP ONE - Using your gel plate 12 x 12 or 12 x 14 size plate, add your blue colour first in the middle of your plate, then add a few drops of white paint then brayer over the top, it will create a lovely distressed striped pattern. I matched my blue paint to the colour of the shirt in the photo. Tip your white cardstock upside down onto the paint and rub gently on the back and then pull your print! It should look like the photo below in the middle of your page.


STEP TWO - Using a liquid paper correction pen and a ruler, add some white lines to
 your gel plate print background and put the background aside to dry.


STEP THREE - Use a bright post box red paint to paint your number panels, I used 
fine tip scissors and snipped my panels as in the photo above.


STEP FOUR - Cut your photos to size and mount on white cardstock and then ink around the edges


STEP FIVE - Add some stamping to your page, I used distressed marks from Darkroom Door,
 Face your fears set by Andy Skinner for Stampendous, Aall and Create stamps to name a few.
 Grab your favourites!


STEP SIX - Paint your Polaroid frames black, then let dry. 
Then using white embossing powder and a grid stamp, 
emboss white grid patterns onto your painted chipboard as shown in the next few photos.

Emboss your Scooter Kid title with the white embossing powder as well.


STEP SEVEN - Use a post box red paint (or candied apple) to add lines to your layout. 
Squirt some of the paint onto your craft mat and using the side of your ruler, 
rub it through the paint and then stamp it onto your page, 
you can also drag it along your page as well for a different effect.

Stamp using a red ink pad and number stamps along the left hand side
of your page as well to match the red on the right.


STEP EIGHT - Glue your Polaroid frames to the page and place your numbers over
the top but don't glue them until you have your photos correctly 
positioned onto the page. Glue both down onto your page and then 
add your title and Charms Creations Silver Glitter star as an extra embellishment.


Last few steps are - stamp a few road signs, fussy cut them out and add to your page.

Glue your inked skull down to your star embellishment.

Using a yellow Irresistible Pico Embellisher add yellow highlights to your page,
 scribbly writing, some grungy marks and a few lines. 

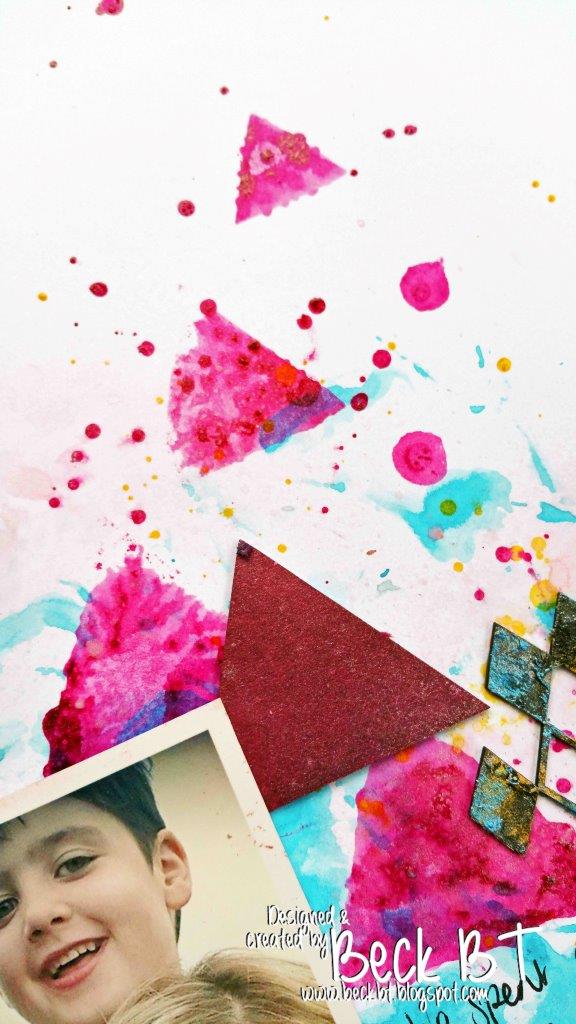
SOME CLOSE UPS OF THE FINER DETAILS !! 


That's it from me today, 
I hope I have inspired you to try a little gelli plate printing with your layouts 
and to add a sequence of photos !

Make sure you leave me some love in the comments 
and if you want to follow along on my crafty adventures here are my links :-


Hugs xx

Elisa Ablett


Friday, April 8, 2016

April Share with Beck BT


Hi, it's Beck Beattie here.
Today I am sharing some fun projects featuring 2Crafty Chipboard of course! 
 I love how effective they can look in both altered and natural states.  

Today I'm going to share with you the use of both! 
 
  But before we start....
Please remember while you are here  to become a blog follower & leave a blog comment to
be eligible to go in our monthly draw for a great chippie prize pack.
 
"Be Yourself"

 I was playing along with the Kraft+ challenge for this month which is black and white
on kraft with inspiration images.  2Crafty are a sponsor this month so it is an extra
 awesome month to play along and hopefully win yourself some yummy chipboard!!


For my title I applied a coat of Indigoblu Cottage Paint in Pantry white.
 Given the highly pigmented paints I only needed to apply one coat.


I love the natural kraft colour of the chipboard and thought they worked well to break
 up the colours of the background, so I left both the diamond panel and star frame
pieces which I cut up and adhered in clumps, in their natural state.


For the Harlequin clumps I simply applied some black permanent ink with my
ink pad to colour them and adhere in clumps of three around the page.


   2Crafty Chipboards Used:
Be yourself title
Star frame
Diamond Panel
Harlequin clumps


"Amaze yourself Canvas"
For my canvas I layered some fun 2Crafty pieces for a striking effects onto a 
layered mixed media canvas.  
 

I once again painted the Amaze Yourself chipboard title with
 Indigoblu Cottage paints in 'Pantry White'  


The background piece I applied a coat of black ink by rubbing over it.


For the key I first coloured it with a gold marker and then embossed it through my
die cut machine with a sweet embossing folder, love how it came!


2Crafty Chipboard Used..
Cassie's Flourishes
Amaze Yourself title
Circle Lattice Panel
Multi-Key set


 Thanks for taking the time to head across to the blog today! 
 

I hope you enjoyed my share this month on the 2Crafty blog!

Happy Crafting
xxx Beck BT
 
Photobucket

Tuesday, December 8, 2015

December Shares With Beck BT


Hi, it's Beck Beattie here with my December inspiration shares
I had lots of fun with paint and sprays this month while creating my pages.  I have 
two different style pages for you showing some different uses for your chipboard.  
 
"Good Times With Friends"

You honestly don't need pattern paper to create fun pages.  After creating a fun 
watercolour background with the help of some texture paste stencilling, I added in
 my embellishing features being all chipboard except for a few sequins!  Yes just
 chipboard and paper - pretty cool huh!  
I coloured the title with StazOn Teal blue ink pad - so quick and easy and so effective!
 

I just love these 'dotty bits' and I cut them into little circles, added a little
Indigoblu English cottage Arisist's Acrylic Paint in 'Gold Finger'
(that paint coats the chipboard SO WELL) and added them as an embellishment to the page.  


Last I added some of these sweet birds that I simply added some thick gesso
(I love DecoArt Media Gesso for this - its nice and thick) with my finger
 dabbing it on for some added texture and adhered them to the page.


   2Crafty Chipboards Used:

Dotty bits 
Good Times
Birds set


 "Together"

Here is a fun layout I created of me and my boys, I wanted  a little grunge,
 but also some girly fun in there too!

I had fun using the chipboard triangles to stamp into my background by adding some spray
 (I used 'Watermelon' by Fun Stampers Journey) to my kraft sheet and then stamping
the chipboard piece into it and then using to stamp onto the cardstock.  So not to waste
 the triangles I added them to my page as well!


Layers of meltallic rub (I used DecoArt Metallic lustre in teal and orange) create a fun grungy
 effect.  I first gave a coat of black gesso with some texture left to the chipboard pieces.


 Again I used Orange Metallic lustre on my title


2Crafty Chipboards Used:
Harlequin clumps
Traingle set
Mini words 2


I hope you enjoyed my share this month on the 2Crafty blog!  May you have a fun and 
restful time over the holiday season with friends and family.  May you be spoilt and
 cherish the holiday season full of joy and laughter!
 
 
Please remember to become a blog follower & leave a blog comment to
be eligible to go in our monthly draw for a great chippie prize pack.


Happy Crafting
xxx Beck BT
 
Photobucket