Showing posts with label florence swirl set. Show all posts

Tuesday, August 20, 2024

Just Too Cute - Laura Gilhuly

 Hi everyone!


Laura back today sharing a layout of our oldest son Cody when he was 15 months old.


2Crafty Products used


Florence Swirl Set

Circular Border

Just Too Cute


I love how the photograph catches Cody's fun loving personality!
 He was always so cute!


I cut the Circular Border into 4 pieces, inked in two shades of green and placed them in clusters around the layout


I also used the Florence Swirl Set that I inked in blue and outlined in brown ink in the clusters.


The beanie Bear I inked in brown then used a white jelly roll pen to highlight.  The title inked in the brown and blue then heat embossed with clear embossing powder.


Thanks for stopping by


Tuesday, June 4, 2024

Love you Millions by Tania Ridgwell

Hi there!
Tania joining you today to share the first of my DT projects for June. 
 I have created a layout.

"Love you Millions"


2 Crafty Chipboard Used:

*Florence Swirl Set
*Skeleton Leaves
*6x4 Phrase Stick Set 4
*Lacey Border Set 1


I used the gorgeous Unmistakable Creations Heartfelt Collection to create the base for my layout. 
 Once I had created my background I set about putting my page together.


I added lots of paper layers to my base page and then added my photo.
I coloured the Florence Swirls, Skeleton Leaves and Lacey Border Chippies all with
Heidi Swapp Color Shine Mists in blacks and greens.  I added lots of fussy cut flower
 elements and paper blooms to the top left and bottom right of my photo and then tucked
 in the Florence Swirls and Skeleton Leaves chippies amongst all these elements and
the paper layers.


I cut up the Lacey Border Chippies and tucked pieces into the top and bottom torn layer
 edges of the background page and also added a piece to each side of the page.  I finished
of my layout by adding the Love you Millions Chippie Title from the 6x4 Phrase Stick Set 4
 along the bottom of my photo which I left raw.


Thats' all from me today, I hope I have inspired you all with my Layout.
  Until next time thanks so much for stopping by.

Friday, January 28, 2022

In the Garden - with Emma Zappone

 Hello 2Crafty family.

 Emma with you today.
The Layout I'm sharing today is a floral garden vibed creation using some stunning chipboard pieces.


And here are the pieces used....

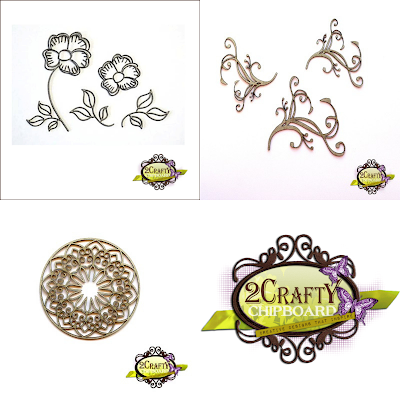
Hand Drawn Flowers
Florence Swirl set
6" Mandala No.3


This page is an 8"x12", a format I'm starting to play with more and more.
I was going to leave all the chipboard raw originally, which I very rarely do, but I just couldn't do it....well not all the pieces anyway.


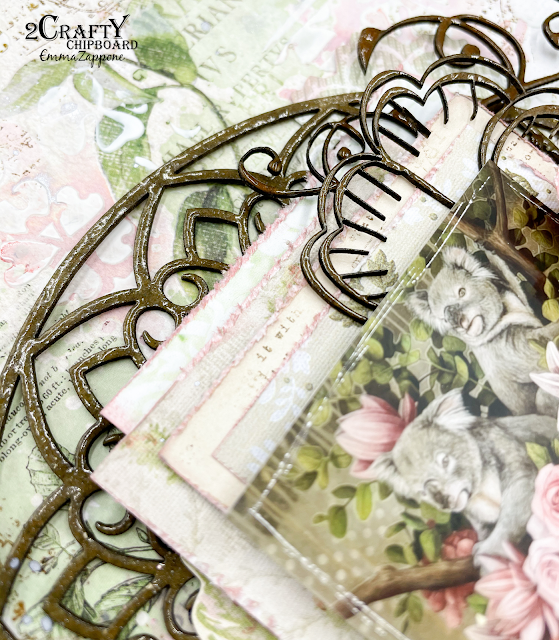
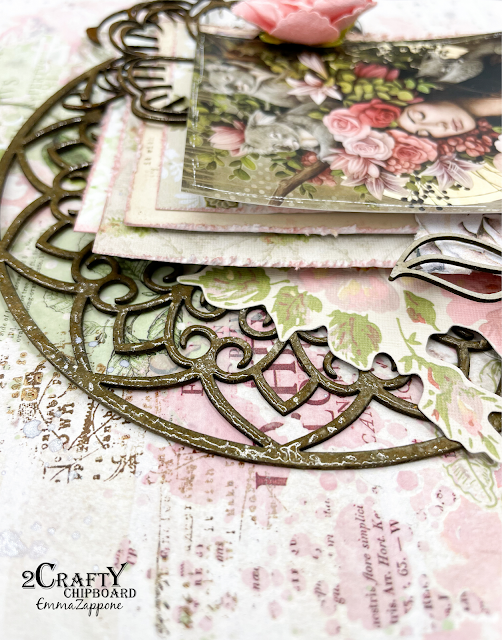
So instead of leaving it raw, I added a glaze over the larger pieces of chipboard, such as the Hand Drawn Flower head and the Mandala. No priming of the chipboard just emboss ink and a glaze. 


Adding a double glaze to the Florence Swirls really added some beautiful shine.


The leaves that I trimmed off the flower were left raw, they added a 'colour' tone all on their own, this way they stood out against the darker glazed pieces.


I hope you are inspired by my page, and get some creative time this weekend.
I look forward to sharing my next project with you all very soon.

Stay crafty, Em xx


Friday, July 30, 2021

Follow your Bliss with Emma Zappone

 Hello!
Emma with you all today on the blog.
Today I share a magical 9"x12" Layout with you all.


This layout features some stunning chipboard!
Clock Face discs
Florence Swirl set
10" Decorative Doily 1


I was a little nervous using such a large piece of chipboard with the doily, and wanted to do it justice. I I knew I really wanted to antique it up. I applied a crackle paste and allowed it to dry naturally. Once that was dry I then applied a combination of Oxide inks and ink sprays to add the colour tints.


Love how the colour seeped in through the cracks. Once the colour was dry, I lightly rubbed a copper wax over the surface just to grab some of the texture.


I then prepped the other 2 pieces, the clock face and swirl, with black Gesso.
Once dry, I then applied a couple of waxes to illuminate them yet compliment the large doily.


Once these pieces were all ready, I then layered them into my layers and visual story.


I loved taking my time creating this layout and love the feel of the end result.

I hope this layout gives you a little inspiration.

See you soon, Em xx


Friday, May 7, 2021

Picture Perfect
By Marie Claude Rodier

 Hi girls,

My turn to show you my newest project full of 2Crafty goodies. I love how easy it is to add swirls, frames and foliage to beautifully embellish any project.

My youngest son loves animals, all of them, small, big, scary or friendly. This picture is capturing this magic bond he has with them. Simply adorable! 

Picture Perfect


As always, most of my chipboards were initially basecoated with white gesso. Frame Jenna was covered with dark olive watercolor pencil and highlighted with dry brushed gesso.


Picture perfect stick from Mini Title Stick Set 2 was only shorten, without any special treatment.


Spring flower bunches were highlighted with pink watercolor ink.


Florence Swirl Set was painted with dark green paint and highlighted with white gesso.


2Crafty products used...

Frame Jenna

Spring Flower Bunches

Florence Swirl Set

Mini Title Stick Set 2


Until next time, be happy and be creative!

Marie Claude
xx


Wednesday, March 11, 2020

"Love Today"
By Marie Claude Rodier

Hello 2Crafty fans!

Today, I'm showing you a layout of me and my fur baby, to which I added several 
beautiful chipboard pieces to compliment my layout.

I chose to use a soft color palette that would reflect the peace sentiment the picture inspired in me.

"Love Today"


"Florence Swirl Set" was simply painted with white acrylic paint.


"Love Today" title was embossed with a very light pink powder.


"Stellar Snowflakes" were embossed with medium pink powder
 and placed amongst flower clusterings.


2Crafty Chipboard used...
Love Today
Stellar Snowflakes
Florence Swirl Set

Until next time, be happy and be creative!
Marie Claude
xx


Sunday, June 3, 2018

"Mates" & "Beauty" - Layouts
Inspiration from Kareen Dion

Hello 2Crafty's fans!
I'm up today with two new layouts! 

**Mates**
My first layout is about my dog Jax. 
I created this layout with this picture and used a lot of chipboards.
I used the Sequins Negative Bits in the background and enhance my layout 
with the Florence Swirl Set, Leafy Silhouette and finished with the Mates from the 
Friendship Mini Word Pack.


The Leafy Silhouette are white embossed with embossing powder.


For this layout, I embossed all the chipboards with white embossing powder.


2Crafty Chipboard used : 
- Sequins Negative Bits
- Leafy Silhouette
-  Florence Swirl Set
- Friendship Mini Word Pack


-----------------------------------------


**Beauty**

My second layout is for the CSI Challenge #255 as 2Crafty is sponsoring this month. 

I used the Mesh Hearts and cut it into little pieces to create textures on the background.
I also used the beautiful Flower Clusters to embellish my layout and finished with
the #beauty from the Mini Word Set #1.


The Mesh Hearts and title #Beauty are embossed with light pink embossing powder.


I applied a layer of white gesso and painted with 13@rts waterpaints the Flower Clusters.


2Crafty Chipboard used : 
- Mesh Hearts
- Mini Word Set #1
- Flower Clusters


That's it for today, see you later this month!