Showing posts with label Mini Flourish Bits. Show all posts

Wednesday, June 17, 2026

'Dreamer'
with Lisa Amiet

 Hello 2Crafty fans!

It's Lisa here today to share a layout, featuring my daughter.


 2Crafty products used:


 'Mini Flourish Bits'
'Photo Adornment Element Set 1'
'Bulldog Clip Set'
'Foliage Set 11'

 
For this layout, I used one of the 'Photo Adornment Element Set 1'. I left my chipboard raw
for this project, and layered with a sentiment. 

I also used two of the foliage pieces from the 'Foliage Set 11', also raw, and tucked 
in among my florals.


I also used one of the flourishes from the  'Mini Flourish Bits'tucked into the corner 
 of my photo stack.

Above my photo I used one of the 'Bulldog Clips', tucked into my paper layers.


 I was debating finishing my chipboard white for this layout,but I am glad that I opted for the raw finish.
I love the warmth of it with the pinks. 
I hope that you like it too!

Until next time,

 Lisa


Monday, December 22, 2025

Just Me - Laura Gilhuly

 Hi everyone!
So happy to be back to share my next layout!


2Crafty Products used:


Just Me
Lattice Leaves
Mini Flourish Bits
Victoria's Large Flourish
Marianne's Butterflies
Mini Dotty Bits
Leafy Shrub Set 1


I always prep my chipboard with white chipboard then alter them.


I then used two blue shades and a copper color of watercolor powders by using a wet paintbrush and then spritzing with water to get the watercolor look.  For the title I used the copper color watercolor powder then added glitter copper paint.  To keep with the glittery look I added some glitter to the other chipboard pieces and some flowers from my stash


Friday, July 11, 2025

'Dream Chaser'
with Lisa Amiet

 Hello 2Crafty fans!

It's Lisa here today to share some
 scrappy inspiration with you.

I have created this layout featuring my daughter on a recent trip to Japan. 

"DREAM CHASER"

 
2Crafty products used:
 
 
'ATC Georgian Frame'
'Foliage Set 15'
'Dainty Foliage Stems'
'Mini Flourish Bits'

 
For this layout, I used some of the gorgeous 
'Foliage Set 15' pieces.
 I have tucked two of the small ones 
under my large green flower.

 
I also used one of the larger ones under my yellow flower.
I left my chipboard raw for this layout,
I think it really goes with the tone of my papers. 

 
I also used one of the 'ATC Georgian Frames',
to which I have adhered a sentiment. 
 
I then tucked one of the 'Dainty Foliage Stems'
in between layers of my papers. 

 
To finish, I used one of the 'Mini Flourish Bits'
into the floral and foliage piece from my papers. 
I really like the wispy effect of this piece. 

 
I am very happy with how this layout turned out,
and I hope that you like it too and that it inspires you to get crafty today.
 
Until next time,
 
Lisa 


Monday, March 10, 2025

Treasure Altered Wooden Frame by Tania Ridgwell

 Hi there!

Tania joining you today to share the first of my DT projects for March. 
 I have altered a wooden 12x12 Frame. 

"Treasure"


2 Crafty Chipboard Used:

*12 x 12 Stacked Filmstrips
*Fine Word Set 1
*2024's
*Mini Flourish Bits
*Photo Adornment - Adornments Set 6


I have used the gorgeous Mintay 'See You in Paris' Collection to create the base for my Frame.


I gave the 12x12 Stacked Filmstrips chippie a couple of coats of gesso and once dry I swiped some Kaiser Candy Iridescent Spray randomly over it.  I coloured the Mini Flourish Bits, 2024, Treasure Fine Word and Photo Adornment chippies with Frost White Shimmer Paint and once these were all dry I randomly dabbed on the Kaiser Candy Iridescent Spray to them.  
 

I added some paper layers to the frame and then added the 12x12 Stacked Filmstrip chippie.  Next I put on my photo.  I added lots of Paper Blooms and some See You in Paris Embellishments.  I tucked in a Mini Flourish chippie to the Paper Blooms along the bottom of the photo.  I added a Photo Adornment chippie to the top and bottom of the Frame and some flowers.  I finished of my Frame by adding the Treasure and 2024 chippie Titles.


Thats' all from me today, I hope I have inspired you all with my Altered Frame.
 Until next time thanks so much for stopping by.
Tania xx

Friday, November 8, 2024

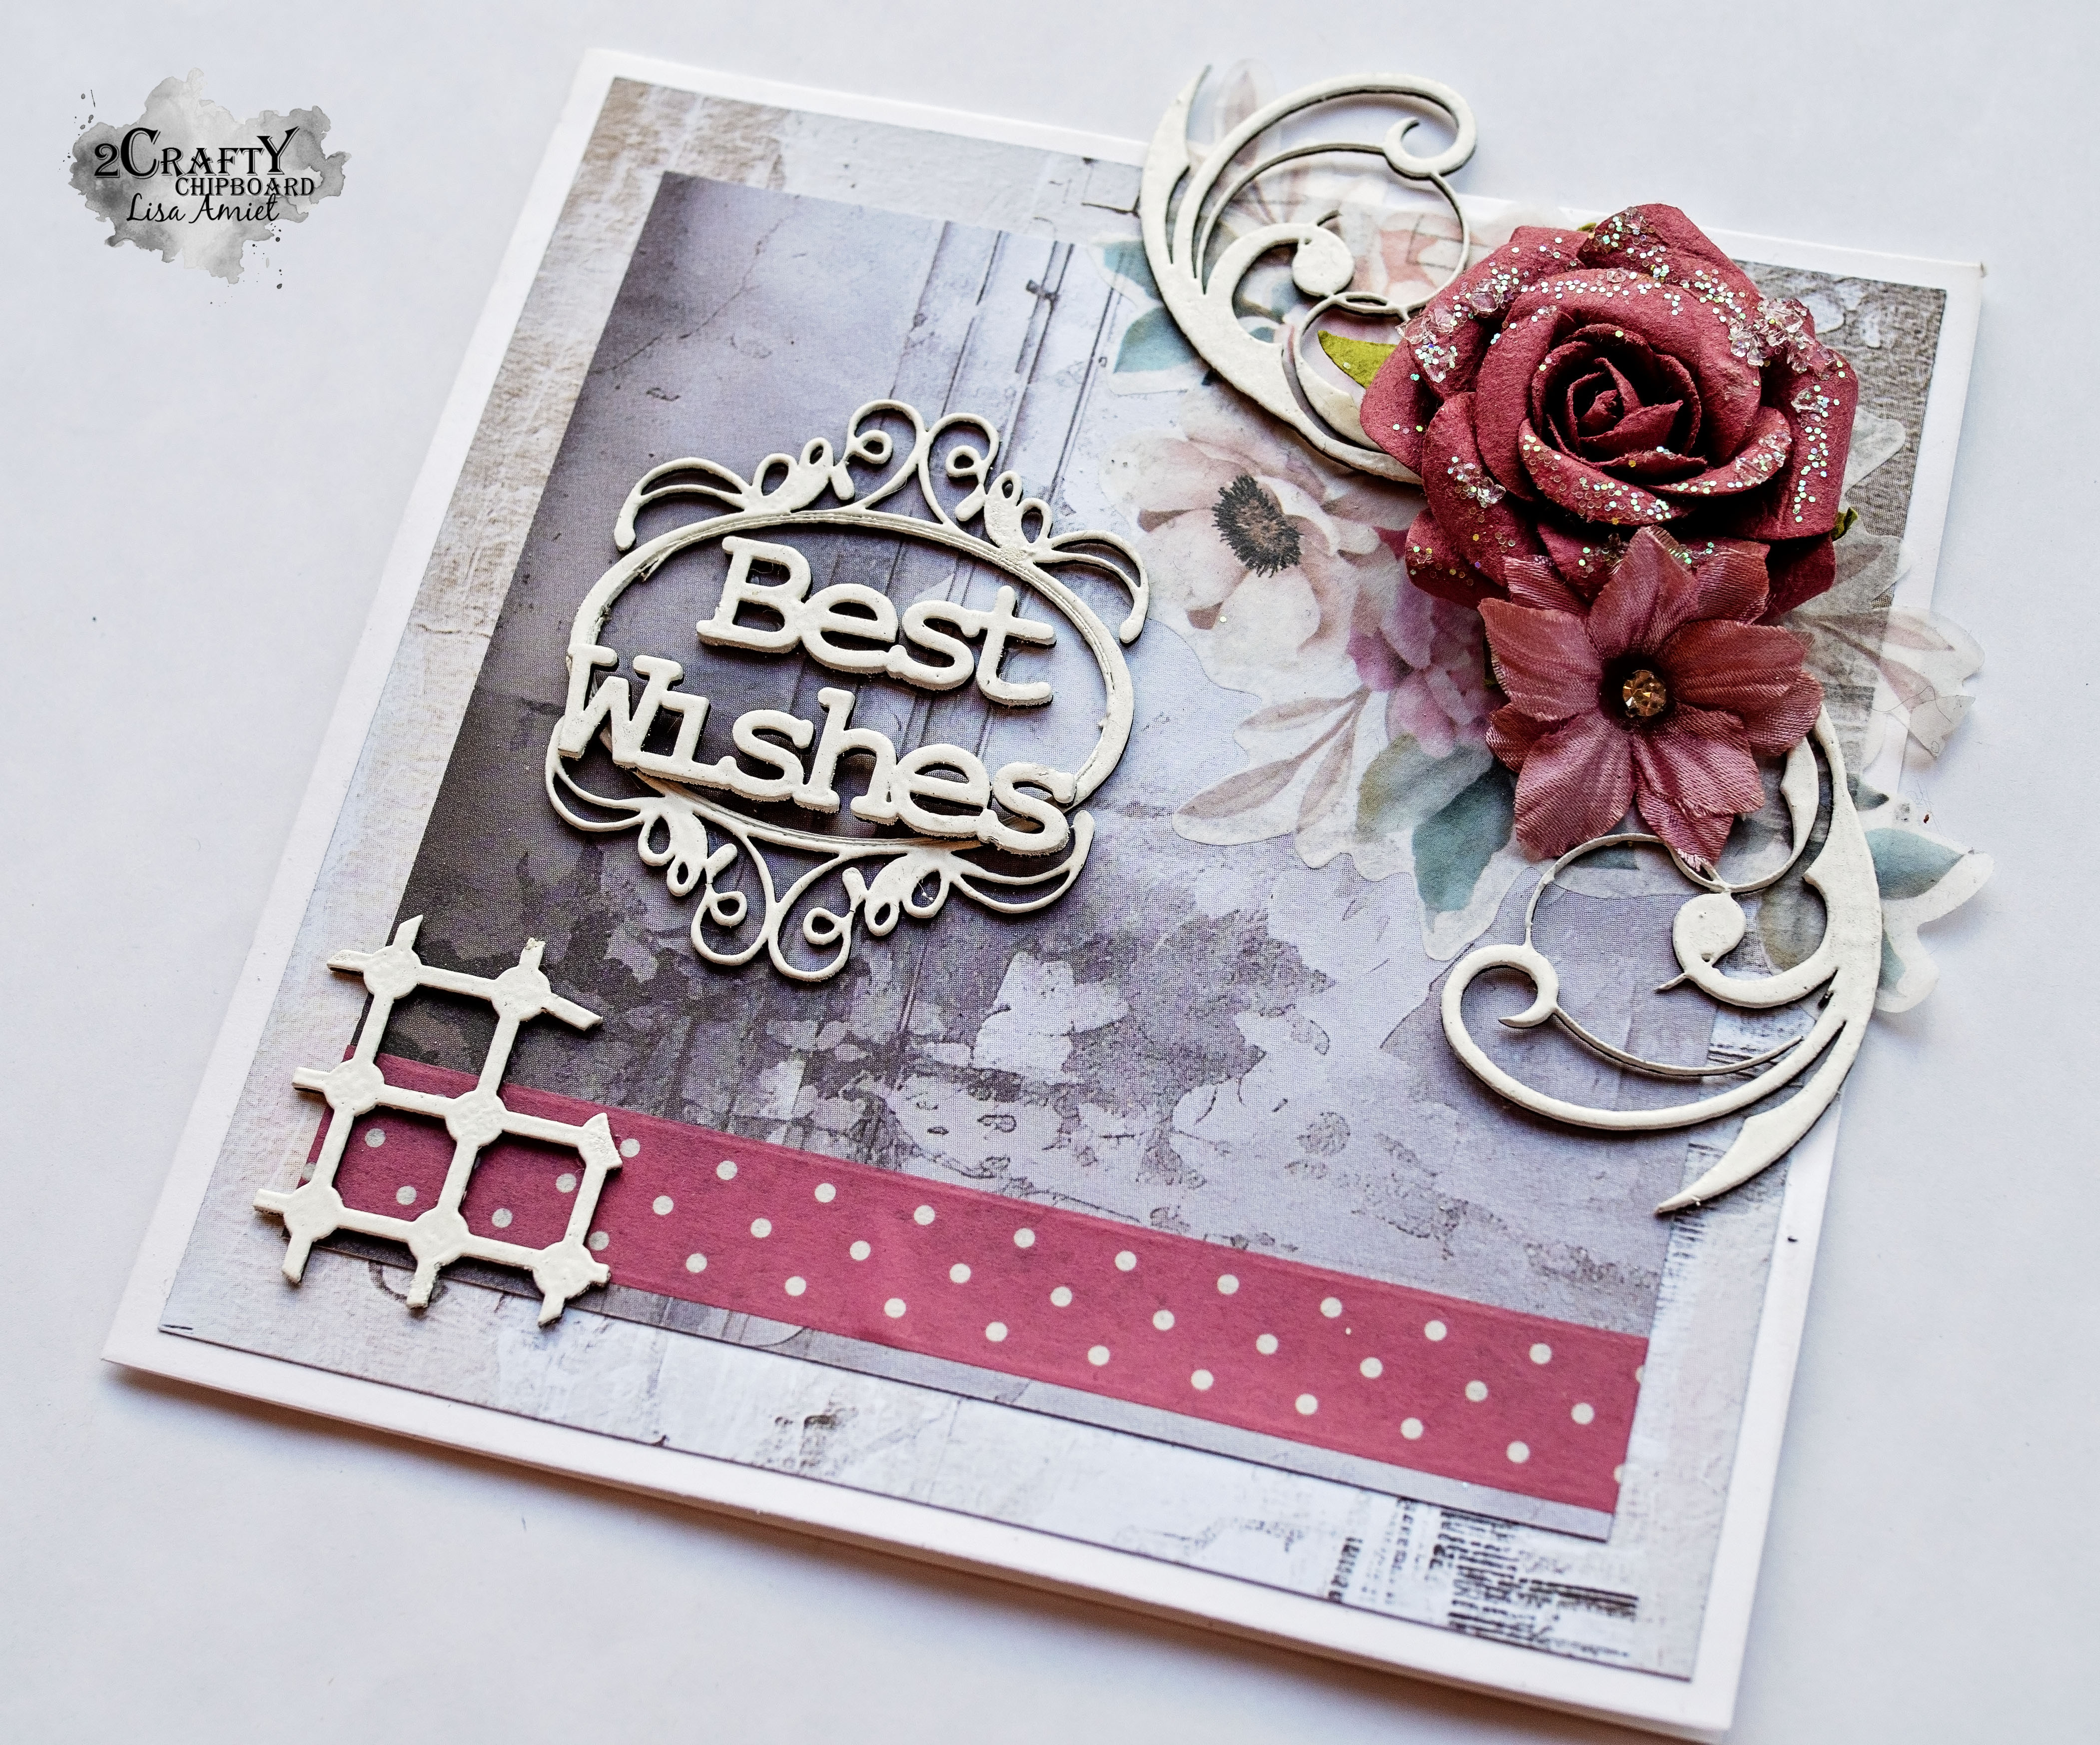
Floral Cards
with Lisa Amiet


Hello all! It's Lisa here today to share some
floral themed cards with you.


2Crafty Products used:


For my first card, I used one of the 'Frame Doilies',
that I have embossed in a bright white to stand out against the dark background.

 
I also used some of the 'Grid Bits',
again embossed in white,
that I cut up and added to the corners of my card.

 
I then used one of 'Mini Title Stick Set 5',
that I have left raw and layered over my doily.  

 
For my second card, I used another piece of 'Grid Bits',
again finished in white and adhered to the bottom corner. 

 
I then used one of the 'Tiny Frame Kathleen's',
also embossed in white,
and I then used one of the sentiments from 
the 'Card Word Set 1', layered over the frame.

 
For my corner pieces, I used two of the 'Mini Flourish Bits',
layered with some florals. 

 
I hope that you like what I have created for you.
I will be back soon with some scrappy goodness to share.

Until then

Lisa


Thursday, September 19, 2024

Adorable
by Laura Gilhuly

 Hi everyone!
Laura here to share another layout I created using baby photos of our youngest son!

Adorable


2Crafty Products used;


Circle Dot Frame

Adorable

Photo Adornment - Decorative Rod Set 2

Mini Flourish Bits


I love the colors of the papers so I used the same colors on the chipboard. 
 I inked the Decorative Rod set with brown distress ink.


I ticked one of the circle dot frames under the photo to highlight the photo.


I painted the flourishes yellow and I cut one of the smaller circle dot frames in half and
 placed them on the side and on the top of the layout in clusters.


I LOVE the script tile and wanted it to stand out a bit so I used cardboard to add dimension
 the hot air balloon then adhered the title to it.


Thanks for stopping by


Wednesday, July 17, 2024

Big Dreams by Tania Ridgwell

 Hi there!
Tania joining you today to share the last of my DT projects for July.  I have created another layout. 

"Big Dreams"


Products Used:

*Clock Face Discs
*Stitched Lace Border
*2024's
*Mini Flourish Bits


I used the gorgeous Celebr8 Moonlit Dreams Paper Collection to create the base for my layout.  Once I had created my background I set about putting my page together.


I painted all my chippie pieces using Mont Marte Anitque Gold Paint.  Once dry I randomly added some White Gold Wax to the 2024, Mini Flourishes and Stitched Lace Border Chippies.
I added lots of paper layers under my photo and added it to the left side of my page.


Lots of paper blooms added to the top and bottom of my photo.  I cut the Stitched Lace Border in half and placed a piece along the top of my photo and the other half I added along the bottom of my page.
I cut the Clock Face Chippies into pieces and tucked them in amongst the flowers.  I also tucked the Mini Flourish Chippies into the flowers.  I finished off my page by adding the 2024 title.


Thats' all from me today, I hope I have inspired you all with my Layout.  Until next time thanks so much for stopping by.
Tania xx