Showing posts with label Angie's Vines. Show all posts

Friday, April 7, 2023

"My Beautiful Baby Girl" by Amy Voorthuis

   Goodmorning lovely 2Crafty friends, 

Today is my turn to show you some inspiration on this amazing blog. For this occasion I made a layout this time I have used some beautiful pastel tones. When I saw the newest collection "Little One" by Graphic 45 I was in love right away. I have so many baby pictures of Abbey & Kevin that I bought that collection as soon as it was available.
 I have used a picture of Abbey when she was a couple of day's old {isn't she cute?}

My Beautiful Baby Girl:  

2Crafty Chipboard used: 
Angie's Vines
Circle Dot Frames
Frame Flourish 5
My Wish for You
Beautiful Little Girl 


First I gessod all the chipboard pieces with two layers of white gesso then I cut up two phrases "Beautiful Little Girl" & "My Wish for You" for the words beautiful and girl I just added two layers of white embossing powders and the word my was treated the same way only with pink embossing powder.


The circle dot frame was also treated with white embossing powder later on I added some cute light pink buttons and some crystal nuvo drops. The vines are treated with some green impasto paint and and green/gold acrylic opal magic and then some white matte wax. I figured something out what made me very happy I could stitch with my sewing machine on my chipboard Frame Flourish 5... so you will see this technique more often from me for sure 

Thank you so much for your visit today and if you would like to see more of my work please visit here:

Amy's Pretty Papers

Much love and happy crafting...
Thursday, August 18, 2022

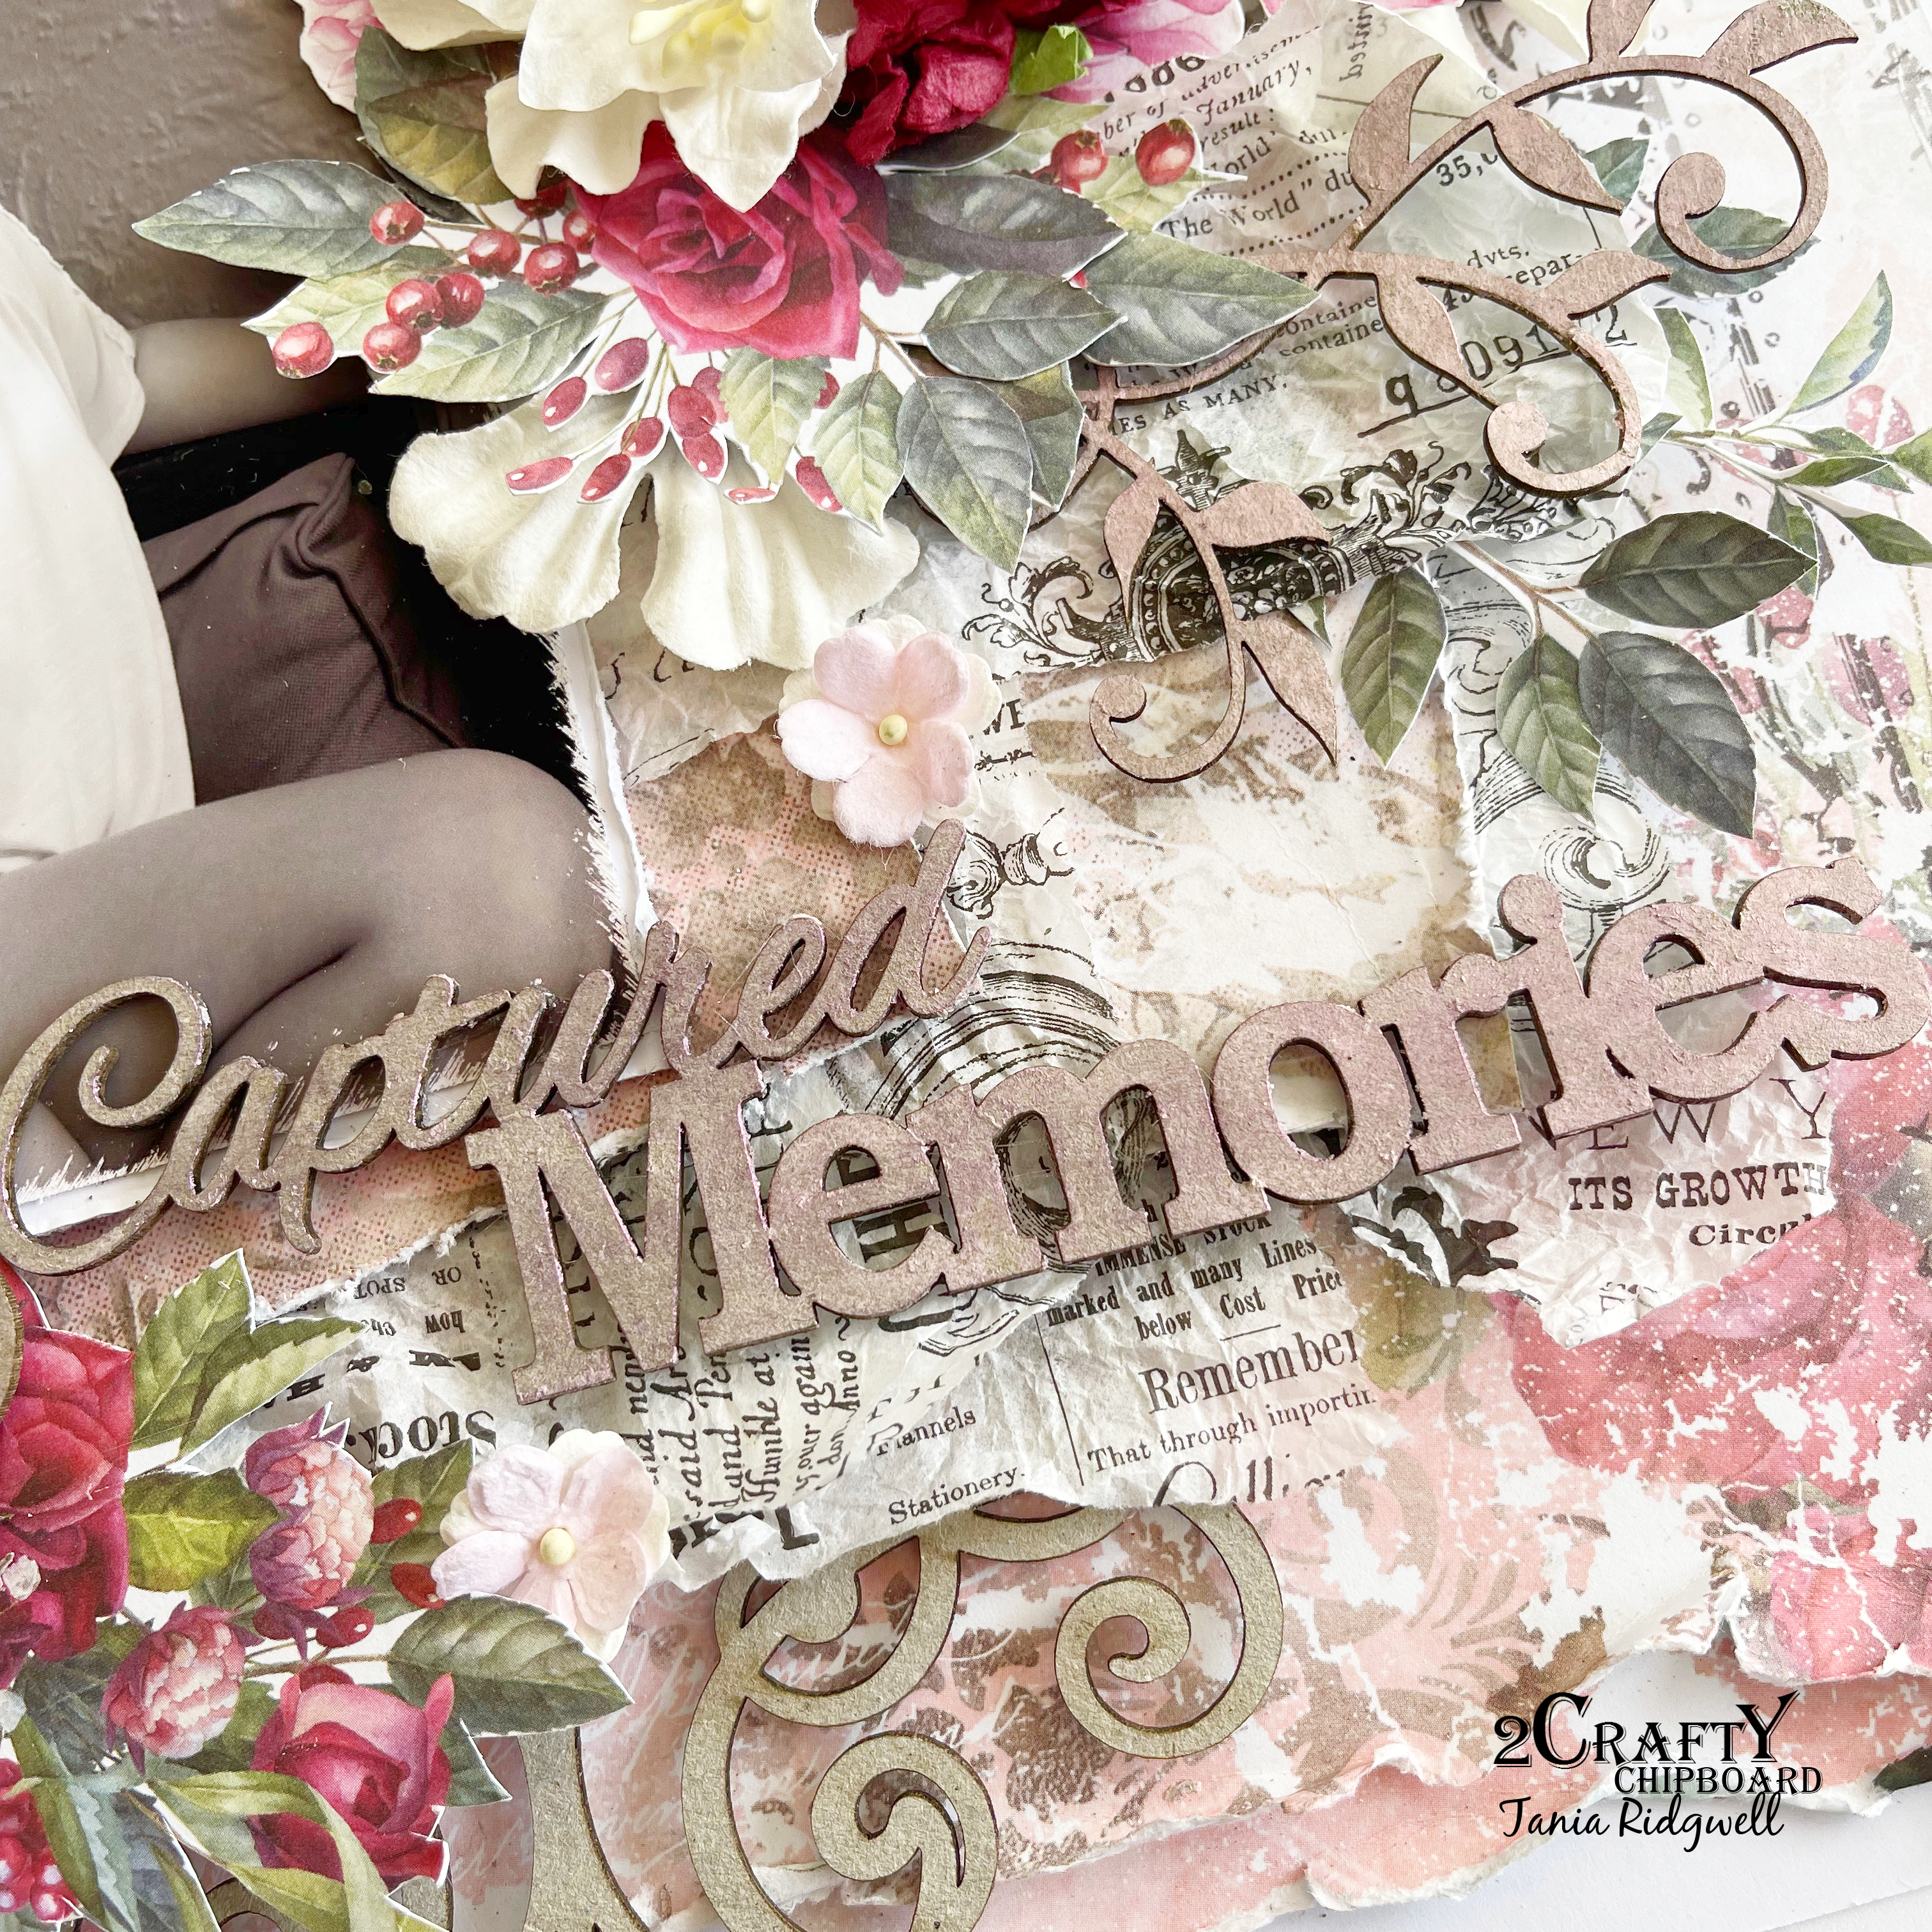
Captured Memories Layout by Tania Ridgwell

Hello there!

Tania with you today to share the second of my DT projects for August.  I have created a layout.

"Captured Memories". 

2 Crafty Chipboard Used:

*Captured Memories 
*Angie's Vines
*Wrought Iron
*Lace Doily 

Once I had created my background I set about putting my page together. I first added some paper under the photo to build up some layers .


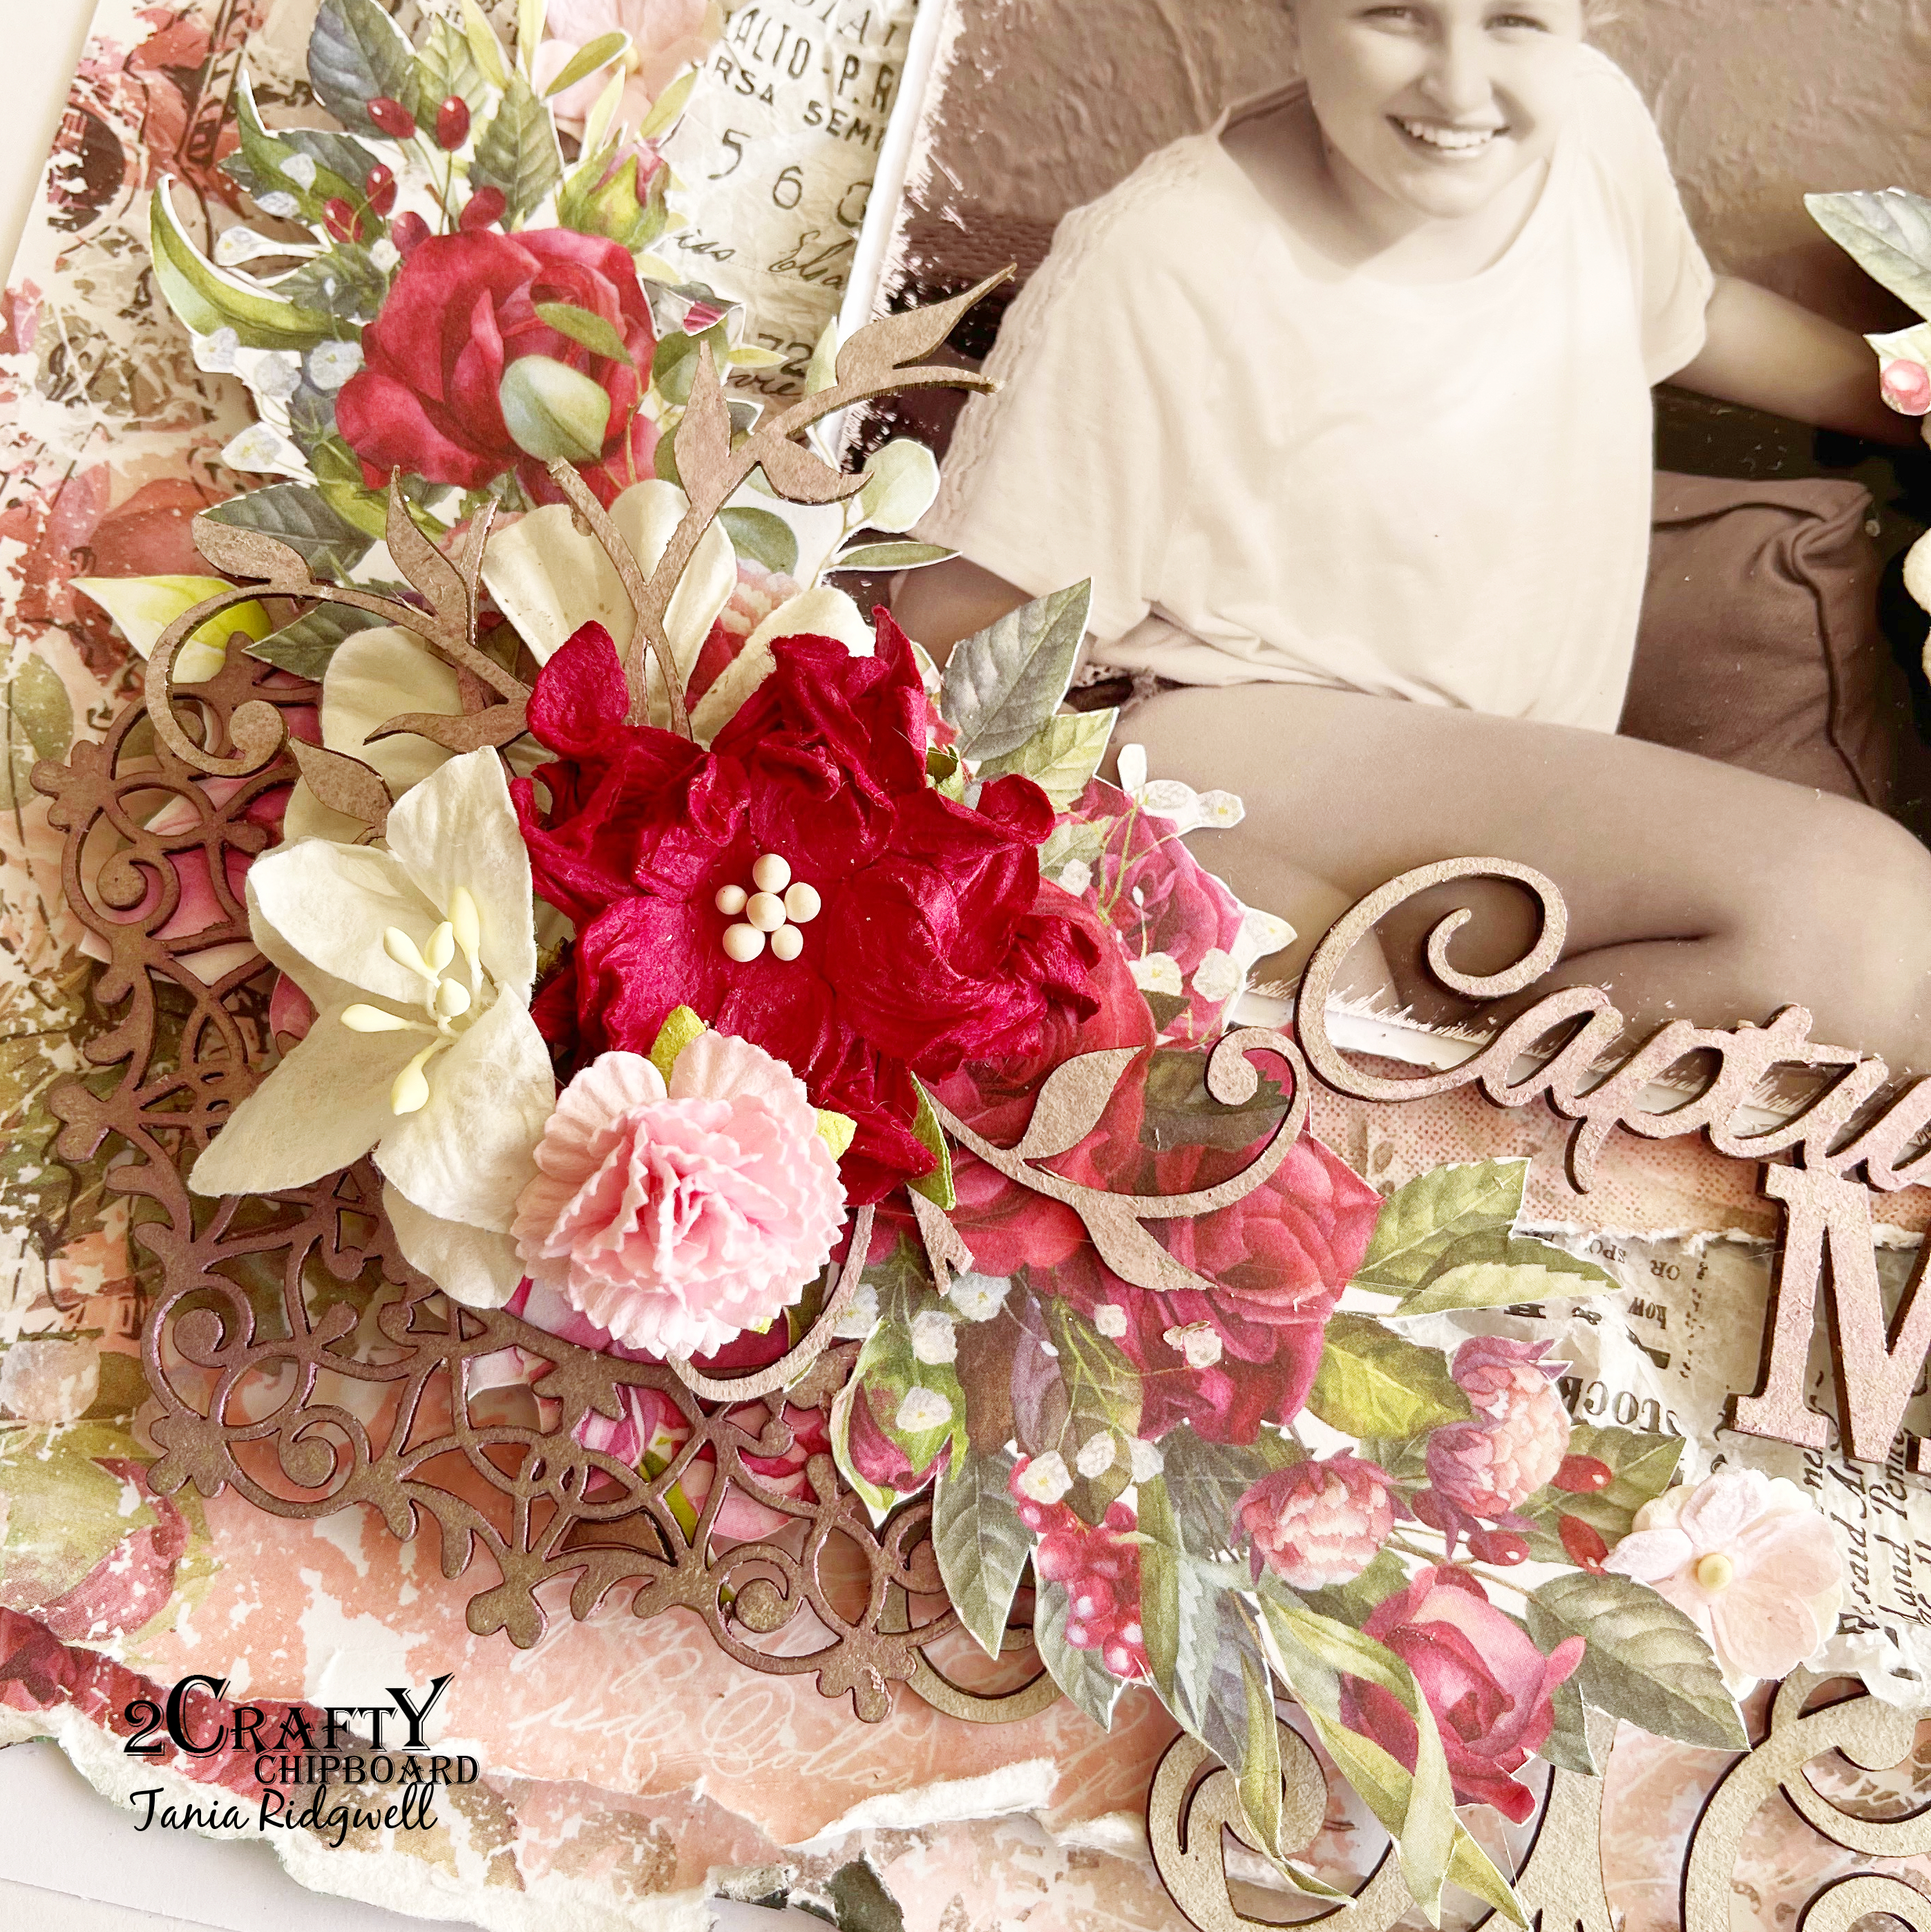
I coloured the Captured Memories, Angie's Vine's and Lace Doily with Prima Wax Rose Gold.  I added lots of fussy cut elements and assorted flowers around the photo.  I cut up the Angie's Vines and the tucked pieces in amongst them.


I added the Captured Memories title to the bottom left of the photo.  To finish off the page I added a raw Wrought Iron chippie to the top and bottom of the layout, tucking them under the paper layers.


Thats' all from me today, I hope I have inspired you all with my Layout.  Until next time thanks so much for stopping by.

Tania xx

Thursday, March 18, 2021

Love you millions forever
By Marie Claude Rodier

 Hi lovelies,

I’m here today to show you my latest layout filled with lots of beautiful 2Crafty chipboards. This time, my starting point was Angie’s vines. I integrated them either side of my main clustering in order to creating an interesting flow with my background papers. 

Love you millions forever

The "Love you millions" stick from 6x4 Phrase Sticks Set 4 and the "Forever" from Circle Tag Set 1 were dry brushed with white gesso and placed next to each other to create a unique composition.


Angie’s vines were painted with white acrylic and shadowed with pink and dark brown metallic paints.

Lattice leaves were simply dry brushed with gesso and placed on either side of the flower clusters.      Frame Elouise’s was covered with white acrylic paint and shadowed with dark tones of pink metallic paints.

2Crafty products used...

6x4 Phrase Sticks Set 4

Circle Tag Set 1

Lattice Leaves 

Angie's Vines

Frame Elouise's


Until next time, be happy and be creative!

Marie Claude
xx


Thursday, June 11, 2020

Just adorable
By Marie Claude Rodier

Good day everyone!

It's my turn to show you a new layout full of beautiful 2Crafty chipboards.
I love how the vibrant purple flowers are adding beautiful contrast.

My son loves to collect stones, all of them...
He was truly happy to find this heart shapped one last summer.

We HAD to take a picture of it. He was too adorable!!!

Just Adorable


I embossed Frame Oval Ornate with a deep blue embossing powder.
I also applied white gesso here and there.


I used a true blue embossing powder to cover the title, Just Adorable. 
And then I applied gesso to highlight it.

Only a few touches of white gesso was added to That smile, a Mini Title Stick from set 3.


I covered Angie's Vines with white gesso and then with a silver white embossing powder.
I cutout a few pieces and tucked them under my embellishments.


I cutout Fencing wire panel into smaller pieces and tucked them under my paper clustering.
Finally, I partially covered them with white gesso. 


2Crafty Product used...
Frame Oval Ornate
Mini Title Stick Set 3
Fencing wire panel
Angie's Vines
Just Adorable


Until next time, be happy and be creative!
Marie Claude
xx


Tuesday, November 19, 2019

Good Day Layout by Elena

Happy day my dear friends!
Today I want to show my layout, 
which was made in collaboration with the blog More than words.
I was looking for inspiration for this work in the word Success.
A couple of years ago I quite successfully conducted live workshops 
in the Studio of the Creative people store in my city.

We worked both in small companies and in large groups. 
I remember one day when the girls came to me to make layouts.
 It was incredibly nice to be recognized as a master who can teach something. 
t was a real SUCCESS for me.

 
I added a lot of dials to the layout as a symbol of the fact that 
the time in our classes flew by very quickly. 
We did not notice how 3-4 hours passed. 
We still continue to communicate and meet.

 Scrapbooking was the key to the door behind 
which opened a delightful world of creativity! 
So I added a metal KEY next to our picture.


2Crafty Chipboard used:


I took a sheet of  paper by Blue Fern Studio as a background.


 The lovely twigs Angie's Vines  were painted with light green paint 
and added embossing powder Oakleaf Olive by Lindy's.


 I decorated the Clock Face Frames  and Line Words - Happiness Borders  with brown paint and powder Twilight Bronze Slate.


That's it for today!
 I hope I could inspire you in one way or another. 
Thank you for stopping by today!

Don't forget to check out my Blog   and   Instagram


Thursday, November 29, 2018

'Dream' by Elisa Ablett - November Inspiration


Hi everyone,

Thanks for stopping by the blog today.

I have another mixed media girl layout to share with you today.

The photo is of my great niece, a gorgeous gal with loads of personality and big dreams.

I wanted to create a mixed media layout brimming with pastel colours and soft flowers.

I also love a bit of bohemian style to my layouts and the stencil work combined with the flowers, butterflies and gorgeous turkish lanterns worked together beautifully!

I must say the colour combo of berry, blues and turquoise has got to be a new favourite of mine.


I love a good design swatch and this one comes from Design-Seeds. 

The Chipboard featured in the layout from 2Crafty include the following (links provided): - 


Lets take a closer look at what techniques I used to alter my chipboard for the layout:


For my title and in keeping with the boho style, 
I painted my title bright white and added an offcut of lace and machine stitching 
using berry coloured thread underneath. 
I also added the stitching to my coloured die cut butterfly embellishment.


The Turkish Lanterns are gorgeous! 
I heat embossed them with Berry coloured embossing powder, 
then I painted the chain and selected bits with a black Posca paint pen. 
The backing paper is an off cut of water colour paper sprayed with the turquoise spray
 and then fussy cut and glued to fit the back of the lanterns.


I selected a lovely Lacey Border piece and inked it with black ink, it serves as a great backing piece and border to separate my stencilled background from the white space below.


The gorgeous Rose Set of chipboard was calling my name for this layout!

To achieve this dreamy pastel look on my chipboard, I lightly gesso'd my pieces of chipboard - 
Rose Set and Angie's Vines and then once dry I used a paint brush 
to paint the 13 Arts Chalk Pastel Sprays in Berry and Turquoise
 onto my pieces of chippie. If you wanted an even lighter shade, 
water the sprays down or add a small amount of gesso.


Well that's it from me today!

I hope you have enjoyed stopping by the blog today, 
please make sure you leave some love in the comments, 
we do like hearing from you.

Hugs 

Elisa Ablett