Showing posts with label Mini Title Stick Set 3. Show all posts

Thursday, August 4, 2022

Be Your Own Kind Of Beautiful Layout by Tania Ridgwell

 Hi there!  

Tania joining you today to share the first of my DT projects for August a Layout.

"Be Your Own Kind Of Beautiful" 


2 Crafty Products Used:

*Be Your Own Kind Of Beautiful
*Corner Geneive
*Doodle Frames
*Mini Title Stick Set 3


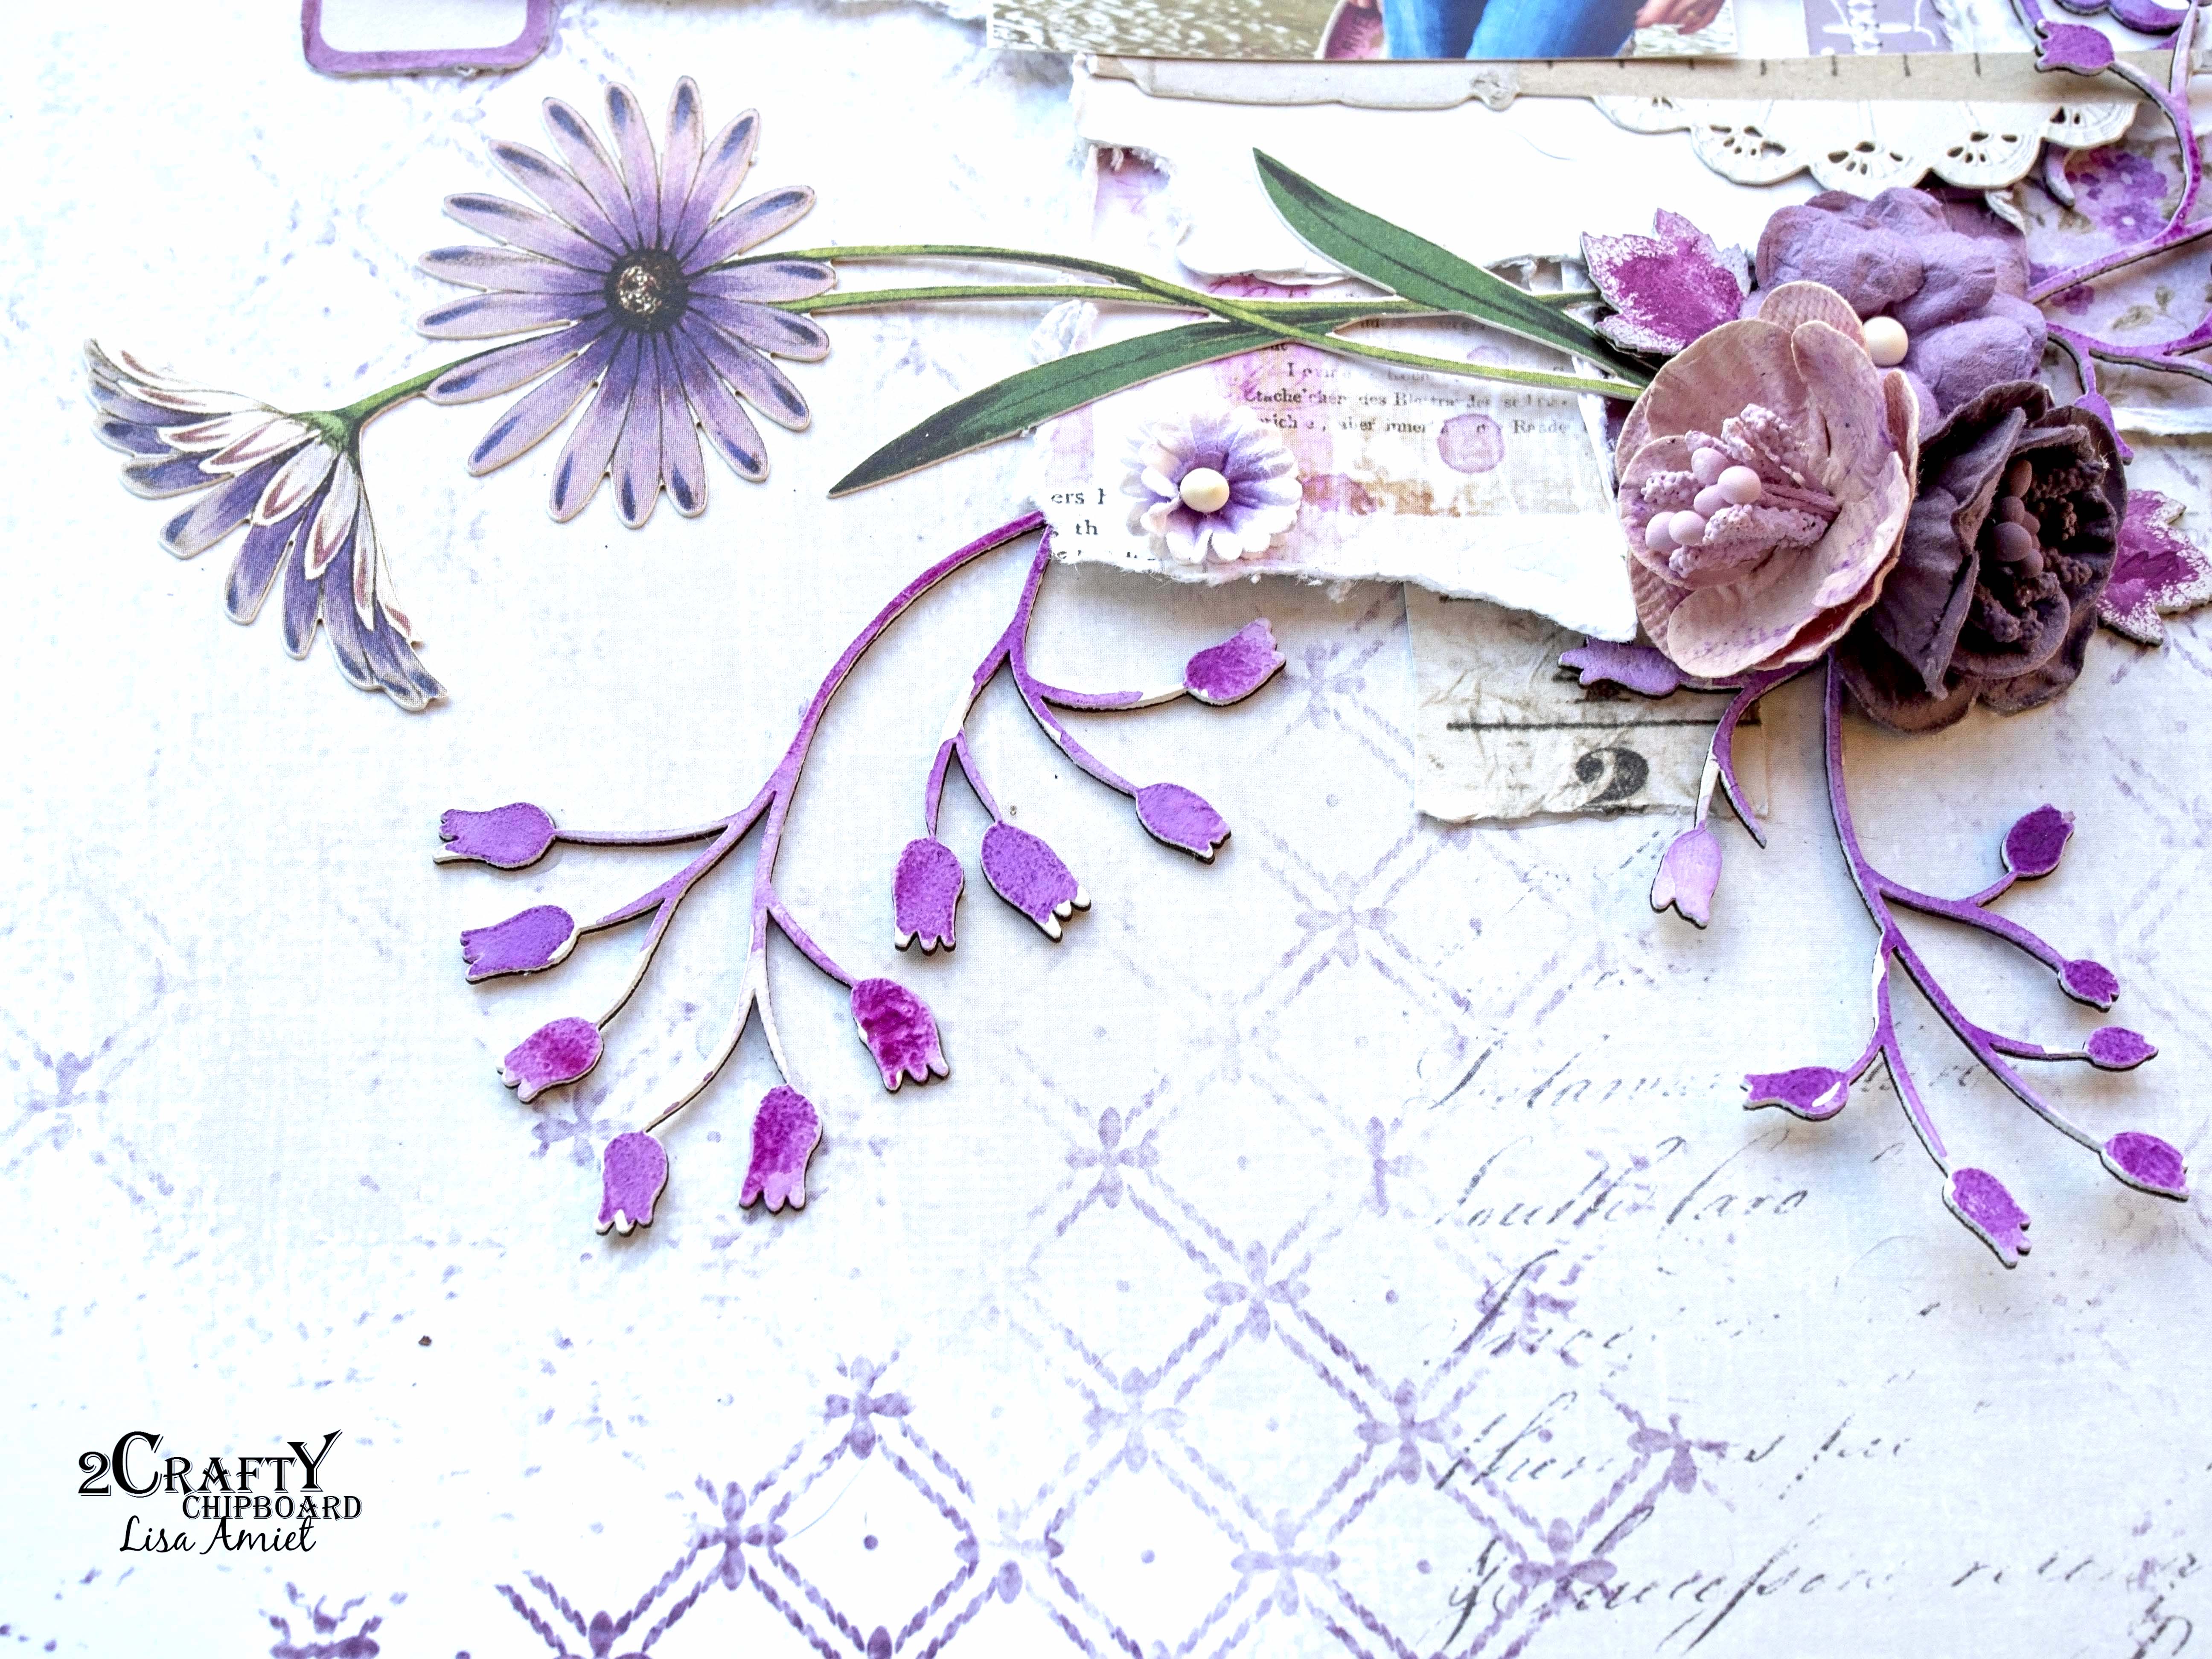
I coloured the Be Your Own Kind of Beautiful, Corner Geneive and Mini Title Stick Set 3 Chipboard with Dylusions paint and while it was still wet I sprinkled some fine glitter over each piece.   I kept the Doodle Frames Chipboard raw for this layout.


I added my photo to the background page, then embellished the page with lots of fussy cut elements and flowers.  I tucked the Corner Geneive Chipboard in between the flower clusters on the top right and bottom left of the page.


I cut the raw Doodle Frame Chipboard in half placed one piece at the top of the top right and the other to the bottom left of my photo.  To finish I added the Be Your Own Kind of Beautiful Chipboard title to the bottom left of the page.


Thats' all from me today, I hope I have inspired you all a little with my Layout.  Until next time thanks so much for stopping by.

Thursday, June 2, 2022

'Happy Life'
with Lisa Amiet


Hello, my 2crafty peeps!
I am back from my break, and I have missed you all.
I am brimming with lots of scrappy ideas,
and this time I have created a layout, featuring a photo of yours truly
(one of the few I don't hate LOL)


2crafty products used:


For this layout, I have worked with shades of pinks and purples. 


I have used one of the 'Weeping Vines'
I have first given my chipboard two coats of gesso,
with a sponge for even coverage.

I then used watercolour paints in shades of purple to colour them. 
I have cut this into pieces to use around my page, among my layers.


I have also used one of the 'Edgar Swirls',
next to my photo, using the same colouring technique.
It does take a few layers to get the right mix, but I love the effect.


Some more of the Weeping Vine pieces.


I have also used a couple of the 'ATC Maple Leaves',
that I have given the same effect to, but only to the centres.
I have then used these in among my flower cluster. 


Lastly for my title, I have used one of the 'Mini Title Stick Set 3',

that I have left raw.

I hope that you like what I have created
 and that it inspires you to get crafty today!

Until next time!

Lisa 


Wednesday, May 4, 2022

Cherish Beauty Within by Tania Ridgwell

 Hi there!  

Tania joining you today to share the first of my DT projects for May a Layout.


2 Crafty Chipboard Used:

*11" Floral Heart Frame Set
*Frame Jenna
*Fine Word Set 1
*Mini Title Stick 3


Once I had chosen my background papers and layered them I set about designing my page.  I have used Rose Gold Metallic Wax to colour the Floral Heart Frame, Frame Jenna and Cherish from the Fine Word Set 1.


I added my photo and then arranged the chipboard pieces around the photo.  Once happy I embellished my page using a variety of flowers to compliment the chipboard pieces I have used.


To finish my page I added a couple of chipboard titles from the Mini Title Stick Set 3.


That's all from me today, I hope I have inspired you all a little with my Cherish Beauty Within Layout.  
Until next time,
Thanks so much for stopping by.

Tania xx

Monday, April 4, 2022

Love, Adore, Dream Frame by Tania Ridgwell

Hi there!

Tania joining you today with the first of my DT shares for April.
  I have altered a wooden frame.


2 Crafty Chipboard Used:

*Circle Word Tag Set 1
 *Border Fancy Set 2
*Addy's Butterflies 
*Mini Decorative Frame Set 6
*Mini Title Stick Set 3 


Once I had coated the frame with a couple of coats of gesso and decorated the inner panels with patterned paper I set about embellishing it with lots of 2 Craft Chipboard goodness.


I used Prima Blue Lagoon Metallic Wax to colour the Mini Decorative Frame Set B.  The Fancy Set 2 Borders and Addy's Butterflies have been coloured with black mist.
Once I had added photos I embellished the frame with flowers and chipboard pieces.


I used several of the Circle Word Tag Set 1 chipboard and also a piece from the Mini Title Stick Set 3 which I kept raw to finish off the frame.


That's all from me today, I hope I have inspired you all a little with my Altered Frame.  
Until next time,
Thanks so much for stopping by.

Tania xx

Wednesday, January 6, 2021

'That Smile'
Layout By Rachael Funnell


Hello Everyone!
Rach with you today sharing my first 2021 creations....
'That Smile' layout featuring my gorgeous girl back in 2019


2 Crafty Chipboard used: 


Allegra Frame
Foilage set 6
Title stick set 3
2019
ATC - Butterflies
Letterbox


Starting with the Allegra Frame which has been given 2 coats
of gesso, cut in half & placed on the sides of my photos..

Also added some gesso to the that Smile from the Title Stick set 3  
then I have ever so lightly inking with Orange..

And ATC - Butterflies I have given them a nice thick coat of gesso
and placed thoughtout my layout..


The beautiful  Foilage set 6 
I have inked with green & have them
peeking out of some fussy cut foilage & flowers clusters...


Lastly! The delightful Letterbox I have inked 
with silver then inked the edges with black...  
 the 2019 I have inked with orange..

 Thanks for stopping by!!!
I hope 2021 brings us all plenty of love, laughter,
good memories and some creative times to preserve
 those moments with our love ones...


Wednesday, November 4, 2020

"Beauty Within" by Elena Martynova
LAYOUT+ VIDEO TUTORIAL

Hi Everyone!

It's Elena here and today I have a layout for you that 
features my favorite chipboards from 2Crafty! 
As a background, I took a piece of paper from the new collection 
"TWINKLE OF SUNRISE" from Craft o'clock.
 In the video you can see the entire process of creating a layout.
 It was pretty fast and very fun for me.


First of all, I want to draw your attention to these wonderful word strips with inscriptions. 
They have such a wonderful size that you can use them in layouts, cards and albums.
 I really like the inscriptions on them - they are universal and suitable for all my works.

I also love the background chipboard. I divide it into fragments and put it in various places.
 This creates a multi-layered and multi-detailed environment.
 In this layout, I used two small pieces from Fencing Wire Panel 


Secondly, I just love the Compass chip. I covered it with embosser powder
 to add texture and gloss. Also lifted on a piece of cardboard to make all the elements 
seem more voluminous.


Aren't these birds lovely? And how well they fit the background sheet 
and the entire composition as a whole! I painted them first with white paint, 
and then lightly tinted them with gold, Golden brown and glitter paste.


See what 2Crafty chippies were useful to me in this layout:


Thank you for visiting, have a lovely crafty day!
Don't forget to check out my Blog and Instagram


Monday, July 20, 2020

“Together”
A Happy Life
Layout by Jenny J.

Hello everyone!

I'm here to show you my last creation with 2Crafty.


Now you'll see which 2Crafty Chippies I've used ...


*Mini title stick set 3
*Foliage set 6
*6" clock face frames
*Together

Below, there is a close-up of my focal point...


I've painted the "Clock face frames" pieces with 
textured paints from Finnabair to give them a patina effect.


The 3 pieces are treated the same way.

The title, "Together", is simply painted in black.


On my picture, I love to add a "Mini title stick set 3" chippies 
to enhance the idea behind my creative process.

Here, that chippie is also painted in black but with a touch of bronze wax.


As I love to end my process with flowers and embellishments clusterings, 
I love to insert some delicate foliage chipboards.
Here, they are "Foliage set 6", treated with a spray from Lindy's.


Do you like it!
It's another layout with a darker background LOL

See you next month with more inspiration,
Stay safe!