Showing posts with label diamond chunk bits. Show all posts

Friday, August 14, 2026

#AWESOME - Laura Gilhuly

 Hi everyone!
I am back to share a layout I created of my wonderful husband and sons!


2Crafty Products used:


Diamond Chunk Bits
#Awesome
Arrows Funky
Grid Panel


After prepping the chipboard with white gesso I altered each piece.


I wanted to coordinate with the awesome papers and photo.


I used different colours of grey mists and Tim Holtz hickory smoke distress ink on the arrows then used black ink to highlight it.


On the panels that I cut to use in two piece I used Tim Holtz scorched timber then sprayed with sepia mist.  For the title I used uncharted mariner ink then sprayed with winter frost mica stain.

I added some altered flowers, coloured art stones, and coloured cheese cloth to finish the layout.

Thank you for stopping by


Friday, July 18, 2025

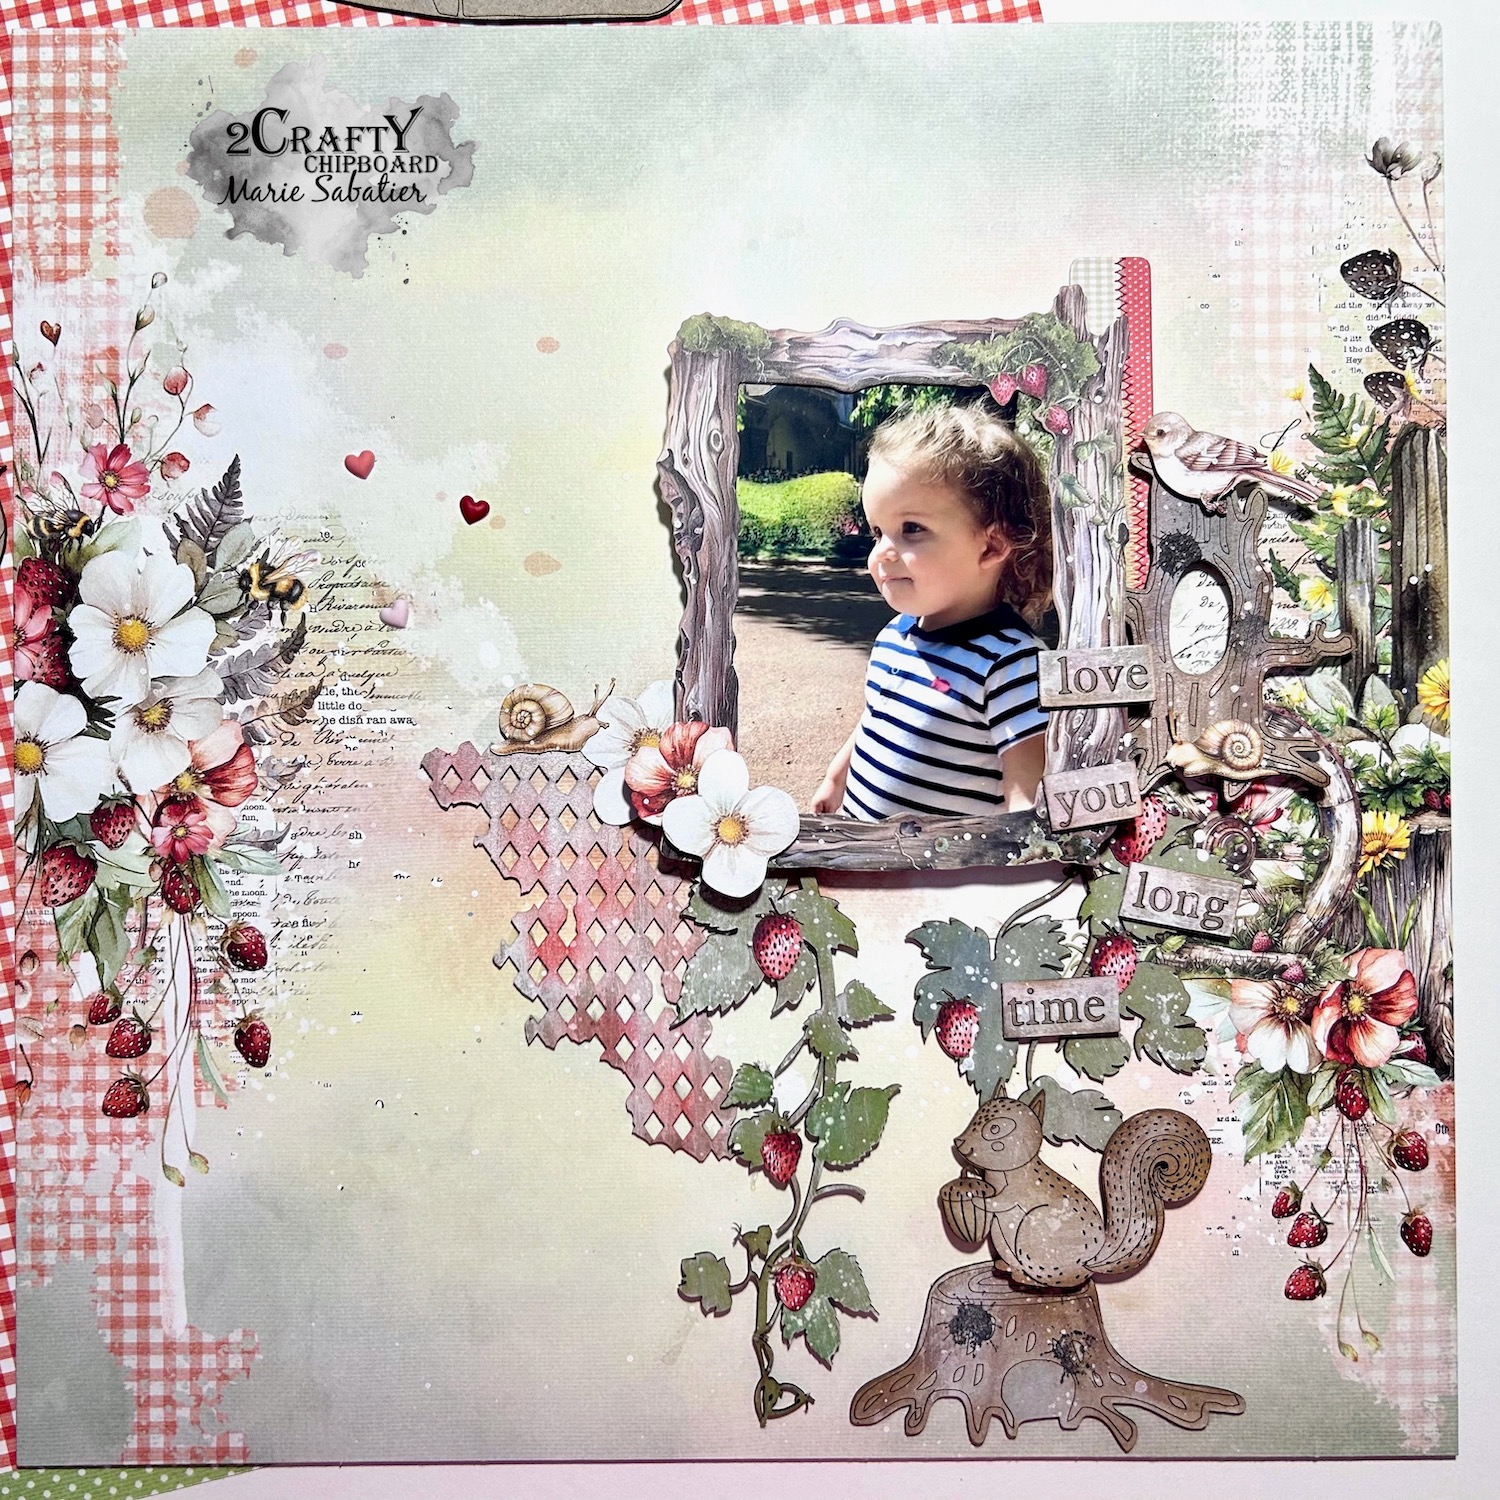
"love you long time"
Layout by Marie Sabatier

Hello everyone,

Here's my second inspiration for July.
A nature-themed layout using this lovely "woodland set" chipboard.

"love you long time"


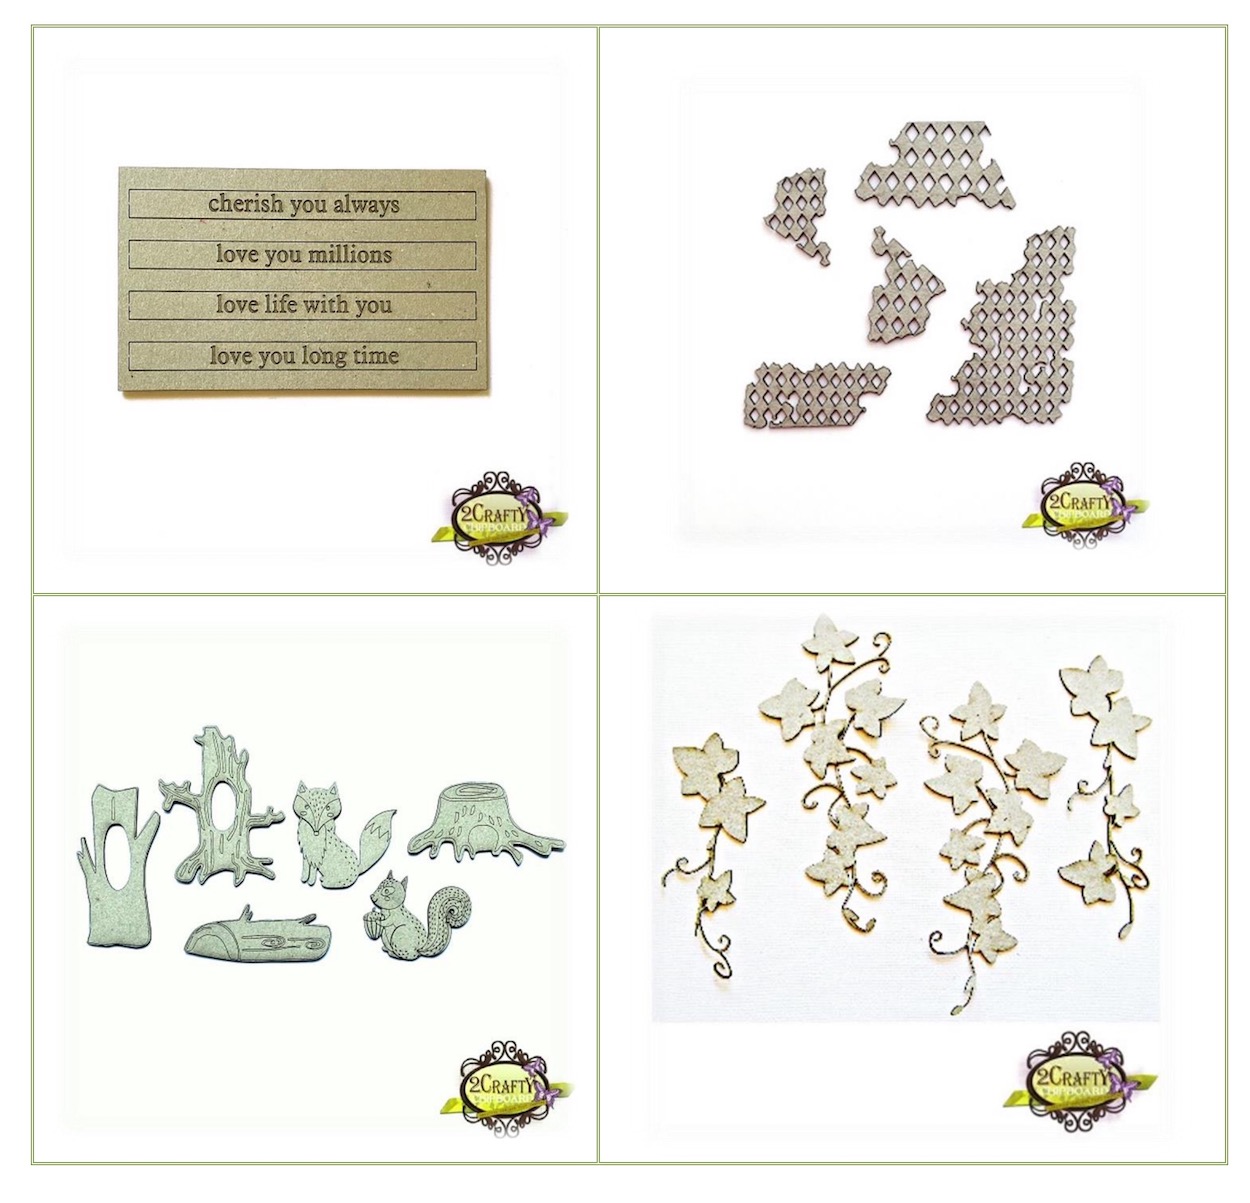
The chipboard used:


Surprisingly, I don't apply gesso to the chipboards!
And, I start my layout from the bottom up.

To decorate each chipboard, I use Distress Oxide inks. For the "woodland set" chipboard, I apply several shades of brown to achieve a harmonious finish. 
I then add a "stain" pattern using a stamp to add an extra touch of texture.


To add more texture to my arrangement, I added the "Diamond Chunks" chipboard using the "Worn Lipstick" shade. I started by applying a thin layer of white gesso, then proceeded to apply the color evenly.
I used the "rustic wilderness" and "mode lawn" shades to decorate the "ivi clusters" chipboards. It had been a while since I had used them. With a few strawberry embellishments, they fit in with the decor.


I cut out the "love you long time" chipboard, decorate it, then place it in a staggered pattern.


I am happy with the result and I hope you like it and find it inspiring.


Thursday, April 20, 2023

EXPLORE dream DISCOVER
Layout by Marie Sabatier


Hello everyone,

I am delighted to be back with you and to present my second layout 
for this month of April.

I was inspired by this picture my grandson.
We were on the tram platform and he explained to me by taking the pose the difference
between the ground with circles and the ground with pavements.
I was dying to laugh!


" EXPLORE dream DISCOVER"


The 2Crafty chipboard used:


- Explore Dream Discover Title"
- Circle Stack
- Frame Zig Zag Borders
- Asst Chain Lengths
- Diamond Chunk Bits


I wanted to create a rural atmosphere and I found that these chipboards 
fit well with my theme.

I chose papers with flashy colors.

I started by applying a layer of white gesso to each chipboard. 
On the chipboard "Circle Stack" and "Asst Chain Lengths" I applied color embossing powder
 "Twilight Blue Silver".
Looking for my layout, I found it fun to organize the two chipboards one on the other with two different colors to dissociate them.


I played with of Washi tape to place the chipboard "Asst Chain Lengths".

I also used embossing powder on chipboards "Frame Zig Zag Borders" and "Diamond Chunk Bits".


To give some relief to the title, I sprinkled powder to be embossed with the same shade.


I hope this layout will inspire you in your future creations.
With these beautiful chipboards.

Thank you very much, see you soon!


Monday, August 8, 2022

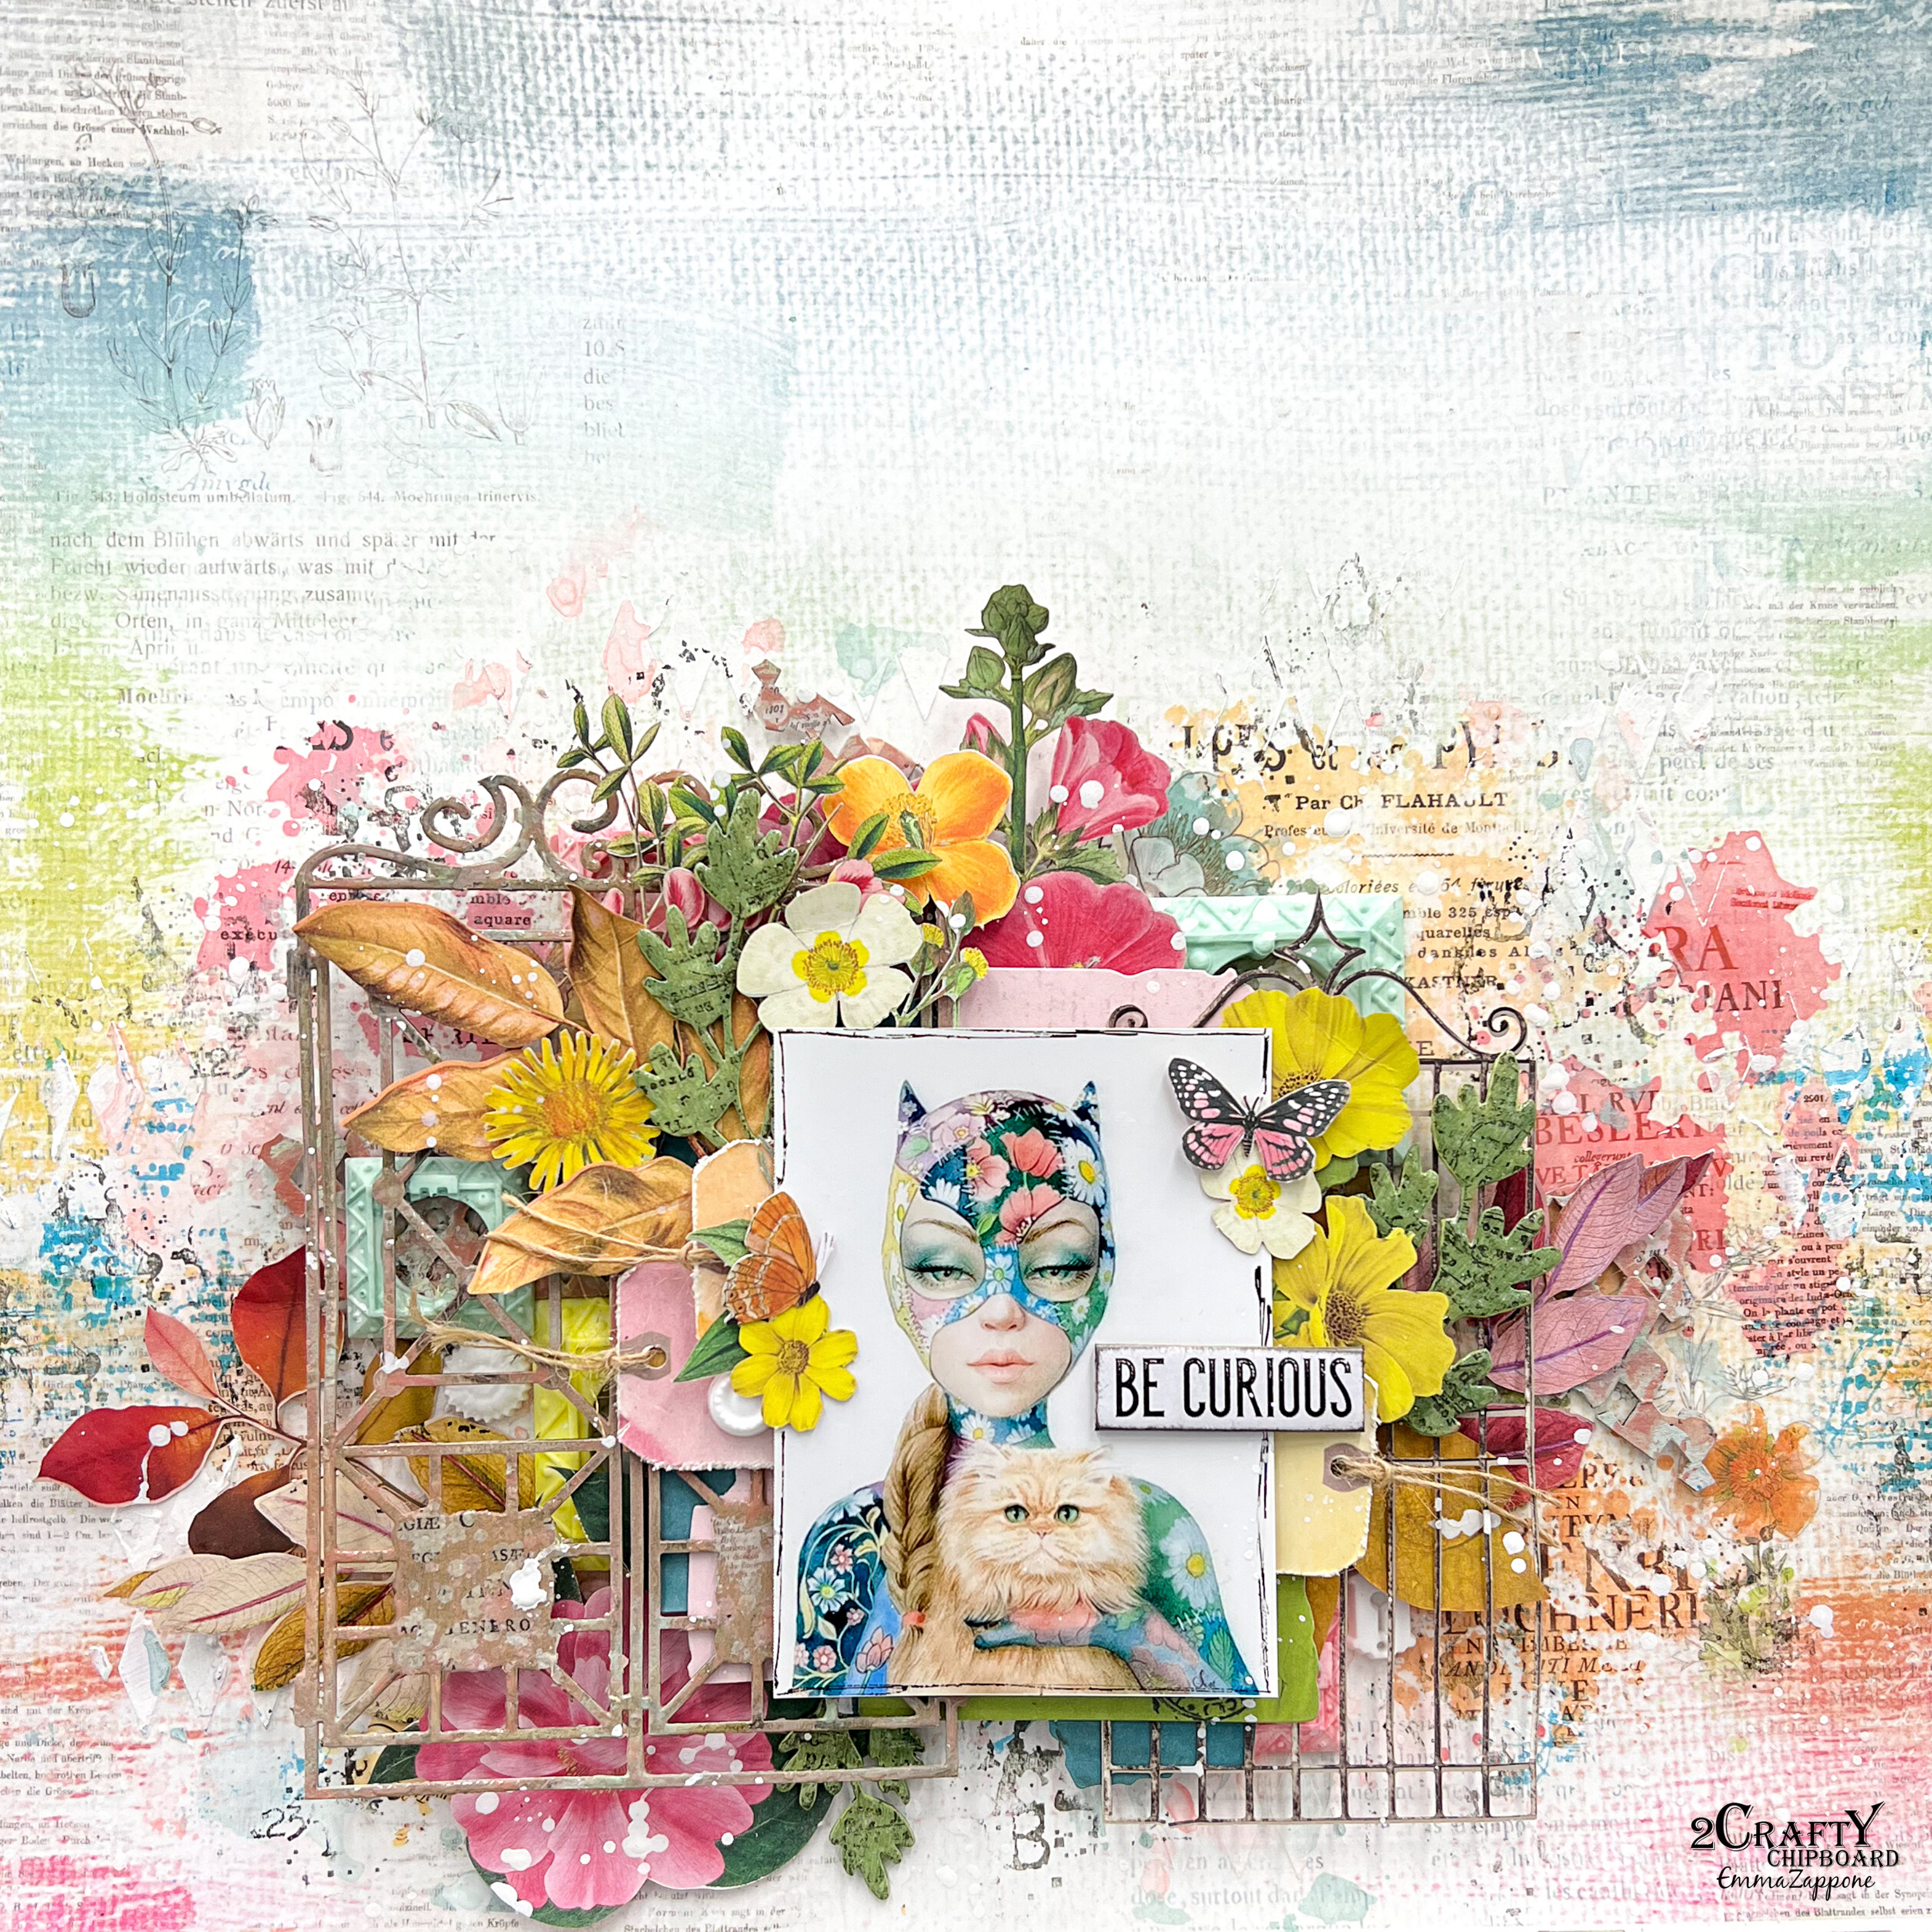
Be Curious - by Emma Zappone

Hello there!
Emma with you today, and I share a page that has a hint of 'spring' about it.


This page has a lot going on, well it has for me as I usually layer but not too heavy. But with this one I really wanted it to sing floral and yet capture the idea of a 'curious' garden behind the gates.
Plus the choice of chipboard I chose was so much fun to play with......

Diamond Chunks
Ornate Gateway
Foliage set 10


I spent quite some time altering the chipboard pieces with different mediums for this page.


The stunning Ornate Gateway started with a layer of White Gesso, then I added 2 liquid acrylic colours in umber and nude. Once these were dried I added some rub-ons in a few spots to mimic the look of old 'signs' on old botanical garden gates.


I did a similar finish on the Diamond chunks, but without the umber tone to create a contrast from the other elements. I used these pieces as a very subtle layer amongst my elements.


The Foliage were also primed with white Gesso. Then 2 green acrylic paints were added to create a 2 tone effect. Then stamping was added, again to create more visual interest. Finally on the Foliage and the Ornate Gateway I added a clear emboss powder to really make them special.


Along with a mix of resin pieces and amazing paper elements this page really 'sprung' off the page. I have added dimension by lifting off the page, so it gives the feel that you want to peer through the gate, to see more wonder. 'Be Curious' so to speak.


Thank you so much for joining me today.

I look forward to seeing you again later this month.

Stay Crafty!

Em xx


Tuesday, August 24, 2021

#AWESOME layout
by Rachael Funnell


Hello 2 Crafty fans!
Rach with you sharing another dose of 2 Crafty Chipboard
inspiration, with this masculine mixed media page...


2 Crafty Chipoboard used:
Medium flim strip
#AWESOME
Diamond Chunks
ATC- Tiny Hearts & Stars
Stars


I have stuck with a pretty simple but affective technique 
& that is inking all chipboard pieces...
Let's start of with the couple of the ATC-Tiny Stars & Diamond Chunks
where I have inked them with black....

Also! inked black is the Medium flim strip,
then I have cut into two pieces before adhering...
The three larger stars have been inked with Distress inks-
Peacock feathers, broken China & Pumice Stone..


Lastly! for my title #AWESOME which has been inked 
with Distress Ink  - Pumice Stone..

That's it from for now
Take Care & HAPPY crafting

Monday, May 17, 2021

Steampunk Tags
with Lisa Amiet

 Hello again!
It's Lisa here on the blog today to share some inspiration with you.
I have a set of steampunk tags that I have created


2Crafty Products used:


I have started with a black background for my tags,
 as I really wanted my chipboard and other elements to really pop off the tags. 


I have used some of the 'Diamond Chunk Bits',
on the background of my tags. I have left them raw,
as this goes best with my theme.


I have also used one of the 'Steampunk Strips',
that I have also layered with some of the 'Steampunk Gears Small'.
I have then used fussy cut elements and some more gears to build up my tags.


For my second tag, I have used the same 'Steampunk Strips',
again layered with some 'Steampunk Gears Small'
for a bit of multi-dimension.


I have also used some more of the 'Diamond Chunk Bits' in among my layers.
I am really loving how these ladies turned out. 
I hope that you like them too!

Until next time!

Lisa


Friday, November 27, 2020

"Perfect as YOU Are"
A Sweet and Tender Layout
by Jenny J.

  Hi everyone!

Here am I today with a new inspiration for you.


Here are the 2Crafty chipboards that I've used here
*Mini branches
*Foliage set 5
*Perfect as YOU are
*Diamond chunks
*Flower doileys

As usual, I've worked on my background at the beginning,
but we can barely see that now so forget it !

In my focal point, I've mixed papers, cardboard and chippies.
The "Diamond chunks bits" are covered with black gesso and wax.
We can see those pieces also at the bottom of my layout.


In that pic above, you can also see a piece of "Flower doileys", heat embossed in white
and a "Mini branches", simply sprayed with a Lindy's green spray.

Others chippies are treated those ways.
You will see that in the following pictures.

"Flower doileys"

"Foliage set 5"

I've tried something different on my title.
I've painted "Perfect as YOU are" with my irresistible spray
to give a glossy and bold effect on the word.


Did you like the mix of pink and green?


Thanks for stopping by!
Stay safe! xx