Showing posts with label Steampunk Strips. Show all posts

Friday, March 6, 2026

'Catpure'
layout by Rachael Funnell


Hello 2 Crafty fans!
Rach back with you, sharing this 
FUN, mixed media, boys layout....


2 Crafty Chipboard used:
Steampunk Strips
Fine word set 3
Steampunk gears small
Steampunk gears Medium
Giant gears


2 Crafty have such a awesome array of  gear designs & 
I have incorparated a few of them on this page...

Let's start with Steampunk Strips where I have 1 strip down the left side of photo 
& another strip @ bottom of photo...
Both strips have been given a coat of gesso...


Next I have added a few of the Steampunk gears 
in small, Steampunk gears and Medium & a couple of the Giant gears..
Simply inking all of these with black..


Then we have my title...
Using the word Capture from Fine word set 3 & inking this light blue
& lastly adding the yr this photo was taken 2013, inking it this red...

I had quite a bit of fun creating this page & hopefully
I have inspired you in some way...
Thanks for stopping by!


Monday, January 26, 2026

Chillin' - Laura Gilhuly

Hi everyone!
Laura back today to share!


 2Crafty Products used:


Steampunk Strips
Steampunk Gears Small
Chillin'
Corner Steampunk 1
12x12 Nested Cog Frames
Geo Decorative Circle Element


With the background papers being quite grungy in nature, I followed this theme onto the chipboard.

After covering the chipboard with white gesso I applied texture paste, giving the
pieces a rustic feel.

Once the texture paste dried, I have then applied some colour.

I then applied varying colours of mists and inks.

I wanted to highlight the red and teal in the papers so I used a bit of red mist and teal paint
 to highlight areas of the chipboard and teal on the title to make it stand out.


  I dry brushed a cream coloured paint over the textured areas of the chipboard to highlight the texture.  I also added some art stones as a finishing touch.


Hope you have been inspired today to get crafty!


Thanks for stopping by


Wednesday, September 4, 2024

Heartfelt Cards
By Tania Ridgwell

Hi there!
Tania joining you today to share the first of my DT projects for September (a little early!).
  I have created a set of cards. 

"Heartfelt Cards"


2 Crafty Products Used:

*Elegant Hearts
*Steampunk Gears Small
Steampunk Strips


I created each of my card bases using the gorgeous Unmistakable Creations Heartfelt Collection.
I used Leaf Gold Paint to colour the Steampunk Gears and Strips chippies pieces and Heidi Swapp Color Shine to colour the Elegant Heart chippies.  Once the Hearts were dry I randomly dabbed on some of the leaf gold paint over them.  Then to construct each of the cards I added a Elegant Heart to each and then embellished them with fussy cut flower elements and blooms. I tucked the Steampunk Gears and Strips in amongst the clusters on each card and to finish each I added a Sentiment.

See each card below.


Thats' all from me today, I hope I have inspired you all a little with my Heartfelt Cards. 
Until next time thanks so much for stopping by.

Tania xx

Tuesday, January 24, 2023

'Smashin It' layout
by Rachael Funnell


Hello 2 Crafty fans!
Rach back with you today sharing another bit of 2 Crafty inspro...
This masculine layout featuring my nephew...

2 Crafty Chipboard used: 
Steampunk strips
Steampunk gears Small
Smashin It
Steampunk gears Medium
2022


 You really can't go wrong when using any of the
 steampunk range to create an awesome masculine page...


Let's start with the Steampunk strips I have applied two coats of gesso.
Then I inked some of the Medium & small Steampunk gears with a brown
& added them throughout the Steampunk strips..


Also! inking with the brown the 2022...
& for my Title Smashin It I have inked with a burgundy,
finishing off my layout nicely....


I'm really happy with this page 
& I hope you like it too...
Thanks for stopping by 

Rach x

Monday, July 4, 2022

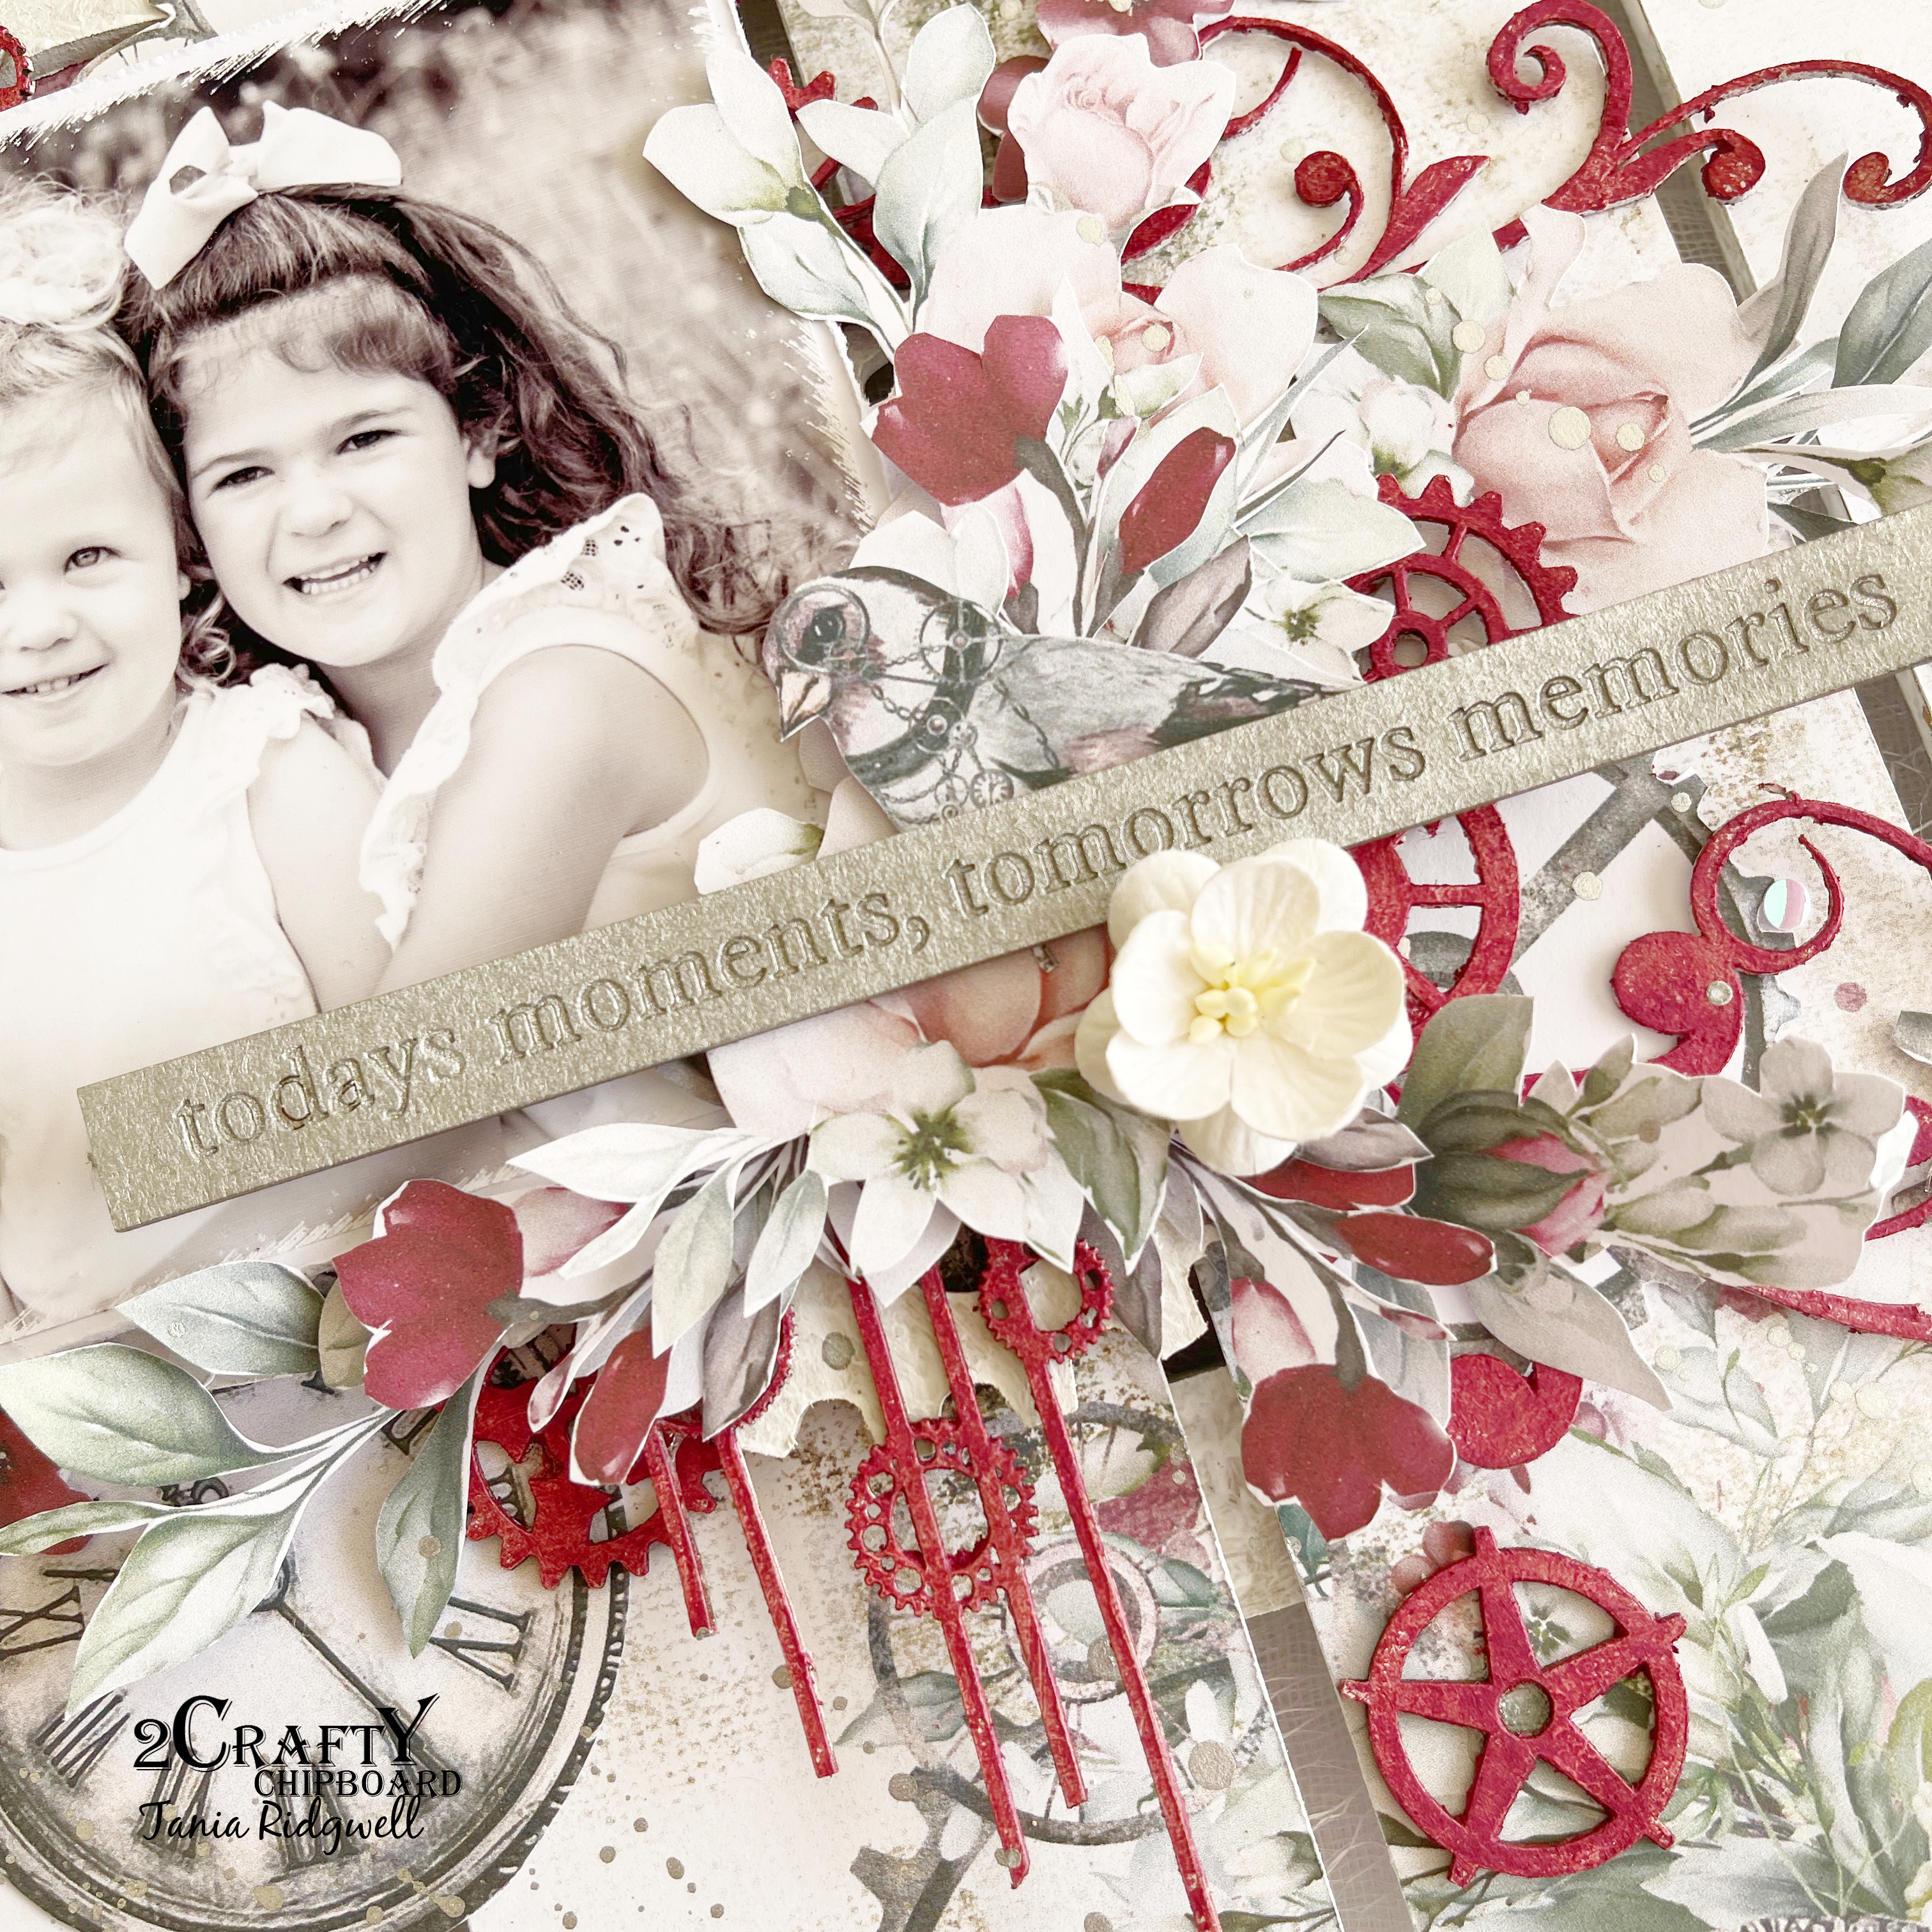
Todays Moments, Tomorrows Memories Step x Step Altered Wall Art by Tania Ridgwell

Hi there!

Tania stopping in today to share the first of my DT projects for this month with a
Beyond the Page Wall Art Project. 

 I have a short step x step photo tutorial for this project.
  I love how this Wall Art turned out and the chipboard just pops!


2 Crafty Products Used:

*Steampunk Strips
*Steampunk Gears Medium
*6x4 Phase Sticks Set 5
*Flourish Adornment Set 5


To create my Wall Art I first gave all the Chipboard & Wall Art a couple of coats of Heavy White Gesso.  I then used Prima Wax Indian Pink on the Steampunk Gears, Strips and Flourish Adornments chipboard pieces.


I covered the panels of the Wall Art with Studio 73 Papers.  I then decorated the Wall Art with lots of fussy cut elements.  I temporarily positioning the photo until I was happy with the placement 
and arrangement of the chipboard pieces on the Wall Art.  I then adhered the photo.


I added fussy cut elements around the photo.  For the title I used a piece of chipboard from the 6x4 Phase Sticks Set 5, which I coloured using Distress Spray Stain - Brushed Pewter.  I added the title to the bottom right of the photo to finish the Wall Art.


Thats' all from me today, I hope I have inspired you all a little with my altered Wall Art project.
Until next time thanks so much for stopping by.

Tania xx

Friday, January 7, 2022

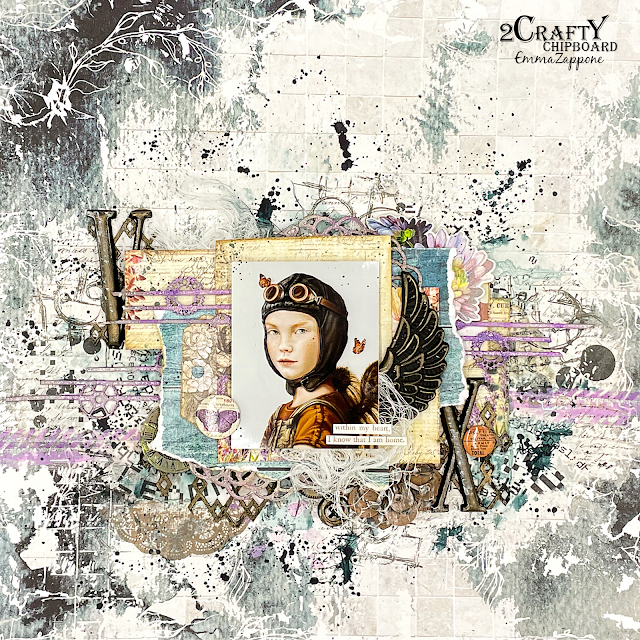
'I know I'm Home' - with Emma Zappone plus bonus VIDEO

 Hello!! It's January 2022!!
Hope you all had a safe and happy new year!
I hope I can inspire you with my first 2Crafty project and video for the year.


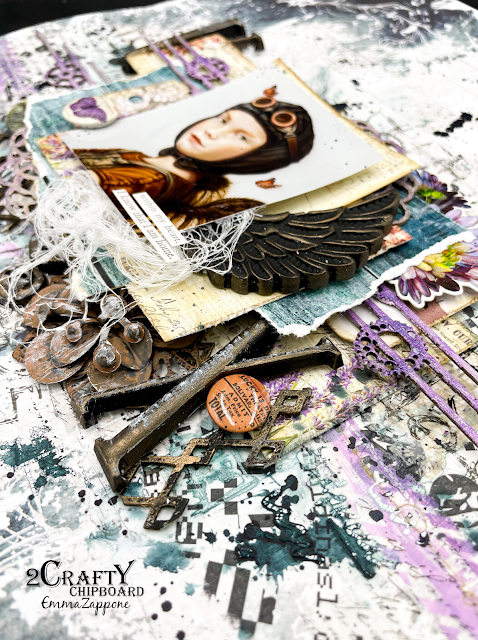
I have realized over the past year or so that I love the vintage vibe. So this year my goal is play to that theme but with my twist on it. This layout has a Vintage feel with a grunge twist.
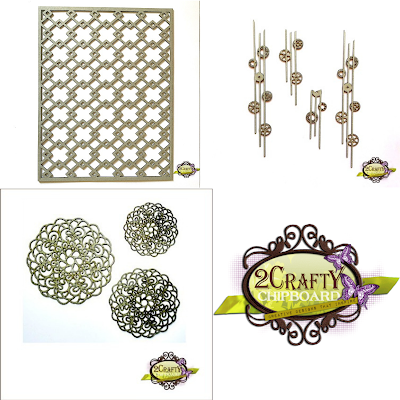
 Beautiful chipboard helps too. Here are the pieces featured....

Flower Doilies
Steampunk Strips
Decorative Geo Panel


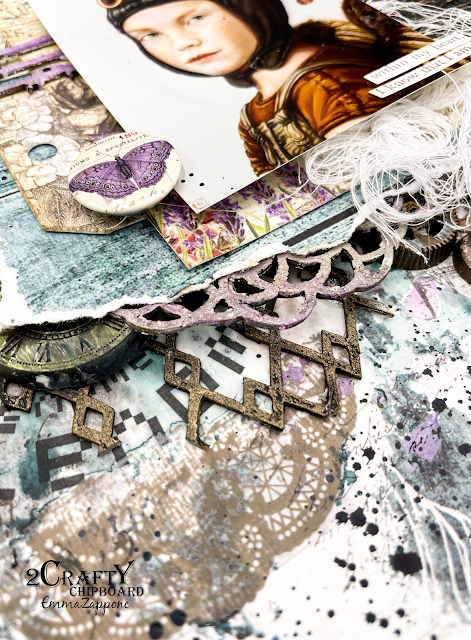
I again kept the finishes simple. The Geo panel was primed with black gesso to start with. Once dry,  I applied a wax to add highlights over sections so that it popped against the background colours and the paper layers that would sit on top.


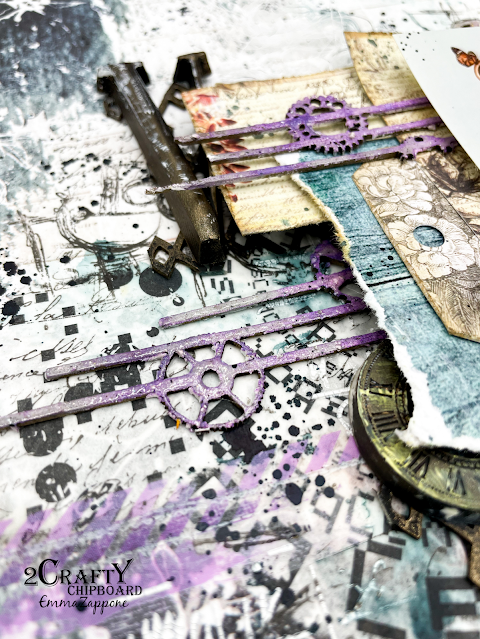
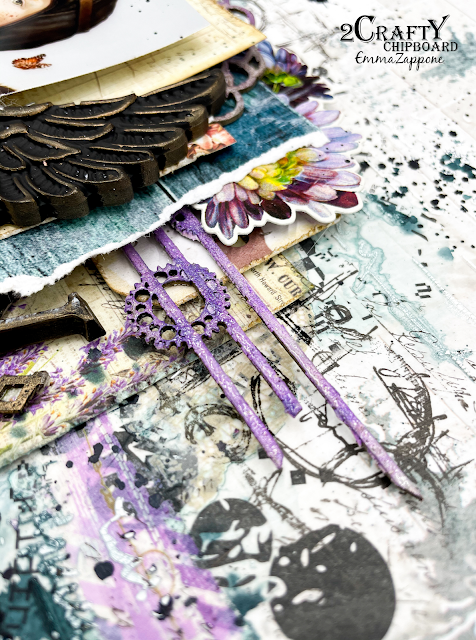
The Doily and Steampunk Strips were painted with crackle paste and once dry a purple Oxide was applied to the top. Then I made them shine more with a coating of Clear emboss powder.


I love how the colour hasn't completely covered the white crackle. It adds to the vintage/aged feel.


You can see all my finishes and how this layout came together in my process video.


I know I have said it before, but I will say it again, and that is why I just love how the chipboard interacts with all other embellishments. Super versatile.

Enjoy watching the video here....


Stay safe, stay crafty, Em xx


Monday, October 18, 2021

#adore
Layout by Marie Sabatier


Hello everyone,

I am lucky to meet you for a third layout for this month of October.

I made an arrangement very different from my habits 
but sometimes you have to get out of your comfort zone. 

I chose this photo of my grandson Leo for his little face but also 
for the cloudy background.


#adore


The 2CraftyChipboard used:

- Hashtag Word Set 1
- Numbers Panels
- Steampunk Strips
- Squiggly Strips Set 1
- Hinges Pack 


This time I put black gesso on each chipboard!

Then I applied waxes in different colors to get the shade I liked.

I usedI used "Bronze Age" "Lucky Emerald" and "Turquoise Satin".


I love these "Steampunk Strips" and "Squiggly Strips" particle boards 
they have a lot of character.


I have placed the "Numbers Panels" chipboard prominently.

For more relief on the agglomerates I added a design with a stamp and embossing powder.

I chose this title with the hashtag it's original. Perfect for my layout.
To support the title I added a chipboard from the "Hinges Pack".


Although, different from my habits, 
I hope this layout has given you some inspiration.


Thank you for your visit!


Monday, July 19, 2021

Love
by Sabrina Turpin

Hello 2Crafty friends!

Summer time is here in Canada and along with it some much needed vacations!
The layout I am sharing today features my teen son as he "borrowed" my sunglasses because
the sun was too strong to his taste.

"Love"


On the "Light bulb word set" and the "Light Bulbs", I applied brown ink and a bit of gold wax on top.


For the "Steampunk Strips", I used black paint with silver and gold glitters in it. I ripped the "Brick panel" chipboard to make multiple pieces and applied two coats of green metallic paint. Then I applied black ink on the borders.


For the "Frames Tiny Henri's", I rubbed some gold wax and black ink on top, letting a bit
the original chipboard color show through.

I used the following 2Crafty chipboards in this layout:

Light bulb word set 1 [M00803]
Light bulbs [M00457]
Steampunk Strips [M00781]
Brick Panel [660038]
Frames Tiny Henri's [FR0068]
Steampunk Gears Medium [M00646]


That's all for me today!
I'll be back in a few weeks with another layout to share with you!
Until then, happy crafting!