Showing posts with label Flourish Adornment Set 5. Show all posts

Friday, December 30, 2022

'Maggie Sue' by Emma Zappone BONUS Video

 Hi everyone. 
Today I share my final layout for 2022 with you.
'Maggie Sue' is a gorgeous child, full of questions and possibilities. She loves to visit her grandma's garden and chase the butterflies amongst the Gerbera's and Daisy flowers. You can see Maggie's story unfold in the Process Video here..


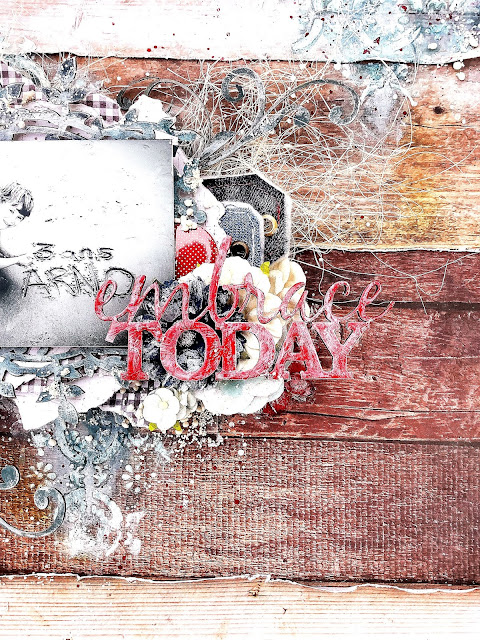
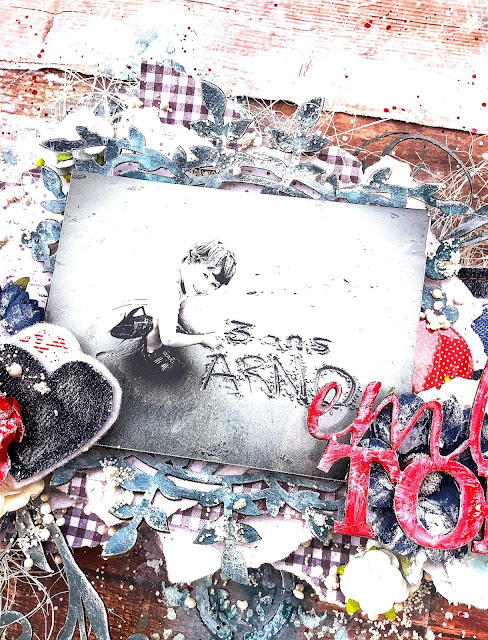
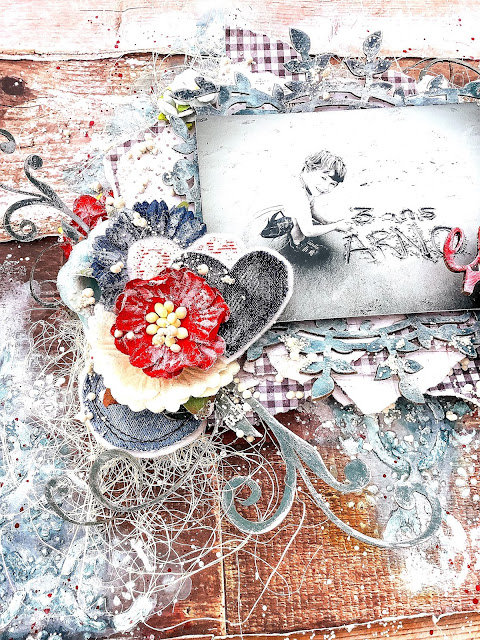
The chipboard pieces featured to make this page......

Flourish Adornment set 5
Handrawn Flowers
Chunky Dandelions


I was so drawn to this cute face of  'Maggie Sue's' when I found it on Pinterest, I have held on to it for quite some time, waiting for the perfect opportunity.
So today's creating was the perfect time to use her.


To prepare all the chipboard for this layout, I painted them with white Gesso to prime ready for paint.
For the Flourish Adornment piece I added some brown acrylic for contrast against the orange and yellow tones, which I then stamped an image with black ink on top.


The leaves off the Hand Drawn Flowers were also painted with the brown acrylic with a touch of orange still on the sponge. This created a beautiful 2 tone effect on the leaves.


The Flowers and the Dandelions are painted in a striking orange that sets them out above the layers of the papers behind 'Maggie Sue'.


You can see my process here in this Video.


I hope you have a great day and I will see you all next year.
Have an awesome New Year.

Em xx


Monday, October 10, 2022

'No Grit, No Pearl' by Emma Zappone

Happy weekend 2Crafty friends.
Emma with you for today's project share. 


And these are the chipboard pieces I chose....

Flourish Adornment Set 5
11" Celia Frame
Lace Doily Frame


Striking chipboard to really compliment my picture and papers.


Let's talk about the finishes on the Flourish's first. Yet again I love a simple yet fun finish. I painted these with Black Gesso and once dried stamped emboss ink and added a cream emboss powder over the top. I chose a stamp with a small texture to really add some pattern to the chippy.


The Celia frame is just stunning and for this piece I painted it in an Impasto brown first. I added the paint with a sponge to create a slightly raised texture to the paint as it dried. Then I added some wax in white Gold. This over the brown acrylic really helped add a vintage/antique feel.


I really wanted to add a small amount of the lavender colour which comes through the cat in the image chosen for this layout. So I added a few layers of colour to the Lace Doily and chosen resin pieces.


The Doily pieces were painted black to start with and then I painted a lavender acrylic but wiped back a little also, as I didn't want it to be super purple. I then added a couple of waxes over the top including a lavender wax to help nurture the colour. 


Thanks again for joining me today and I do hope my project has been a little inspiring.

I hope you have a lovely weekend.

Stay Crafty, Em xx


Monday, July 4, 2022

Todays Moments, Tomorrows Memories Step x Step Altered Wall Art by Tania Ridgwell

Hi there!

Tania stopping in today to share the first of my DT projects for this month with a
Beyond the Page Wall Art Project. 

 I have a short step x step photo tutorial for this project.
  I love how this Wall Art turned out and the chipboard just pops!


2 Crafty Products Used:

*Steampunk Strips
*Steampunk Gears Medium
*6x4 Phase Sticks Set 5
*Flourish Adornment Set 5


To create my Wall Art I first gave all the Chipboard & Wall Art a couple of coats of Heavy White Gesso.  I then used Prima Wax Indian Pink on the Steampunk Gears, Strips and Flourish Adornments chipboard pieces.


I covered the panels of the Wall Art with Studio 73 Papers.  I then decorated the Wall Art with lots of fussy cut elements.  I temporarily positioning the photo until I was happy with the placement 
and arrangement of the chipboard pieces on the Wall Art.  I then adhered the photo.


I added fussy cut elements around the photo.  For the title I used a piece of chipboard from the 6x4 Phase Sticks Set 5, which I coloured using Distress Spray Stain - Brushed Pewter.  I added the title to the bottom right of the photo to finish the Wall Art.


Thats' all from me today, I hope I have inspired you all a little with my altered Wall Art project.
Until next time thanks so much for stopping by.

Tania xx

Wednesday, August 18, 2021

"Embrace Today"
By Marie Claude Rodier

Hi everyone,

Red is one of my favorite colors, but also one I don’t really use on my layouts, except
 during Christmas time. However when combined with blue and white, it creates an
 amazing contrast. I really love the pop of vibrant color it adds to my chipboard title. 

Embrace Today


"Embrace Today"   title was first embossed with a glossy red powder and
 thereafter white washed with gesso.


The "Avery Frame" was painted with dark, medium and light blue acrylic paints.
A few touches of white gesso were also added afterward.


The "Flourish Adornment Set 5" pieces were painted with blue liquid acrylic
 and highlighted with gesso.

2Crafty Products used…

Embrace Today

Florish Adornment Set 5

Avery Frame


 Until next time, be happy and be creative!


Marie Claude
xx


Tuesday, May 18, 2021

Memories
By Marie Claude Rodier

Hi everyone,

I’m here to show a layout I made for CSI challenge 355. I love a good challenge once in a
while and CSI’s are the best.
There are so many options to choose from and, as always, there are a lot of 2Crafty chipboards
that can be used as clues and embellishments. 

Memories


Swirly Star Frame was painted with a light teal sand paint. 


Memories and So sweet from ATC Word Banner Set 1 were white washed with white heavy gesso.


Flourish Adornment Set 5 and Mini Flourish Bits were painted with light teal sand paint and highlighted with vintage gold watercolor paint. 

2Crafty products used...

Memories

Swirly Star Frame

ATC Word Banner Set 1

Flourish Adornment Set 5 

Mini Flourish Bits 


Until next time, be happy and be creative!

Marie Claude
xx


Friday, August 21, 2020

Treasure
By Marie Claude Rodier


Hi everyone!
I usually prefer to create layouts, but once in a while, I like to think outside the box. 

This project was created with an MDF decorative plank that I prepped with white gesso.
 I then used resin pieces, seashells and of course, beautiful 2Crafty chipboards!
 Hot air ballons and wings are a perfect fit.
"Treasure"

Every pieces was first basecoated with white gesso. Vintage Hot Air Ballons, Circle Tags Set 1 and Flourish Adornment Set 5 were then covered with cobalt blue and light turquoise acrylic paints.

Dark Blue watercolor was also applied to add more contrast and shadows.


Finally, white gesso was dry-brushed over all pieces to highlight them. 
White splatters were also added sparsely. 


2Crafty Products used...
Circle Tag Set 1
Flourish Adornment Set 5
Vintage Hot Air Balloons


Until next time, be happy and be creative!
Marie Claude
xx


Wednesday, February 19, 2020

Spring cards by Elena Martynova

Hello friends!
It's Elena Martynova here. Today I want to show my spring cards.

I love making these handmade cards and giving them away as gifts.
Inside, you can write nice words and put a monetary gift. 
The size of the postcards is 10x20 cm. 
To create them, I used a wonderful new collection "Melody" by Lemoncraft.


The paper collection has a delicate light green palette. 
To make the chipboard stand out better, 
I covered it with a new Lindy's embosser powder .

In this card the disc is decorated with That's Marble-ous Chunky EP.

And the curls from the Flourish Adornment Set 5 I covered with Chalk It Up Chunky EP.
  

I decorated each card with a luxurious Prima flower, 
added small pieces of lace and beads of different sizes.


I used the following 2Crafty Chipboard:


See you soon with another creative make and until then, happy crafting!
Love Elena xx