Hello everyone! Today I have quite a variety of projects to show you!!
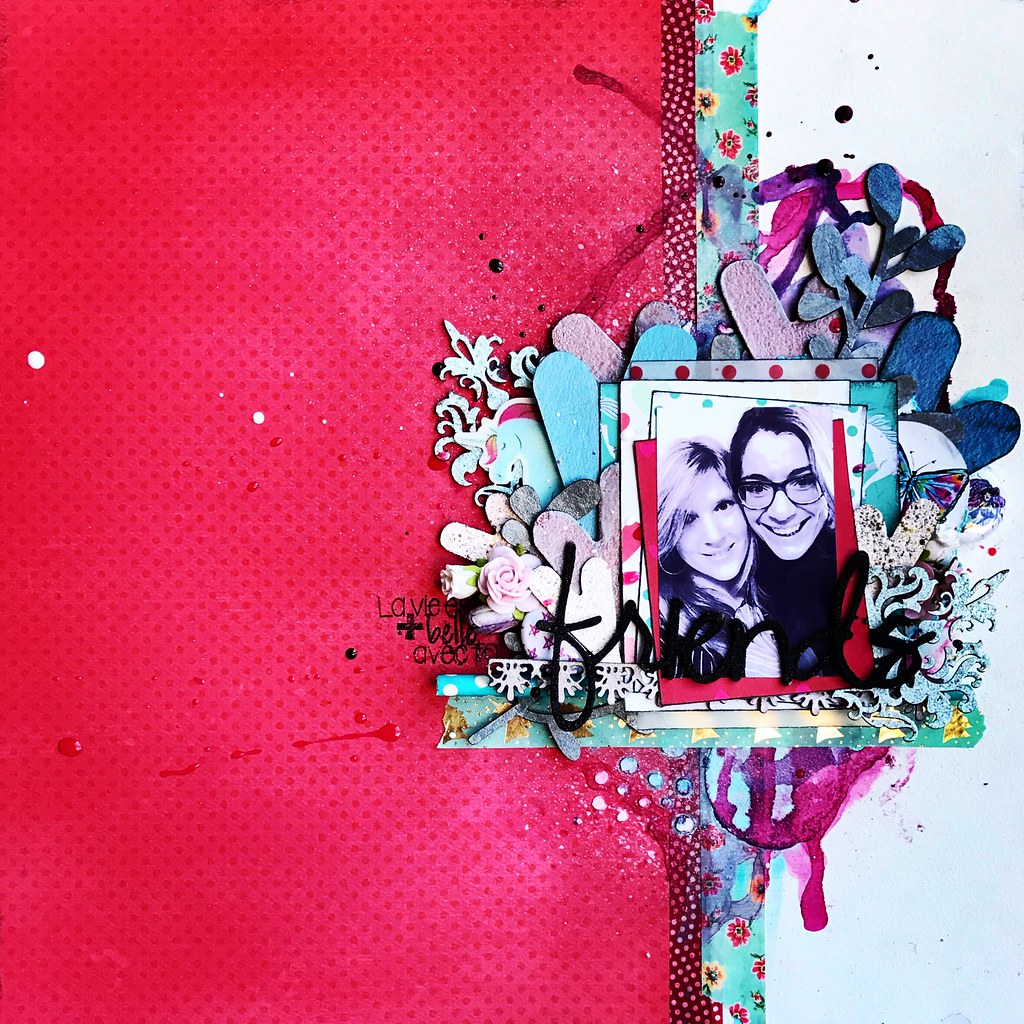
Firstly I have a layout created with the negative circle hoops
of chipboard from the 12"sheet of Circle Revolution Frames.
This was created for my own challenge blog, Scrap Around The World,
but as part of the 2Crafty Chipboard team, who are our Guest Designers
at SATW this month :) I never throw away the negative areas of
chipboard & often use them to create texture on my backgrounds.
As the pieces are quite large it meant that I could paint them, stencil
AND stamp on them! All of which was thoroughly enjoyable!!
Chipboard is very useful for adding dimension to your work & the best part
about it is that it comes RAW so can be totally customised to suit
your creation & the trends of the season.
Next up are a couple of cards I created for a change! I decided that this
year I really need to make at least 2 a month as I actually NEED them!!
Cards are always a great way to use up smaller chipboard pieces as well as offcuts.
Here I used the 12" Doily Border & 12" French Lace Border, cut into smaller lengths.
On both cards I used the large "Damask" Piece, which I embossed
with a holographic type embossing powder. AWESOME shimmer in real life!
I also added some chunky clear glass glitter which doesn't show so well
here in the photographs but you can see it as a shine/reflection.
These little cards are really pretty in person :)
I always use an embossing dabber from Ranger as opposed to an embossing
pad, to apply my embossing powder as it is thicker, holds more powder
& gives a more luscious look.
Lastly I created a layered canvas for a special friend, using the View Finder
pieces {all 3 different sizes from the set}, one of the Valentine's Hearts,
all 3 birds from the "Tree with Sparrows" as well as the 11"Floral Frame
which I cut apart, and lastly a "Heidi's Vine" so plenty of pieces here!
I painted most of my chipboard pieces with Aladine ink, which is a very high-
quality, metallic ink from France, that comes in a dropper bottle. LOVE them.
This is best done by dropping a few drops into a small glass petri dish
& adding a tiny bit of water {as the inks are thick} then applying using a paint brush.
For my View Finder pieces I inked them with black archival ink {always best for
Off-The-Page pieces, as opposed to Chalk ink, that is not waterproof} & rubbed
in some Perfect Pearls Pearl Pigment powder for a lovely, high gloss sheen.
I also placed a Prima brad in the centre of each to finish them off nicely.
I lightly sponge-dabbed my flourish pieces to tie the piece together with the
white sentiment board. Before I began I attached 2 canvases to one another
using hot glue, as well as attaching a plywood sentiment that I purchased
at an art store. I love the dimension & interest acheived from layering
canvases - an idea I just came up with recently! I hope I have
inspired you to get busy in some way with your chippies!!
And remember, to find a 2Crafty stockist near you, drop an email to...
salesat2crafty@optusnet.com.au