Showing posts with label Corner Tiny Edwin's. Show all posts

Friday, August 16, 2019

"ROMY"
Album and vidéo by Marie Sabatier


For my second creation this August, I present you an album.


I also made a short video that shows a little more detail!


TO VIEW VIDEO CLIK HERE


2Crafty Chipboards used :

- A Wish come True
- Corner Swirly Heart
- 2018
- Arrow Word Set 2


- Heart-Clumps
- Word Simple Moments
- Geo Triangle Border
- Mini Words 2


- Card Word Set 1
- ATC Word Banner Set 2
- Corner Tiny Edwin
- Pointed Doilly Frames 1


And to finish

- 2019S


I left all the chipboards natural, with the choice of papers and photos 
I found that it really made the chipboards stand out!


Here are some close-up shots.


Here I cut the chipboard "Pointed Doily Frames"


I hope you enjoyed it. 
And that you too will have liked the chips in a natural way. 


See you soon!


Monday, September 8, 2014

My September Shares by Marg Mifsud

Hi everyone and welcome to the 2Crafty Blog!
  Hope you are all having a fabulous day!!
I'm back to share my September projects created with some awesome 2Crafty Chipboard pieces.
This time around I have a card, a canvas and a masculine tag to show you.
So, first of all, here is the card.
 
2Crafty products used
Mini Chicken 
Wire Barbed
Heidi's Vines


I lightly sprayed the back of the Heidi Vine with some water so it could be slightly shaped.
 It was then coloured with Distress Inks and brushed with gesso.  I also added some
 texture paste to the 'bulbs' on the ends and coloured them with Distress Ink and then
 swiped over the top with gold Versa Color.


The Chicken Wire Barbed comes in a 6" x 6" panel.  I simply cut off some small pieces
 and painted them with white acrylic paint.  While they were still wet, I sprinkled them
 with clear glitter and, when dry, tucked them in between the paper layers.  I love the
 look of torn paper and making some small tears over the chippies helps to show them off.


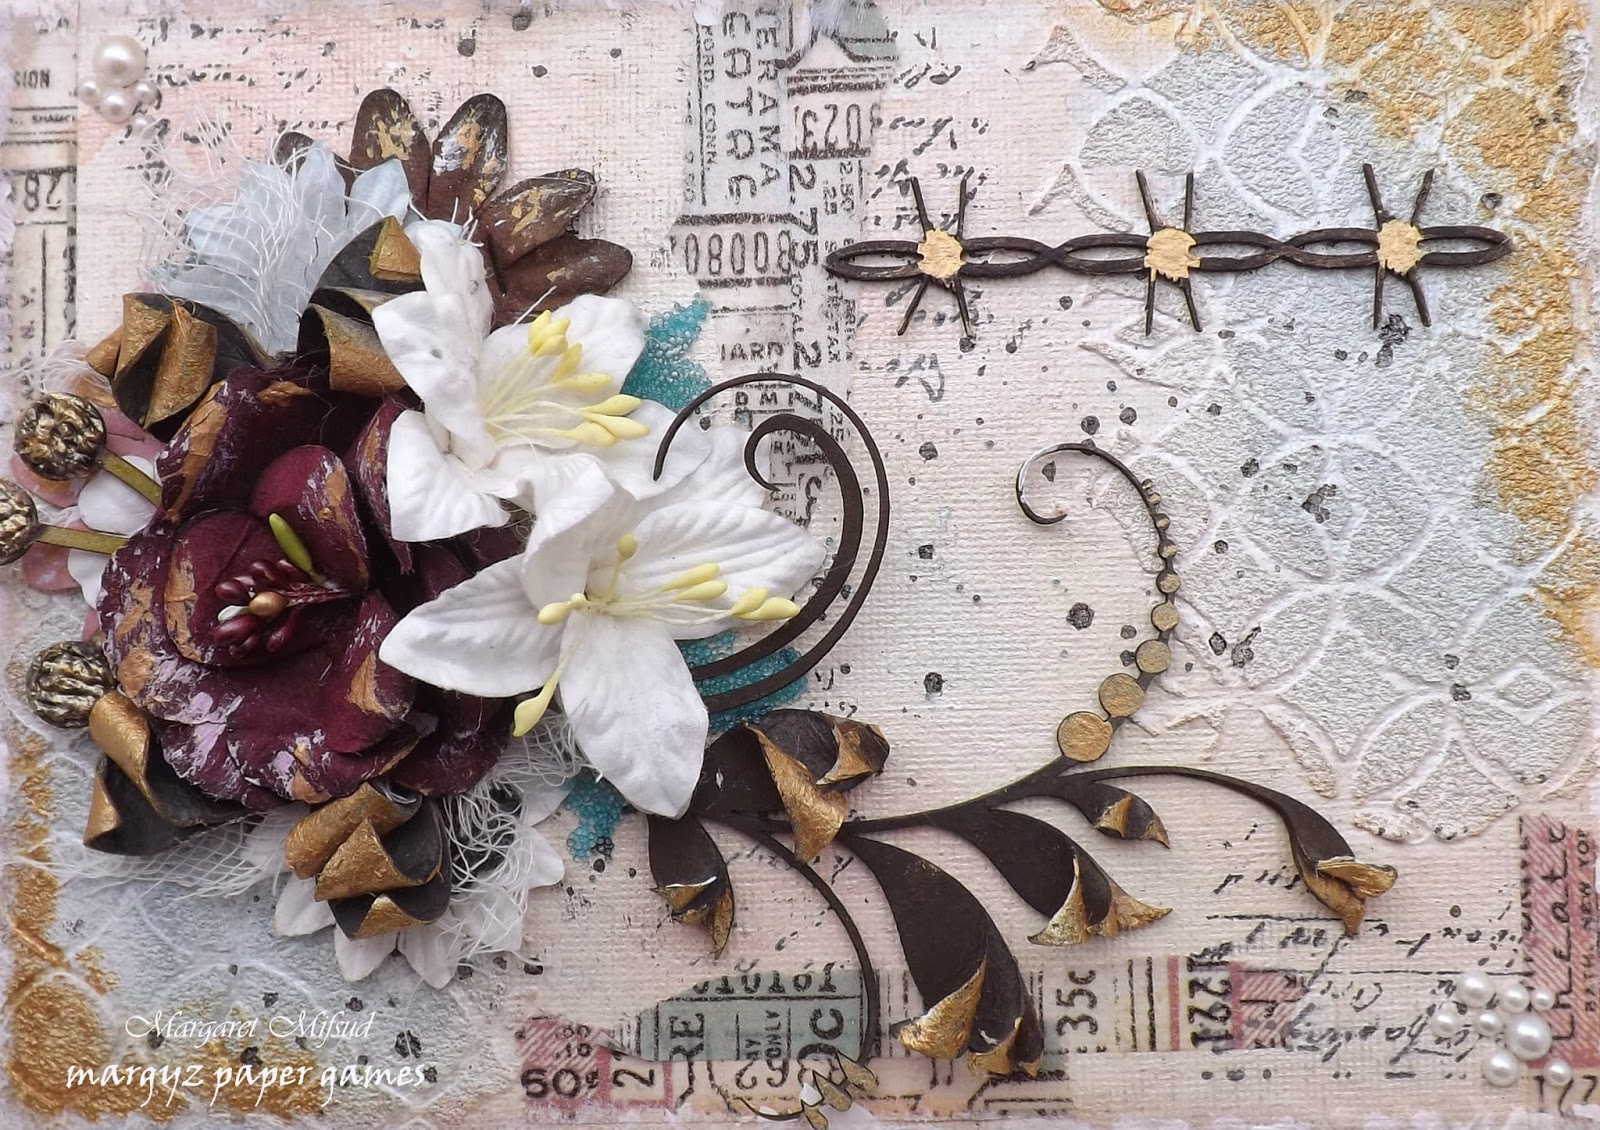
 Next, I have a small canvas.  It measures 5" x 7".
2Crafty products used
Heidi Vines
Leafy Shrub Set 1
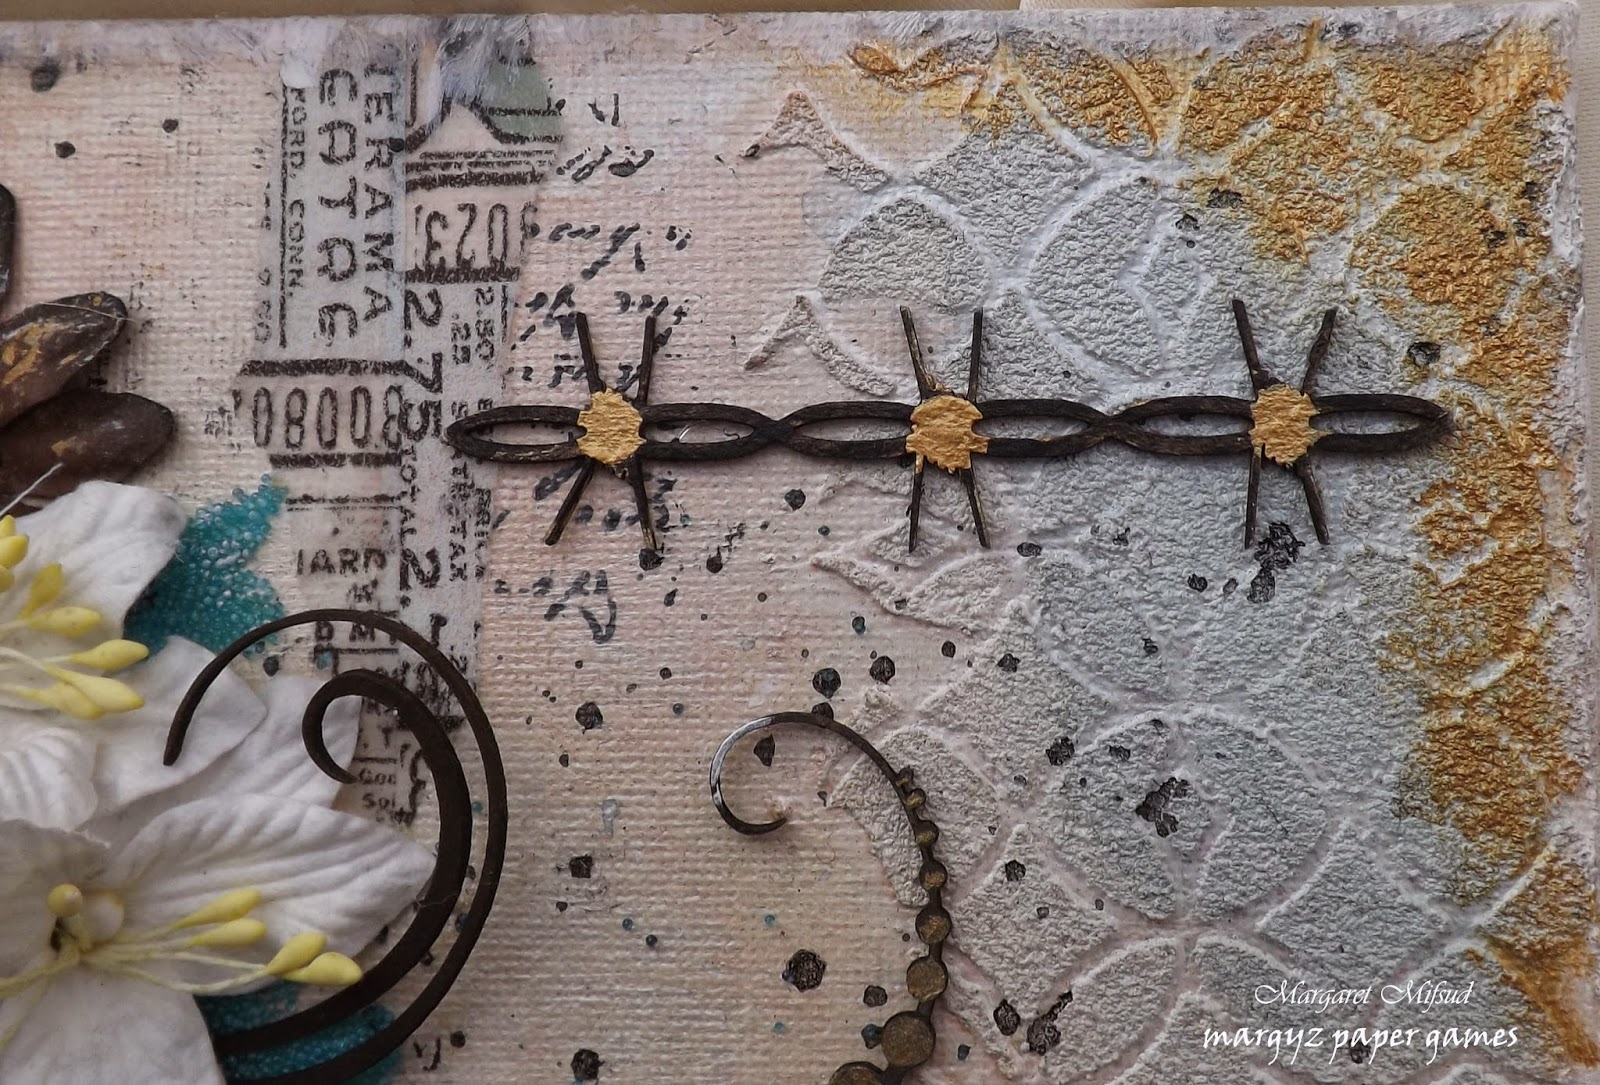
Barbed Wire Border
 
I took a leaf out of Di Garling's book here in that I coloured these chippies black. 
 I love the dramatic effect of the black against the pale background and it really
 does make them stand out beautifully.  Thank you for the inspiration Di!
 

I had some left over pieces of the Heidi Vine from a previous post HERE and decided
to use them in the flower cluster.   As I did for the card, I again added a little
texture paste to the 'bulbs' and coloured them with Distress Ink but then used
gold acrylic paint for the accent.  The leaves were sprayed with water and then
 I gently separated some of the layers.  Shaped and curled the layers while they
 were still wet and coloured them with Black Soot Distress Ink.  Once they were
 dry I used the gold acrylic paint to colour the ends of the leaves.  


The leaves on the Leafy Shrub Set were shaped and coloured in the same way as the
 Heidi Vine leaves.  I really love how they turned out.  This is a fairly delicate piece
but it was still robust enough that it took the shaping very well.  I really love these
 chippies & they are so easy to work with and they look stunning!!


The Barbed Wire Border comes in a pack of two and they are about 12" long.
 I had intended to put a quote in the corner but decided instead to use a small piece
of the Barbed Wire Border as an accent.   This was also coloured with Distress Ink
 and gold acrylic paint.  


 My last piece is a Masculine Tag.

2Crafty products used..
Barbed Wire Border
Compass
Mini Fob Watch
Mini Rulers
Gears

A blank from the Tiny Edwin Corners


The small piece of the Mini Rulers was brushed with some watered down with
 gesso and, when it was dry, I swiped it with Tea Stain Distress Ink.  I coloured the
Compass with Distress Inks as well and then covered it with Clear Rock
Candy Crackle Paint.  Except for the ring around the edge which was left raw,
the Fob Watch was coloured with gold Versa Color and then covered in
 Glossy Accents.  I love that the details of the watch still stand out really well
 even after colouring it.  Awesome!!  


I randomly swiped the gears with Midnight Black Versa Magic and then with
Lapislazuli Versa Color.  I also used some Kaisercraft Red Gum and then Silver
Versa Color so that they appear old and rustic.  The Barbed Wire Border was also
 coloured with the Midnight Black Versa Magic and then randomly swiped
with a little silver and gold.


Originally I was just going to tie the word band at the bottom of the Tag but, it looked a
 little bare and needed something underneath to fill the space.  As I was looking through
 my chipboard pieces I discovered the blank from the Tiny Henry Frames
which I had used on a previous project.  I simply cut away one of the centers and
inked the edges.  Trimmed a piece of scrap paper to fit and then just tied the word
 band over the top.  It fills the space up nicely!!


Once everything was assembled and dry, I randomly swiped around the
 finished Tag with some watered down gesso.


That's all from me for this month.  Thank you so much for visiting and taking a look
 at my projects. I hope I have inspired you to get some fabulous 2Crafty Chipboard
 for yourself.  There are so many different shapes to choose from and, no matter
 what size your project, you are sure to find something that will add that special touch
 you are looking for.


And remember, to find a 2Crafty stockist near you, drop an email to...
salesat2crafty@optusnet.com.au

Take care and God Bless.
oxox Marg


Photobucket

Saturday, August 2, 2014

Marg Mifsud - My very first 2Crafty Post !!

Hello everyone!!  I am so excited to be sharing my very first 2Crafty projects!!
I was thrilled to bits when Di Garling and Vanessa Tiberti invited me to be on this
amazing Design Team.  Thank you so much ladies, I so appreciate your  confidence
 in me and will do my best not to let you down.  As a Resident Guest Designer,
 I needed to make 3 card size items.

So, my first item is, (Surprise! Surprise!) an...

" Easel  Card"


  The 2Crafty Chipboard pieces used are 
Corner Flower Vine
Ornate Buckle
Heidi Vines


  The Ornate Buckle was coloured with Spiced Marmalade Distress Ink
 and then clear embossed.
 

 As this is an Easel Card I used half of the Corner Flower Vine to anchor the easel.
 This piece was coloured the same as the Ornate Buckle with Spiced marmalade
Distress Ink and clear embossing powder.


 When I received the Corner Flower piece it turned out to be a bit bigger than I had
 expected but, as chipboard is so adaptable, I knew I would still be able to use it on a
card so I simply cut off the piece needed for this card and still had the left over bit
 for another project.  I really love this ornate piece and it fitted the card beautifully.
 

 I needed some leaves to go with my flower cluster so I trimmed some of the leaves from
 the Heidi Vine.  I sprayed them with water until they were quite wet.  Then, very
carefully, I gently separated the layers to about half way down the leaf as I
didn't want them to come apart completely.  I then shaped them and left them
 to dry.  Once dry, I simply coloured them with Crushed Olive Distress Ink.


I really love how they turned out.


My next  project today is a tag.
2Crafty Chipboard pieces used are...
Corner Flower Vine
Tiny Kathleen Frame
Chicken Barbed Wire Small


 As you've probably guessed, I've used the other half of the Corner Flower Vine
which was left over  from the previous card on this tag.


 All the chippies on this piece were coloured the same way.  Coated with gesso first
and then lightly coloured with Broken China Distress Ink.   I used Black Soot for
 the stamping on the background and on the chippies as well.


The chicken barbed wire comes in a 5" square piece and I
simply cut off a narrow strip to place on the side of my tag.


My last piece  is an AT Block.
2Crafty Chipboard pieces used are
Tiny Edwin Corners
Tiny Henri Frame
ATC Mask
ATC Tiny Hearts & Stars


The block measures 2 3/4" x 2 3/4".


The Tiny Edwin Corners were brushed with gesso and then clear embossed.
 The tiny Hearts were coloured with red acrylic paint.  I then applied a little
 bit of glitter and coated them with Glossy Accents.


This is the opposite side of the Block which is decorated in a similar way with the
same chipboard pieces.  Don't you just love those gorgeous ornate corners??


The front of the Block has the Tiny Edwin Frame which was also painted with gesso and then just clear embossed.  The ATC Mask was coloured with red acrylic paint and when that was dry I went over the central section of the feather with gesso.  I then coated that section with glitter and used a black Sharpie for the doodles.  Then I simply glued the tiny gems around the top of the mask. 
I used the centre piece from the Frame to make the small tag.   Trimmed a little off one edge, rounded the corners a bit more and  then I covered the tag with some designer paper and inked around the edges.


The chippies on the lid were treated the same as those on the sides.
 Painted the corner with gesso and then clear embossed and the hearts with
red acrylic paint and covered with Glossy Accents.

I thoroughly enjoyed working with these gorgeous chipboard pieces.
  2Crafty have a huge selection of pieces that are the perfect size for cards
and other small projects and, even if you receive something a little bigger than
 expected, such as the Corner Flower Vine, it is easily cut up into manageable
 sizes for your projects.

Thank you so much for visiting and I do hope I have inspired you today.

  And remember, to find a 2Crafty stockist near you, drop an email to...
salesat2crafty@optusnet.com.au


Photobucket