Hello friends,
My second project this month is a shaker mini album, circular in shape using
two very pretty 2crafty chipboard pieces - Fun Disc and Play disc to mak
e the front cover and back covers of the album.
two very pretty 2crafty chipboard pieces - Fun Disc and Play disc to mak
e the front cover and back covers of the album.

For the covers both front and back, the chipboard was first coated with white gesso and then using Colourarte Silks, painted an ombre effect. Each layer of paint was air dried and then painted on again for about 4 layers. After the paint was completely dry, it was assembled into a shaker disc.
To allow for the sequins to move easily, I've used two layers of foam tape between the chipboard disc and pattern paper. I punched a hole through a circular piece of foam tape and wedged it between the acetate and pattern paper. On top of the acetate is a hole saver so that the circular foam tape wont be seen. This is so that the sequins wouldn't fall off through the eyelet hole.

I know everyone will want to remove the covers and give them a shake, so Ive used ribbons to hold the pages together making it easy to flip through as well. The album follows the format of photo page followed by journaling on the backside. These close ups were taken before the album was assembled, so each page and matching journaling panel could be captured in one frame.

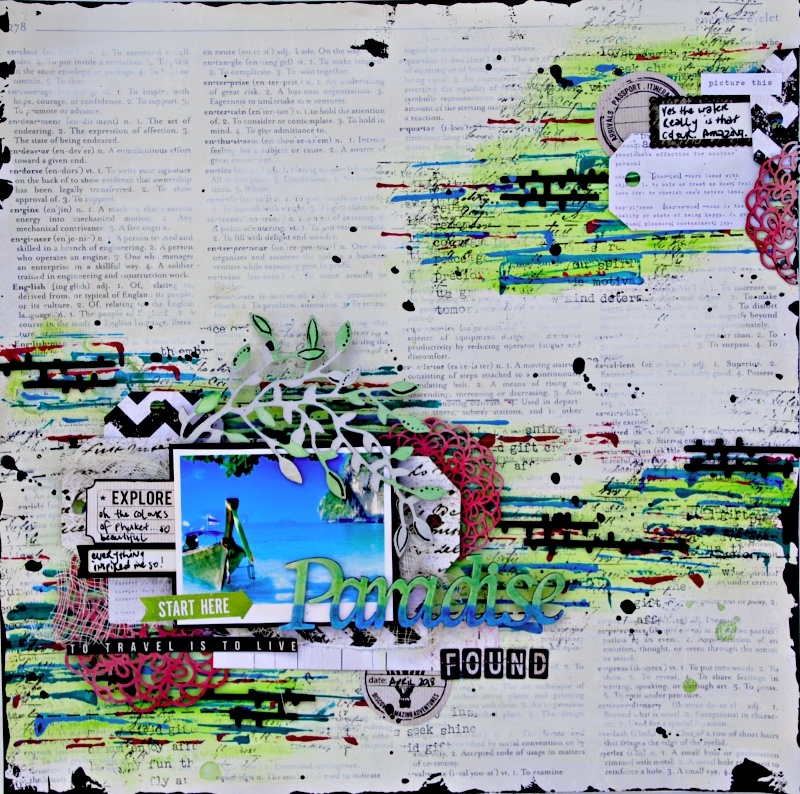
This page and photograph are my favorite from the album so far. The bottom most layer of
chipboard is a Number Panel cut in two and tucked underneath layers of pattern paper.
Next, Ive cut a piece from the left over negative of the Polaroid Assortment Frames
and covered it with pattern paper(green with blue stars). Another such piece has been
used on the matching journaling panel of this page.
Finally, a piece from Airplanes was coloured red with an ink pad and
embossed with clear embossing powder.

The 6" sea life frame set was coated with white gesso and painted on with acrylic paints.
For the fish, a tiny bit of neon orange paint was blended with the yellow paint.
I've also tucked in small pieces of Fishing Net Bits on either side of the photo panel.
For the journaling page, Ive added a turtle from the Sea Creatures chipboard set.
For the fish, a tiny bit of neon orange paint was blended with the yellow paint.
I've also tucked in small pieces of Fishing Net Bits on either side of the photo panel.
For the journaling page, Ive added a turtle from the Sea Creatures chipboard set.

This final page happens to be my son's favorite and is from the book parade held at his school recently. All the chipboard pieces used on this page - Triangle clusters, a piece from View finder and a piece from the Glasses set were coated with gesso and then painted over with acrylic paints.
I hope you enjoyed reading about and seeing close ups of my project today.
Thank you for stopping by.
Wishing you a creative week,
Kripa Koushik
www.thecolourpress.blogspot.com


2crafty chipboard used:
- Fun Disc
- Play disc
- Airplanes
- Glasses Set
- View Finder
- Sea Creatures
- Number Panels
- Fishing Net Bits
- Triangle Clusters
- 6" Sealife frame Set
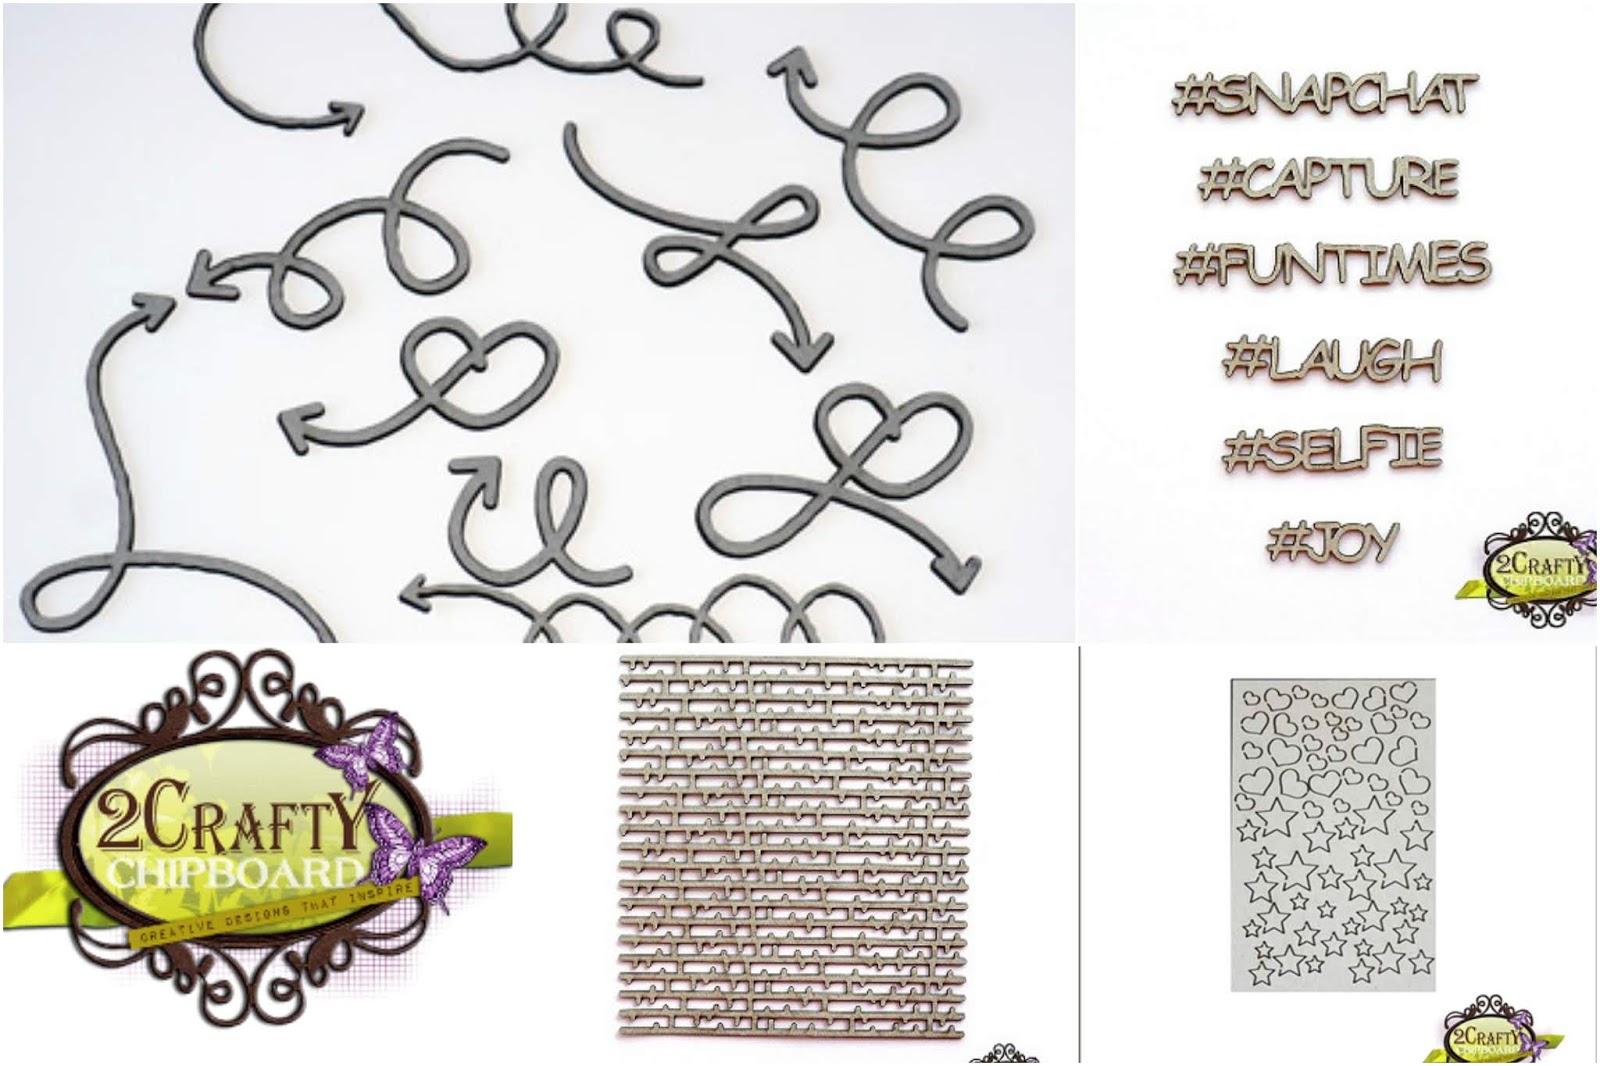
- Crazy Stitched Panel
- Polaroid Assortment Frames