Showing posts with label Numbers Panel. Show all posts

Monday, October 18, 2021

#adore
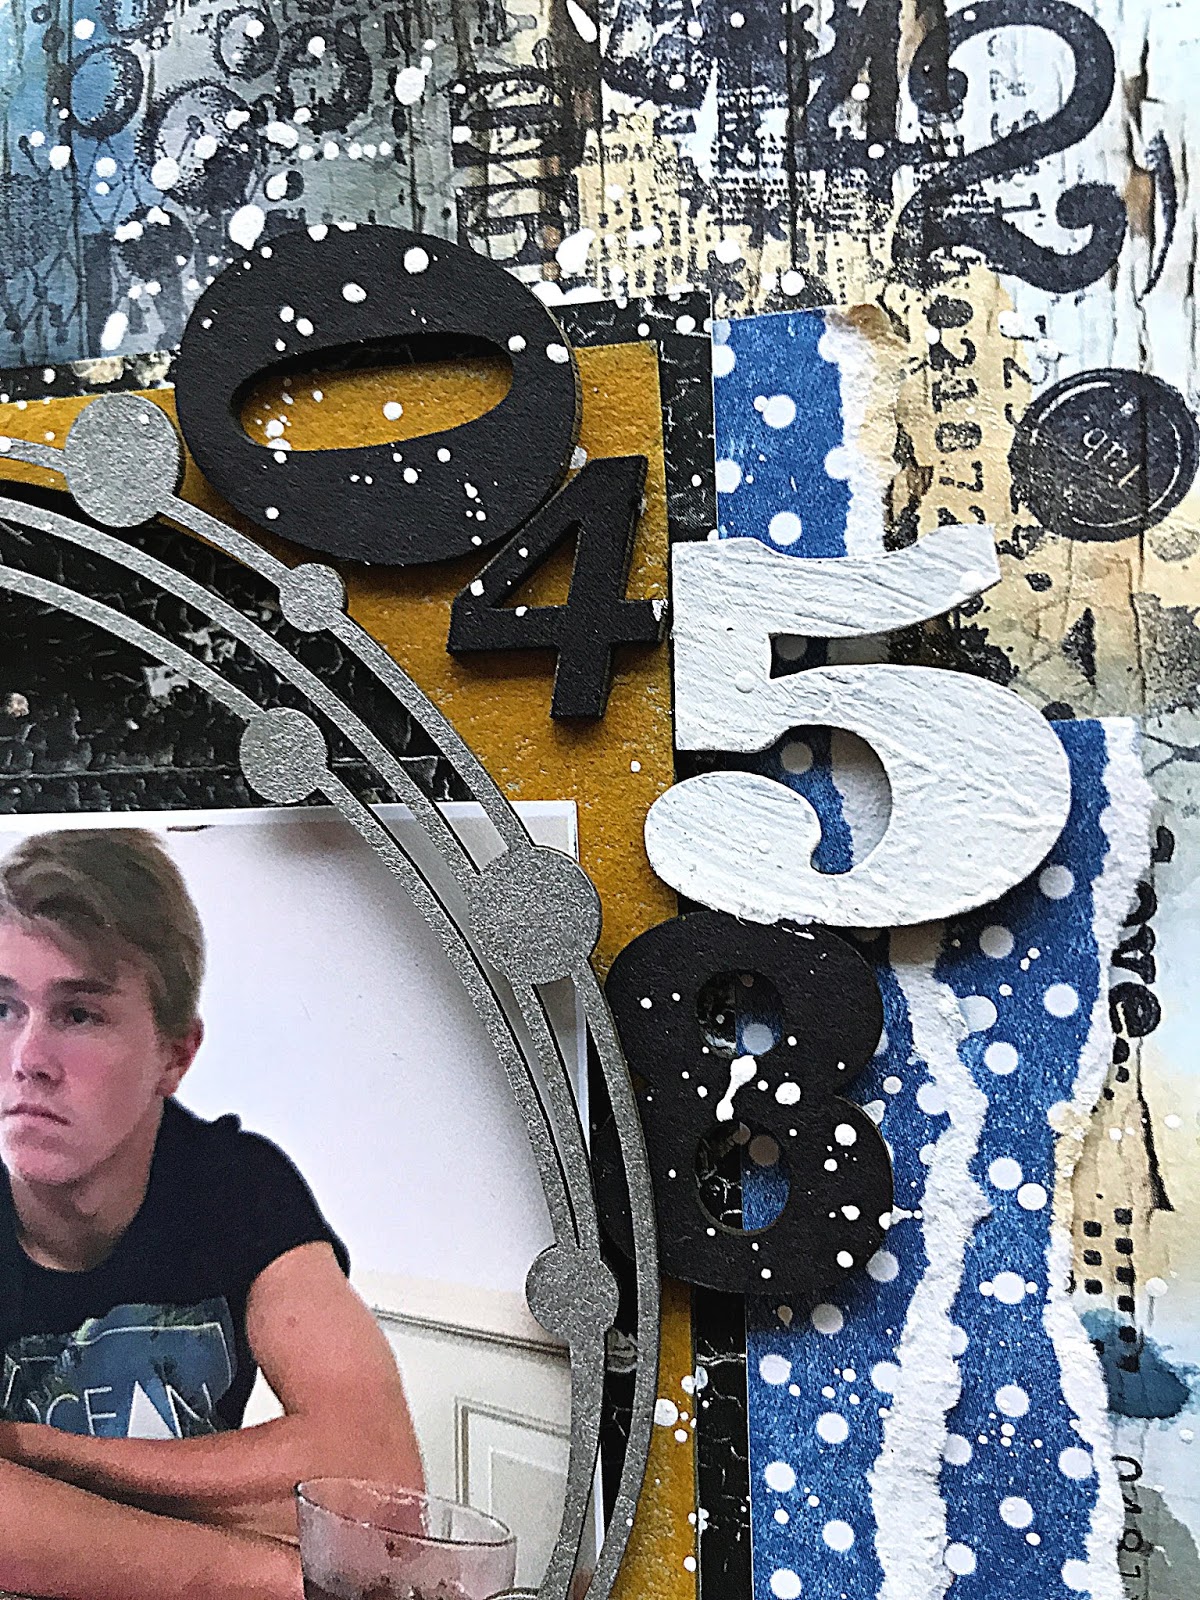
Layout by Marie Sabatier


Hello everyone,

I am lucky to meet you for a third layout for this month of October.

I made an arrangement very different from my habits 
but sometimes you have to get out of your comfort zone. 

I chose this photo of my grandson Leo for his little face but also 
for the cloudy background.


#adore


The 2CraftyChipboard used:

- Hashtag Word Set 1
- Numbers Panels
- Steampunk Strips
- Squiggly Strips Set 1
- Hinges Pack 


This time I put black gesso on each chipboard!

Then I applied waxes in different colors to get the shade I liked.

I usedI used "Bronze Age" "Lucky Emerald" and "Turquoise Satin".


I love these "Steampunk Strips" and "Squiggly Strips" particle boards 
they have a lot of character.


I have placed the "Numbers Panels" chipboard prominently.

For more relief on the agglomerates I added a design with a stamp and embossing powder.

I chose this title with the hashtag it's original. Perfect for my layout.
To support the title I added a chipboard from the "Hinges Pack".


Although, different from my habits, 
I hope this layout has given you some inspiration.


Thank you for your visit!


Sunday, January 17, 2021

'We are Fearless'
with Lisa Amiet


Hello all!
It's Lisa on the blog today to share some 2Crafty goodness with you.

Today I have a fun 'boys' layout that I have created, 
featuring my husband and son.


2Crafty Products used:


For this layout I have used one of the 'Number Panels',
that I have inked in blue to match my papers, and tucked into my layers.


I have also used some of the 'Film Strips Tiny',
also inked in blue, 
also layered with some of the 'Fencing Wire Panels',
that I have cut up and left raw, in among my layers.


Lastly I have used one of the 'Mini Family Icons'
also inked blue and layered on a tag. 

I hope that you like what I have created, 
 and that it inspires you to create today.

Until next time!

Lisa


Thursday, January 14, 2021

"Capture the MOMENT"
Layout by Marie Sabatier


Hello everyone, 

I present my second inspiration to you. 
I chose to make a page with this school photo of my little girl.

"Capture the MOMENT"


The 2Craftychipboards used:

- Capture the MOMENT Title
- Clock Face Frames
- Numbers Panels
- Luggage
- 2019
- 2020
- Flowering Clusters


I applied a coat of white gesso on the "Capture the Moment, 
Clock Face Frames and Flowering Clusters" chipboards.

I then embellished with Lindy's Gang embossing powder in the color
 "Oom Pah Pah Pink" for the title and "Stardust Candy Rose" for the others.


For "Numbers Panels, Bagages and Years" I applied a layer of black gesso, 
then "Raven Black" acrylic paint and touches of waxes in several shades 
to achieve this vintage effect.

This "Luggage" chipboard is fantastic. 


I added these essential date chipboards for school photos.


I added paper embellishments and flowers but the chipboards 
are still very prominent. I love!


And that's it, I hope you liked it and gave you some inspiration.


Monday, June 1, 2020

"handsome"
layout by Marie Sabatier


A new page for a new month!


My inspiration these chipboards "Clock faces" I love so much the importance and the chic that it releases on a page and this photo of my little son who grows so fast.


"handsome" 


2Crafty Chipboards used :

- handsome
- 12 X 12 Clock faces
- Numbers panel
- Doodled-arrows


As for my previous page I worked on the white chipboards.

I applied a layer of white gesso and then applied "Purely white" embossing powder.


I cut one of the clock face chipboards which I then placed next to each other.
I then placed the "Numbers panel" chipboard in the middle.


I then placed my photo and my embellishments.


I finalised by arranging the title.


I really like these big chipboards, they perfectly embellish a page.


Thank you for sharing this moment with us and for always visiting us.


Saturday, June 8, 2019

'A Moment with You'
layout
by Rachael Funnell

Hello There!

Today it's my turn to share with you this layout 
I created as part of 2 Crafty design team 
collaboration with CSI June challenges....

'A Moment with You'


 2 Crafty Chipboard pieces used:
2018 
Mini school set Years  (numbers)
A Moment with you title
Number panel
Circle dot frame
12x12 lowercase number


How I solved Case #285
I went with color scheme, wood grain,
frame, numbers, negative shapes... 


Creating a mixed media background, I included a few different number chipboard 
fonts from Mini school set Years, Number panel, 12x12 lowercase number
 Inking most of them black and just couple have a coat of gesso....


Also! included a negative chipboard piece
Colouring this with Tim Holtz - yellow crayon..


The Circle dot frame and 2018 I have inked grey 
and my title A Moment with you 
I have given this title 2 coats of gesso...


I hope you liked and have been inpsired in some way...
Thanks for stopping by!
Rach x


Monday, October 29, 2018

"Face Your Fears" By Elisa Ablett -
Mixed Media Boy Layout
PLUS A Step by Step Tutorial

"Scooter Kid"

Hi Crafters 😃

STEP BY STEP TUTORIAL INCLUDED!!!

My turn up on the blog today with my latest inspiration for the month of October.

I was going through some photos and found a great sequence of photos of my
 youngest son on his scooter from a recent trip to the skate park. 

I used the colour scheme from his clothes and the stripes from his shirt as the 
basis of my layout and then added my chipboard to match, great pieces for a boy layout.

 Here are the awesome chipboard pieces from 2Crafty that I used in my layout: - 


2Crafty Chipboard Used
Numbers Panel
Polaroid Assorted 
Scooter Kid Title
Skulls (1) 

💙💚💛💜💙💚💛💜💙💚💛💜

STEP BY STEP


STEP ONE - Using your gel plate 12 x 12 or 12 x 14 size plate, add your blue colour first in the middle of your plate, then add a few drops of white paint then brayer over the top, it will create a lovely distressed striped pattern. I matched my blue paint to the colour of the shirt in the photo. Tip your white cardstock upside down onto the paint and rub gently on the back and then pull your print! It should look like the photo below in the middle of your page.


STEP TWO - Using a liquid paper correction pen and a ruler, add some white lines to
 your gel plate print background and put the background aside to dry.


STEP THREE - Use a bright post box red paint to paint your number panels, I used 
fine tip scissors and snipped my panels as in the photo above.


STEP FOUR - Cut your photos to size and mount on white cardstock and then ink around the edges


STEP FIVE - Add some stamping to your page, I used distressed marks from Darkroom Door,
 Face your fears set by Andy Skinner for Stampendous, Aall and Create stamps to name a few.
 Grab your favourites!


STEP SIX - Paint your Polaroid frames black, then let dry. 
Then using white embossing powder and a grid stamp, 
emboss white grid patterns onto your painted chipboard as shown in the next few photos.

Emboss your Scooter Kid title with the white embossing powder as well.


STEP SEVEN - Use a post box red paint (or candied apple) to add lines to your layout. 
Squirt some of the paint onto your craft mat and using the side of your ruler, 
rub it through the paint and then stamp it onto your page, 
you can also drag it along your page as well for a different effect.

Stamp using a red ink pad and number stamps along the left hand side
of your page as well to match the red on the right.


STEP EIGHT - Glue your Polaroid frames to the page and place your numbers over
the top but don't glue them until you have your photos correctly 
positioned onto the page. Glue both down onto your page and then 
add your title and Charms Creations Silver Glitter star as an extra embellishment.


Last few steps are - stamp a few road signs, fussy cut them out and add to your page.

Glue your inked skull down to your star embellishment.

Using a yellow Irresistible Pico Embellisher add yellow highlights to your page,
 scribbly writing, some grungy marks and a few lines. 

SOME CLOSE UPS OF THE FINER DETAILS !! 


That's it from me today, 
I hope I have inspired you to try a little gelli plate printing with your layouts 
and to add a sequence of photos !

Make sure you leave me some love in the comments 
and if you want to follow along on my crafty adventures here are my links :-


Hugs xx

Elisa Ablett