Showing posts with label Mini Reindeers. Show all posts

Friday, December 19, 2025

Christmas Traditions Christmas Tags by Tania Ridgwell

 Hello there! 

Tania joining you today to share my second DT project for December. 
 I have created a set of Christmas Tags for my second share.


2 Crafty Chipboard Used:

*Mini Reindeers
*Wicker Christmas Wreaths
*Card - Word Circle Set - Christmas
*Corner Sweet Holly


I have used the gorgeous Unmistakable Creations 'Christmas Traditions' Collection to create the base for my Tags.  I coloured the Mini Reindeer chippies with Kaiser Gold Shimmer Spray.  The Sweet Holly Corner chippie pieces with Dirty Martini Dylusions Shimmer Spray and once dry I gave them a light spray with the Kaiser Gold Shimmer Spray.  To colour the Wicker Christmas Wreath and Card - Word Circle Set - Christmas chippies I sprayed a mixture of Dirty Martini Dylusions Shimmer, Kaiser Gold Shimmer & Red Iridescent Sprays onto some acetate and then smooched all the chippie pieces in the sprays until they were fully coloured.  To construct each of my tags I added lots of fussy cut elements from the Christmas Traditions Collection, added the chippie pieces to each and finished them off with pretty Christmas paper blooms.

Tag 1


Tag 2


Tag 3


That's all from me today, I hope I have inspired you all with my Christmas Tags. 
Until next time thanks so much for stopping by.
Tania xx

Tuesday, December 19, 2023

'Tis the Season to be Jolly
with Lisa Amiet

 Hello all!
It's Lisa here on the blog today
 to share some last minute Christmas inspiration with you.
I have created this layout featuring a photo of my bubby boy.

'Tis the Season to be Jolly


2Crafty products used:


For this layout I have used the oh so fabulous 
'Tis the Season Shape Tree' piece,
 that I have embossed in red, green and gold. 
This piece really is the hero of the page lol.


I kept the rest of my layout quite simple to allow the title to shine.
I then used one of the holly pieces from the
'Xmas Assortment' set,
which I have also embossed in red and green distress glaze.


Lastly I used one of the 
'Mini Reindeers',
that I have embossed gold.


He really was a happy and jolly baby, I was very lucky :)
I hope that you like what I have created.

I hope that you all have a wonderful Christmas and 
a Happy New Year,
and I will catch up with you all in 2024!

Until then

Lisa x


Monday, December 4, 2023

Christmas Time Cards by Tania Ridgwell

Hello there!
Tania popping in today to share the first of my DT projects for December. 
 I have created a set of Christmas Cards.

"Christmas Time Cards"


2 Crafty Products Used:

*Mini Reindeers
*St. Nicks Snowflakes
*Swirly Holly Set
*Merry Christmas Script Card Pack


I created each of my cards bases using the beautiful Paper Rose Studio Christmas Time Basics Paper Collection. I painted the St Nicks Snowflakes with two coats of gesso.  The Mini Reindeers and the Swirly Holly Chippies have been painted with Mont Morte Gold Paint. 
To construct each of the cards I embellished them with flowers and fussy cut flower elements, then added my chipboard pieces to each card tucking them into and under the paper layers and fussy cut elements on the cards.  To finish each card I added a raw Merry Christmas title to each card.

See each of the cards below.


Thats' all from me today, I hope I have inspired you all with my Christmas Time Cards.  Until next time thanks so much for stopping by.
Tania xx

Wednesday, December 7, 2022

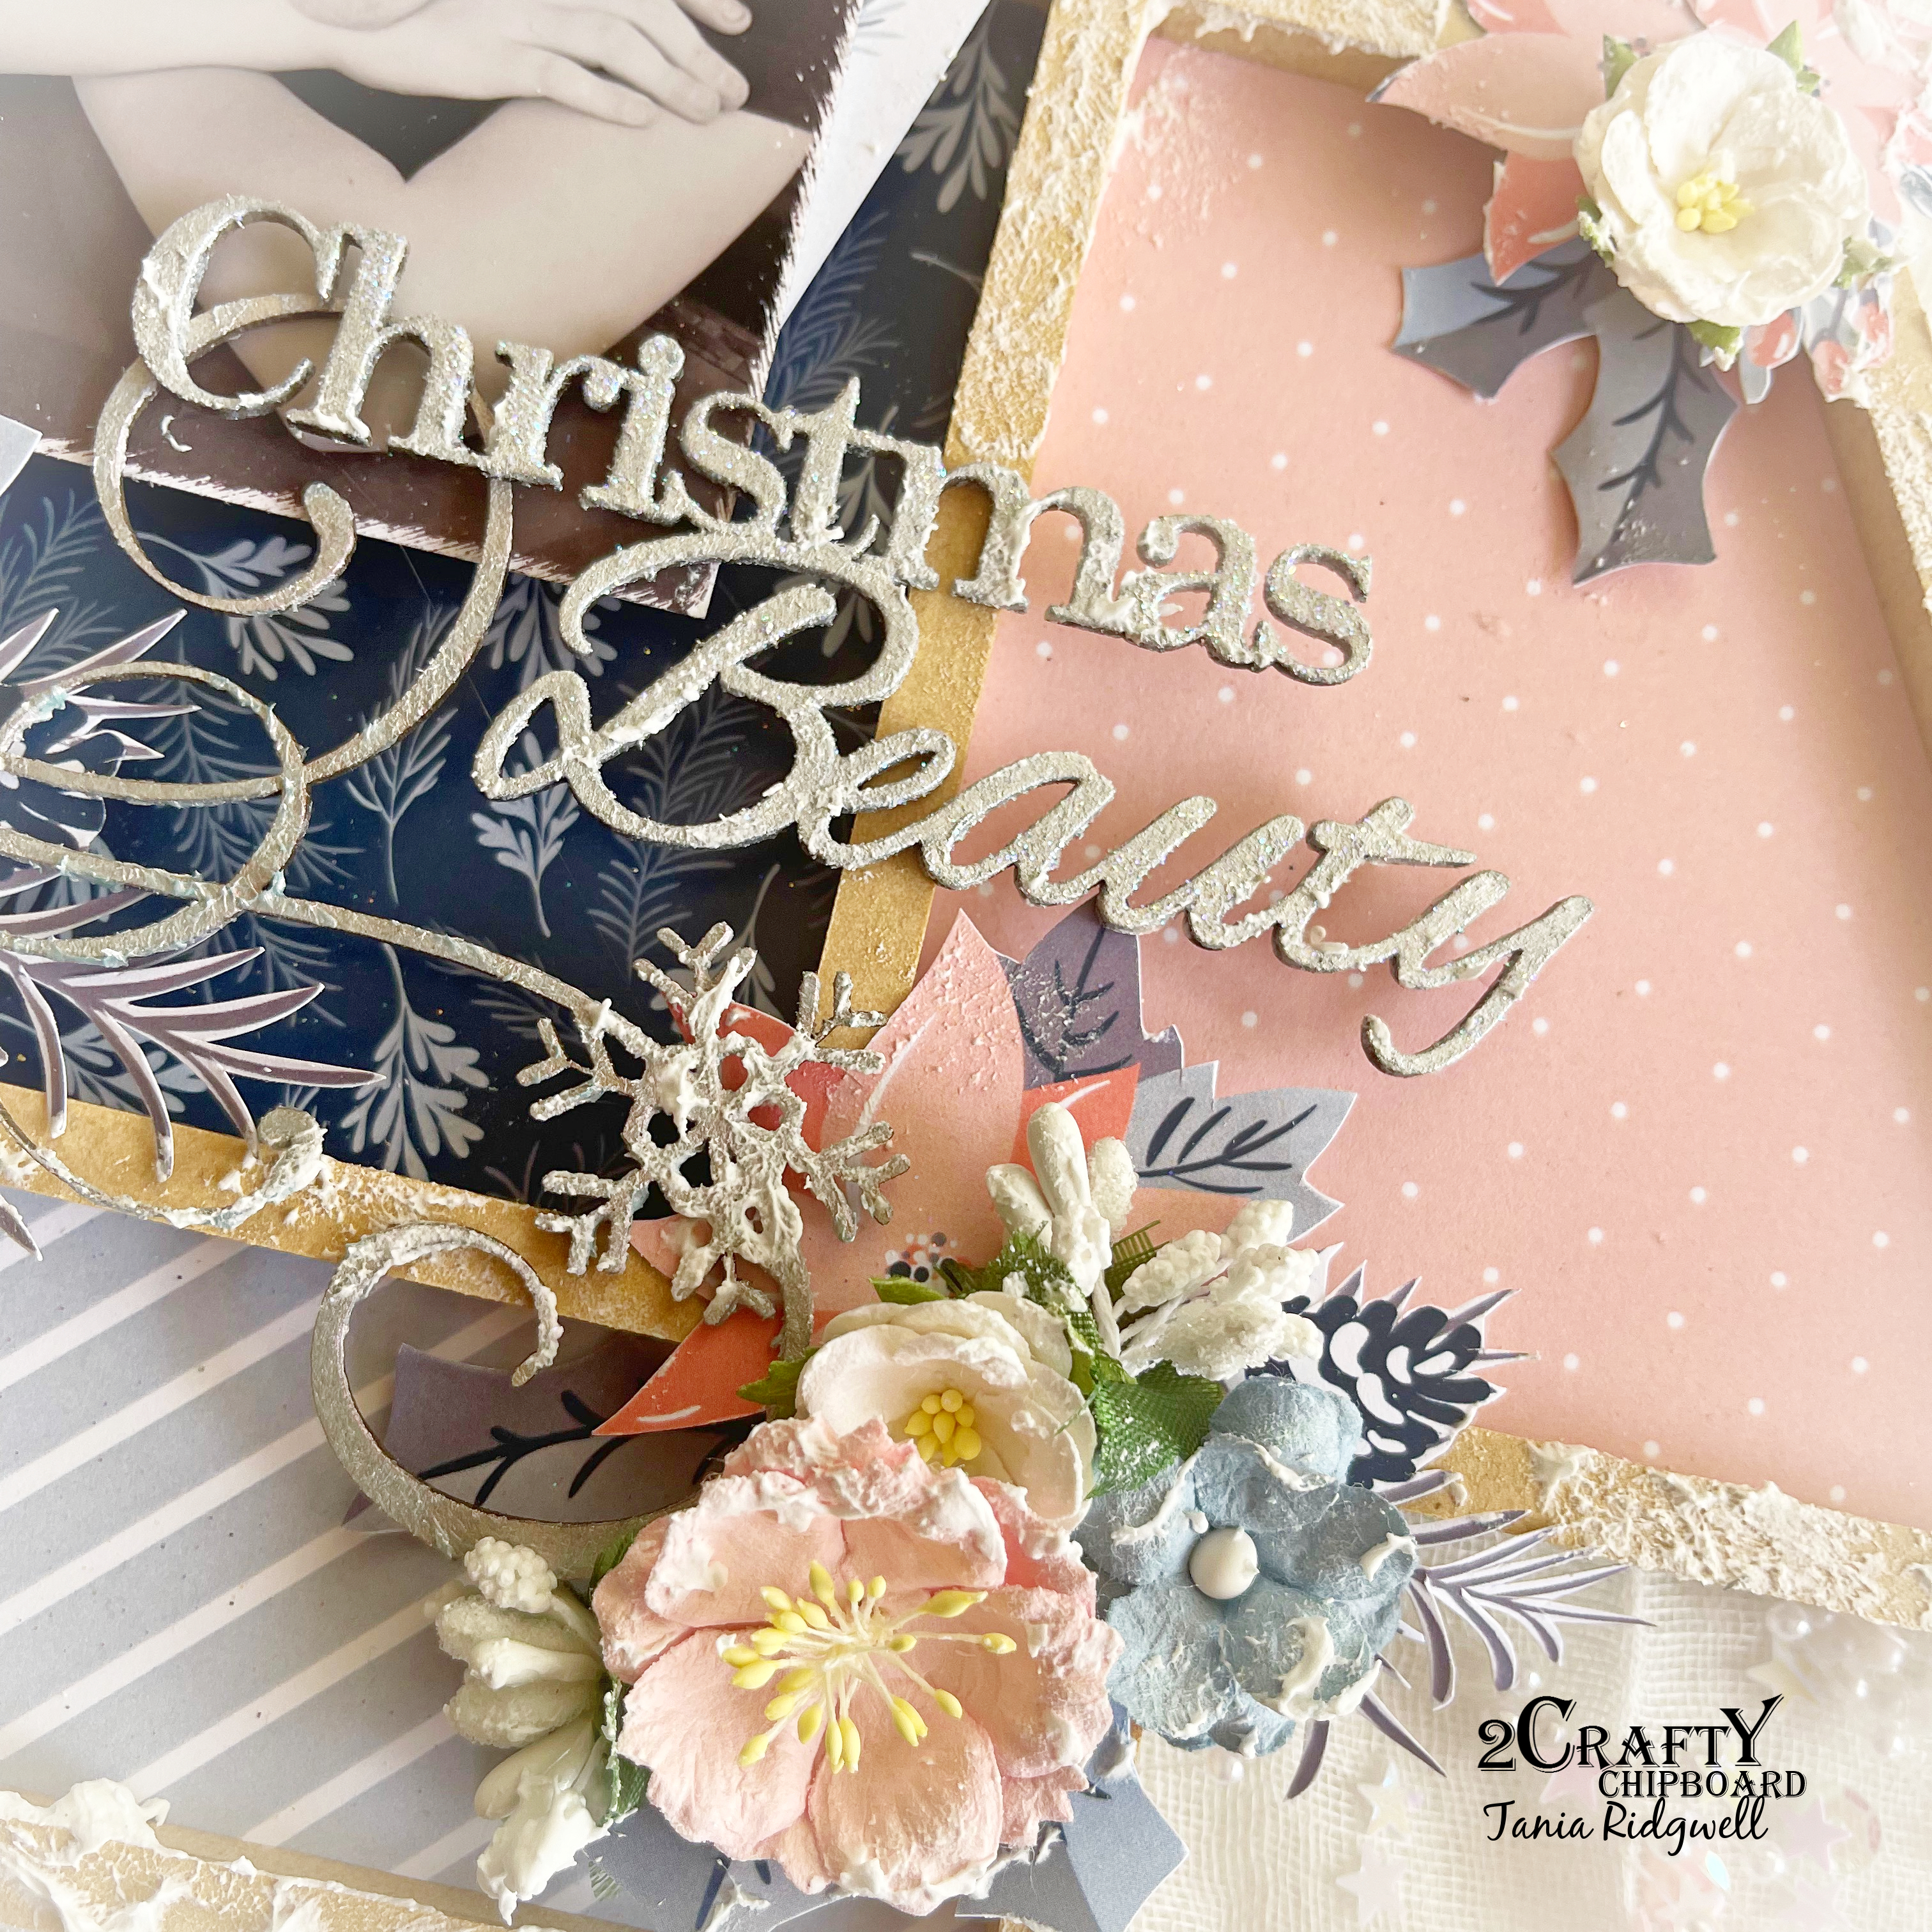
Blush Pink Christmas Altered Tree by Tania Ridgwell

Hi there!

Tania joining you today to share the first of my DT projects for December.  With Christmas fast approaching I thought what better than to share a Christmas project to inspire you all.


2 Crafty Chipboard Used:

*Christmas Beauty
*Mini Reindeers
*Swirly Holly Decorative Set


I kept the Christmas Tree raw and decorated each panel with gorgeous Christmas papers from Paper Rose called Blush Pink Christmas.


I painted all the chippie pieces with Art Alchemy White Pearl Paint and whilst it was still wet I sprinkled all the pieces with Fairy Dust Glitter. I attached my photo to a couple of tags in the same paper that I decorated the frame with and then placed it on the frame.


I fussy cut lots of elements from the same paper and decorated the frame with it.  I then added the large Swirl from the Swirly Holly Decorative Set along the bottom left of the photo.  I then embellished the frame with assorted flowers, added both the Holly Swirls to the larger flower clusters.  I added the Mini Reindeers to the frame and to finish I added true snow to the Tree and randomly over the chippies and flowers.

That's all from me today, I hope I have inspired you all a little with my Altered Christmas Tree  
Until next time,
Thanks so much for stopping by.
Tania xx

Tuesday, November 2, 2021

'Christmas Winterland Cards'
with Lisa Amiet


Hello all!
It's Lisa here on the blog today to share some
 Christmas Winterland cards with you!


2Crafty Products used:


For my first card, I have used one of the 'Winter Twig Branches',
 for my birds to perch on. 


I have also used one of the snowflakes from the 'Wintery Snowflakes' set, 
along with a 'Merry Christmas Fine Card Pack'


For my next card, I have used one of the borders from the 
'Lacey Borders Set 1', which I have cut in half,
 and used to frame the centre of my card. 


I have also used one of the 'Mini Reindeers' in among my elements. 
I have left all of my chipboard raw for these cards,
 I love the warmth that it adds to my project.


For my final card, I have used another of the snowflakes
 from the 'Wintery Snowflakes' set,
 along with two from the 'Mini Weather Icons'that I have layered.


Finally, I have also a word from the 'Christmas Mini Word Set 2' 
that I have finished in a weathered white embossing powder. 

I hope that you like what I have created, 
and that I have inspired you with my Christmas creations.

Until next time!

Lisa x


Friday, December 29, 2017

December Inspiration - A Layout & A Home Decor
PLUS TWO VIDEO TUTORIALS
By Mary Catt

''Christmas Joy''

Hello 2Crafty fans! 
  Mary here with you today with my last post for 2Crafty Chipboard. It's so hard for me to
step down from a team that I have been a member for more than one year. It has been one
 of the best teams ever and I am so honored I was a part of it. I had a really great time
 creating with these gorgeous chipboards and I really hope to return in the future.
But for now, let's take a look at the projects I made for my December inspiration.  
I created a layout and a Christmas home decor on wooden slides and both are having
 video tutorials.
My first layout was made with lots of flowers, some Christmas embellishments
combined with some beautiful chipboard pieces.
You can watch the VIDEO TUTORIAL with the procedure here. 

TO VIEW VIDEO CLICK HERE

 I based my page on the 13arts ARTelier December sketch challenge.


2Crafty Chipboards used... 
 Stars
Swirly Star Border
Xmas Mini Word Pack

 Here are some close ups...


 First, I made a mixed media background with modeling paste and a stencil and did some random stamping. Then, I added color with the ''Pastel Cobalt'' and the ''Pastel Lavender'' 13arts mists.


 I painted the ''Stars'' and the ''Swirly Star Border'' chipboards with the ''Gold'' splash ink.


The title words from the ''Xmas Mini Word Pack'' was also painted with the ''Silver'' splash ink.


Finally, I added some ''Natural Mika Flakes'' and made  some splatters with ''White'' splash ink.


''Christmas Wishes''
 
My second project is a Christmas home decor piece created with lots of
chipboards along with some beautiful Christmas flowers and lots of glitter.


You can see the procedure on my VIDEO...

TO VIEW VIDEO CLICK HERE 


 I based my page on the Mixed Media Place December challenge.


2Crafty Chipboards used... 
 Holly Twig
Deer Head Set
Mini Reindeers
Stellar Snowflakes
Fernlike Snowflakes

 Here are some close ups...

 I started by applying a coat of white gesso on the wooden slices. Then, I created
 texture with modeling paste mixed with mini art stones.


 While waiting the paste to dry, I heat embossed all the chipboards with the ''Queen Sheba's Silver'' Lindy's Gang embossing powder, then I sprinkled some white glitter on them.


 I used some Lindy's Gang sprays such as ''Salt Water Taffy'', ''Alpine Ice Rose'' and
 ''Autumn Maple Crimson'' to add color on the wooden slices.


As a final touch, I used Snowflake Paste here and there and some made splatters
 with white gesso diluted with water.


 Well, that was all from me today...

 I really hope you enjoyed these projects and all the previous ones I've shared with you.

Thank you so much for stopping by!