Showing posts with label Swirly Holly Decorative Set. Show all posts

Monday, December 9, 2024

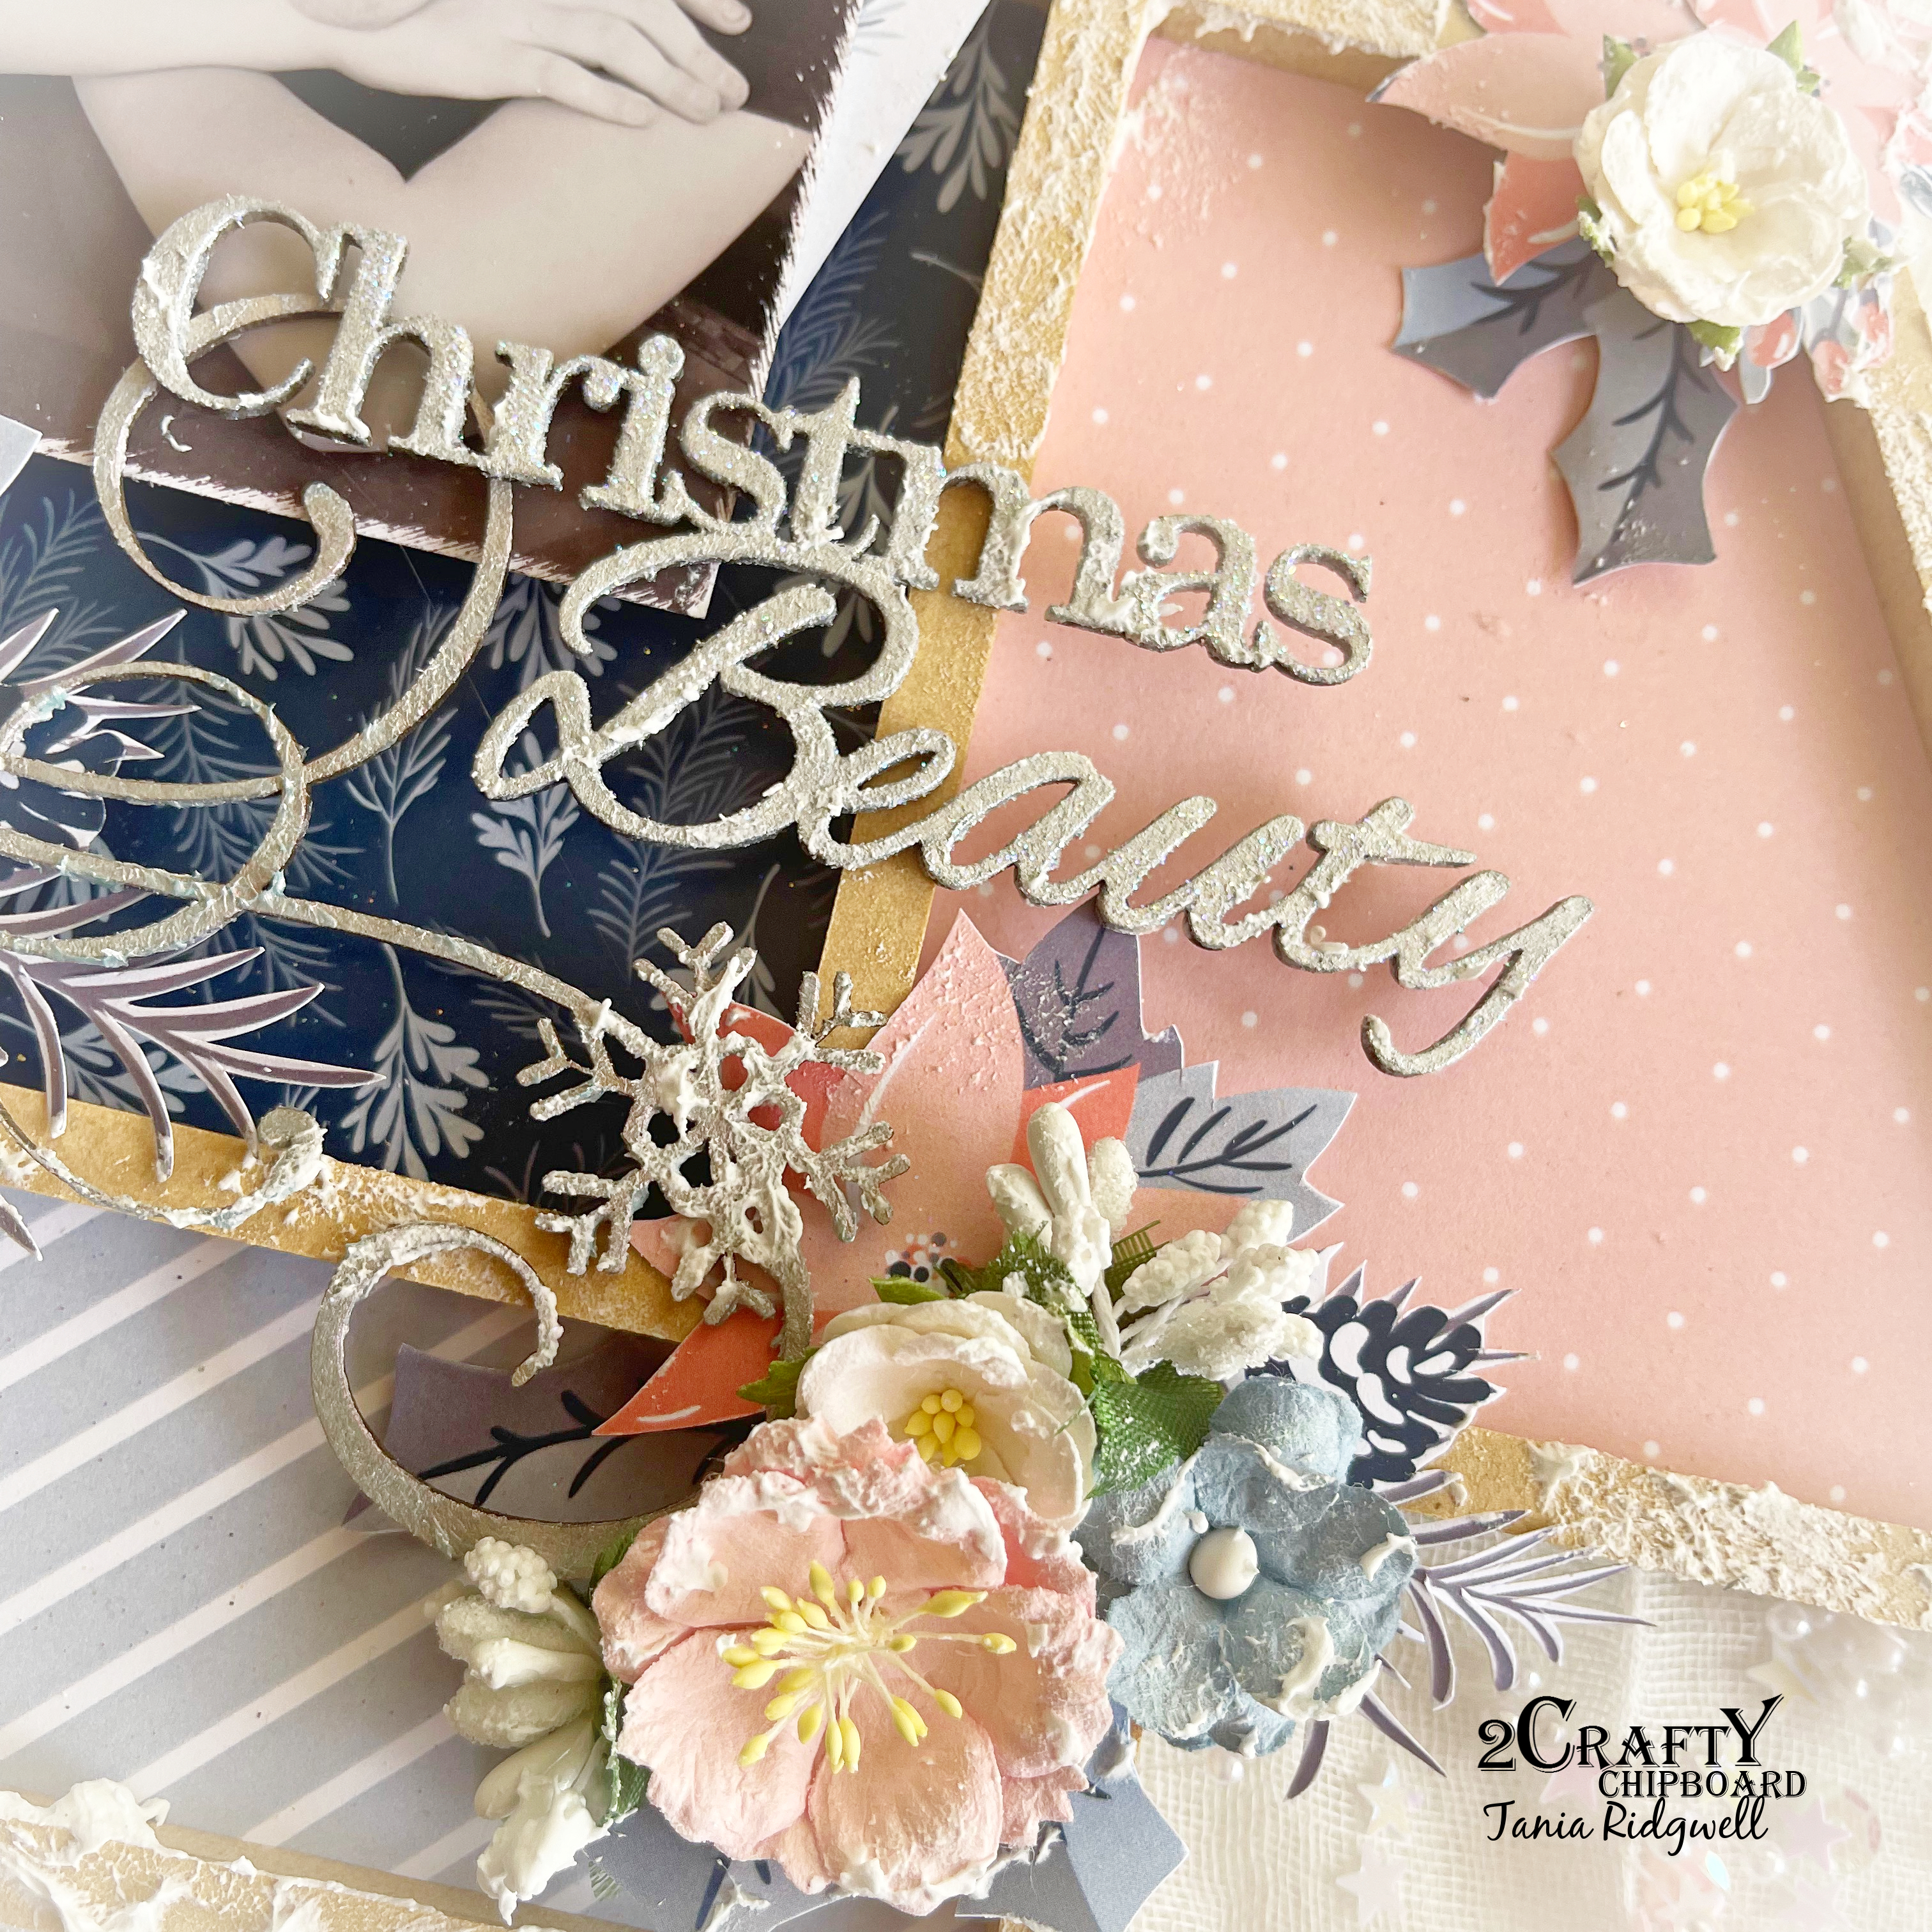
Altered Merry Christmas Frame by Tania Ridgwell

Hi there!

Tania joining you today to share the first of my DT projects for December. 
I have altered a wooden frame. 


2 Crafty Chipboard Used:

*Pine Needle Wreath
*Star Bright Snowflakes
*Swirly Holly Decorative Set


I have used the gorgeous new Uniquely Creative Christmas Wishes Paper Collection to decorate the inside photo frame panel.


The Swirly Holly Set chippies have been coloured with Golden Flamingo Opal Polish.  The Pine Needle Wreath &  Star Bright Snowflake chippies have been coloured with All Purpose Frost White paint and once dry I randomly dabbed a little of the Golden Flamingo Opal Polish over them.


I decorated the frame by adding fussy cut elements and paper blooms.   I cut up the large swirl from the Swirly Holly Set and tucked in a piece to the top and a piece to the bottom of the embellishment cluster along the bottom left of the frame.  I tucked in the other chippies from the Swirly Holly Set to the top right of the frame and also tucked in the Snowflake chippies amongst the fussy cut elements and flowers.  I cut the Wreath chippie in half and added one half to the left of the frame and the other half to the right of the frame.


To finish off my frame I randomly sponged on some gesso on the frame and to the flowers, fussy cut elements and chippies to give it a snow like effect.


Thats' all from me today, I hope I have inspired you all a little with my Altered Christmas Frame. 
 Until next time thanks so much for stopping by.
Tania xx

Monday, December 4, 2023

Christmas Time Cards by Tania Ridgwell

Hello there!
Tania popping in today to share the first of my DT projects for December. 
 I have created a set of Christmas Cards.

"Christmas Time Cards"


2 Crafty Products Used:

*Mini Reindeers
*St. Nicks Snowflakes
*Swirly Holly Set
*Merry Christmas Script Card Pack


I created each of my cards bases using the beautiful Paper Rose Studio Christmas Time Basics Paper Collection. I painted the St Nicks Snowflakes with two coats of gesso.  The Mini Reindeers and the Swirly Holly Chippies have been painted with Mont Morte Gold Paint. 
To construct each of the cards I embellished them with flowers and fussy cut flower elements, then added my chipboard pieces to each card tucking them into and under the paper layers and fussy cut elements on the cards.  To finish each card I added a raw Merry Christmas title to each card.

See each of the cards below.


Thats' all from me today, I hope I have inspired you all with my Christmas Time Cards.  Until next time thanks so much for stopping by.
Tania xx

Tuesday, November 7, 2023

Christmas Time Altered Tree by Tania Ridgwell

Hi there!

Tania joining you today to share the first of my DT projects for November. 
Last year I created one of these Beyond the Page Wooden Christmas Trees and
enjoyed making it so much I decided I would make another.  


2 Crafty Chipboard Used:

*Ornate Snowflakes
*Holly Twig Branches
*Swirly Holly Set
*Christmas Mini Word Set 1


I kept the Christmas Tree raw and decorated each panel with gorgeous Christmas
 papers from Paper Rose called Christmas Time.


I painted the Ornate Snowflakes, Swirly Holly and Celebrate & Christmas from the Christmas Mini Word Set 1 chippies with Gold Mont Marte Paint. 

 Once dry I randomly dabbed on some Colour Blast Snow White Colour Paste.

I dabbed on a thick coat of Art Alchemy Green Gold paint to the Holly Twig Branches
 and once dry gave them all a light coat of Chopped Pesto Ink Sp
ray. 


I attached my photo to a couple of distressed paper layers in the same paper that I decorated the frame with and then placed it on the tree.

 I cut the large Swirl from the Swirly Holly in half and added one half to the top of my photo and the other to the bottom of my photo.  I then embellished the tree with assorted flowers.

 I tucked the Holly Twig Branches and Ornate Snowflakes randomly into different areas of my flower clusters and to finish I added true snow to the Tree and randomly over the chippies and flowers.

That's all from me today, I hope I have inspired you all a little with my Altered Christmas Tree.
  
Until next time,
Thanks so much for stopping by.
Tania xx

Wednesday, December 7, 2022

Blush Pink Christmas Altered Tree by Tania Ridgwell

Hi there!

Tania joining you today to share the first of my DT projects for December.  With Christmas fast approaching I thought what better than to share a Christmas project to inspire you all.


2 Crafty Chipboard Used:

*Christmas Beauty
*Mini Reindeers
*Swirly Holly Decorative Set


I kept the Christmas Tree raw and decorated each panel with gorgeous Christmas papers from Paper Rose called Blush Pink Christmas.


I painted all the chippie pieces with Art Alchemy White Pearl Paint and whilst it was still wet I sprinkled all the pieces with Fairy Dust Glitter. I attached my photo to a couple of tags in the same paper that I decorated the frame with and then placed it on the frame.


I fussy cut lots of elements from the same paper and decorated the frame with it.  I then added the large Swirl from the Swirly Holly Decorative Set along the bottom left of the photo.  I then embellished the frame with assorted flowers, added both the Holly Swirls to the larger flower clusters.  I added the Mini Reindeers to the frame and to finish I added true snow to the Tree and randomly over the chippies and flowers.

That's all from me today, I hope I have inspired you all a little with my Altered Christmas Tree  
Until next time,
Thanks so much for stopping by.
Tania xx

Saturday, January 9, 2021

“Pure Joy”
By Marie Claude Rodier

 Happy new year everyone! I wish you all the best for the year to come.

I’m here today to show you my latest 2Crafty project... a layout in a non traditional color scheme.
 I, of course, used several wintery chippies.

Pure Joy


Pure Joy title was colored with Prima dark teal watercolor stick, with a clear coat of 
embossing powder and finally highlighted with white matte wax.


Swirly Holly Decorative Set was cut into pieces. Only snowflake swirly ends were used 
in this layout. Both pieces were embossed with mint powder and lightly darkened with 
the same teal watercolor stick I used for title.


Fine Snowflakes were left untreated, except for a light white washing
 effect realized with white wax.


2Crafty products used...
Pure Joy
Fine Snowflakes
Swirly Holly Decorative Set


Until next time, be happy and be creative!

Marie Claude
xx