Showing posts with label Mini Decorative frame set 6. Show all posts

Tuesday, July 1, 2025

"Cute"
Layout by Marie Sabatier

Hello everyone,

I present to you my first inspiration for this month of July.
A soft and romantic layout with a photograph of my grandson Milan.
For this layout, I opted for the use of mini-chipboards.

"Cute"

The chipboard used:

I'm using three separate mini frames. They're perfect for showcasing the beautiful embellishments from the "Little Dreamer" collection designed by Joanne Bain.

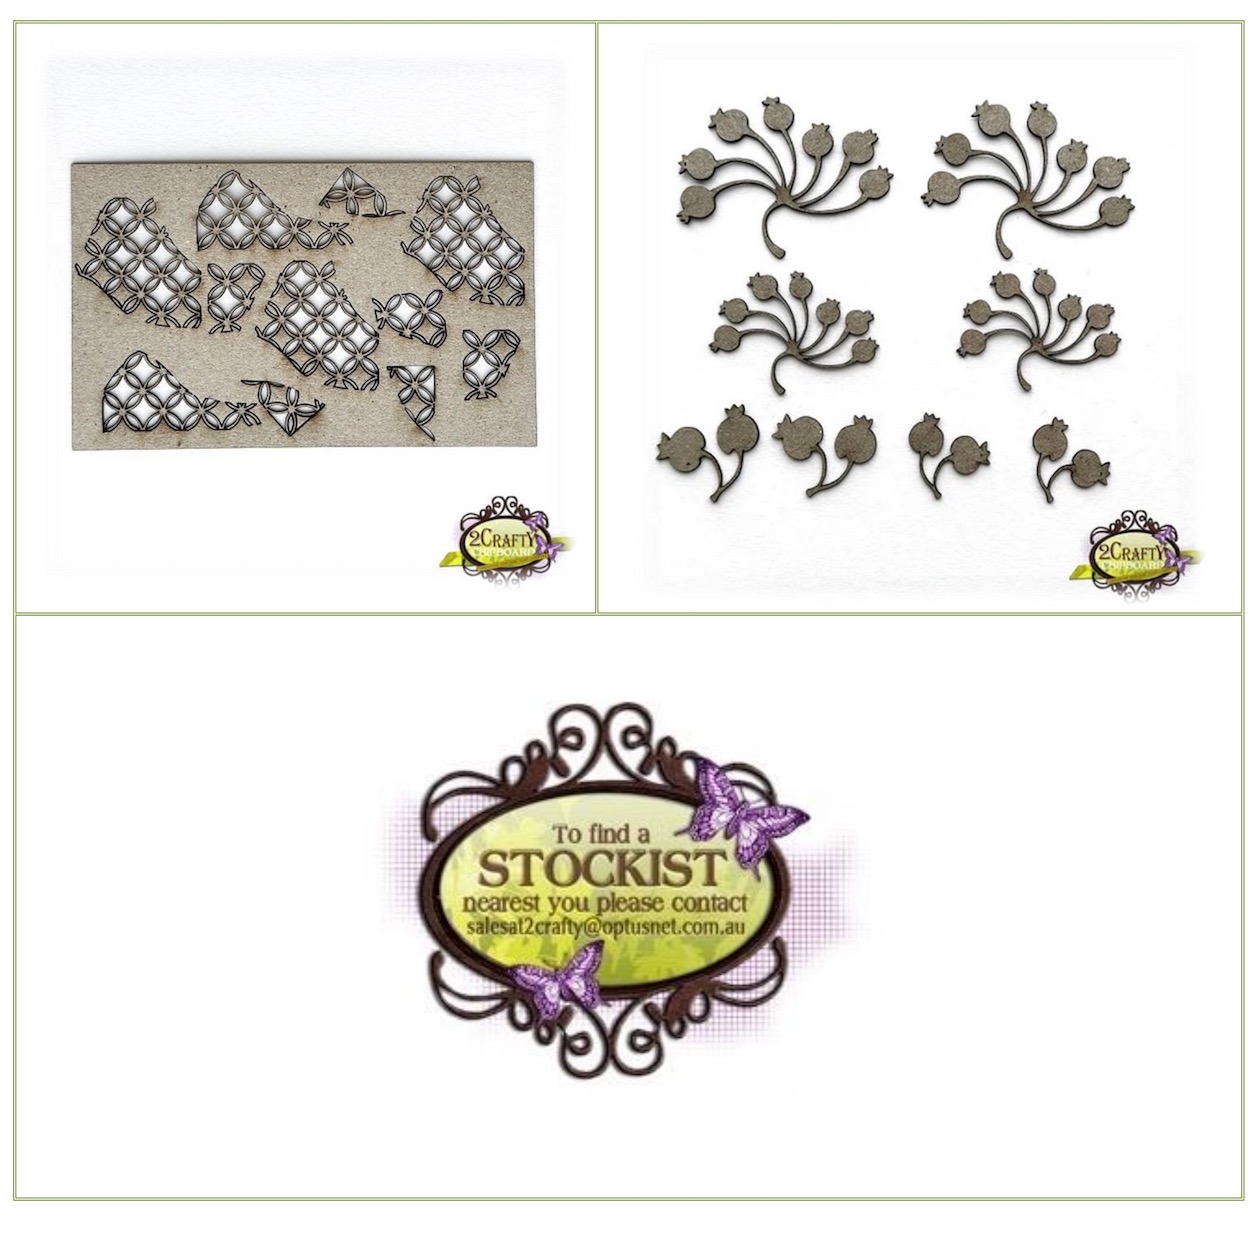
I start by applying a coat of white gesso. For the frame on the left, I'm using "Bronze Age" and "White Gold" waxes. I add a piece of "mini lattice bits" and the word "Cute," which are simply covered by the white gesso.


The other two frames were embellished with "Distress Oxide" inks in "vintage photo" color.
To achieve different shades, I spray them with water.


Here, I'm creating a cluster by adding these sublime "bush-nut floral clusters".
I'm using the shades "black soot" and "faded jeans".


There is no complexity in this layout. 
An assortment of exceptional products.

Good scrap to you!


Wednesday, April 17, 2024

'Sweet Times'
with Lisa Amiet


Hello all!
It's Lisa back today to share some scrappy goodness with you.
I have created a layout of a photo of my children and I.

'Sweet Times'


2Crafty products used:


For this layout, I used one of the 'Mini Decorative Frame Set 6',
that I tucked in to frame a flower from the embellishments.

I also used one of the 'ATC Design Elements' 
as a flourish from the heart embellishments. 


I also used the 'Frame Ingrid's' to frame my sentiment. 
So pretty and delicate. 
I have left my chipboard raw as I felt it coordinated
 with the vintage nature papers that I have used. 


And I also folded the wings up on one of the 'Mollie's Butterfly Set'
and layered it onto its solid piece for some dimension. 


To finish, I used one of the locks from the 'Key Set Mini' to add to my page. 


I hope that you like what I have created, 
I really like the soft delicate nature feel to this page. 

Until next time!

Lisa 


Tuesday, September 13, 2022

Bluebird Song Cards by Tania Ridgwell

Hello there! 

Tania joining you today to share a bonus DT project I have created for this month.
I have a set of cards to share with you all. 

"Bluebird Song Cards"


2 Crafty Chipboard Used:

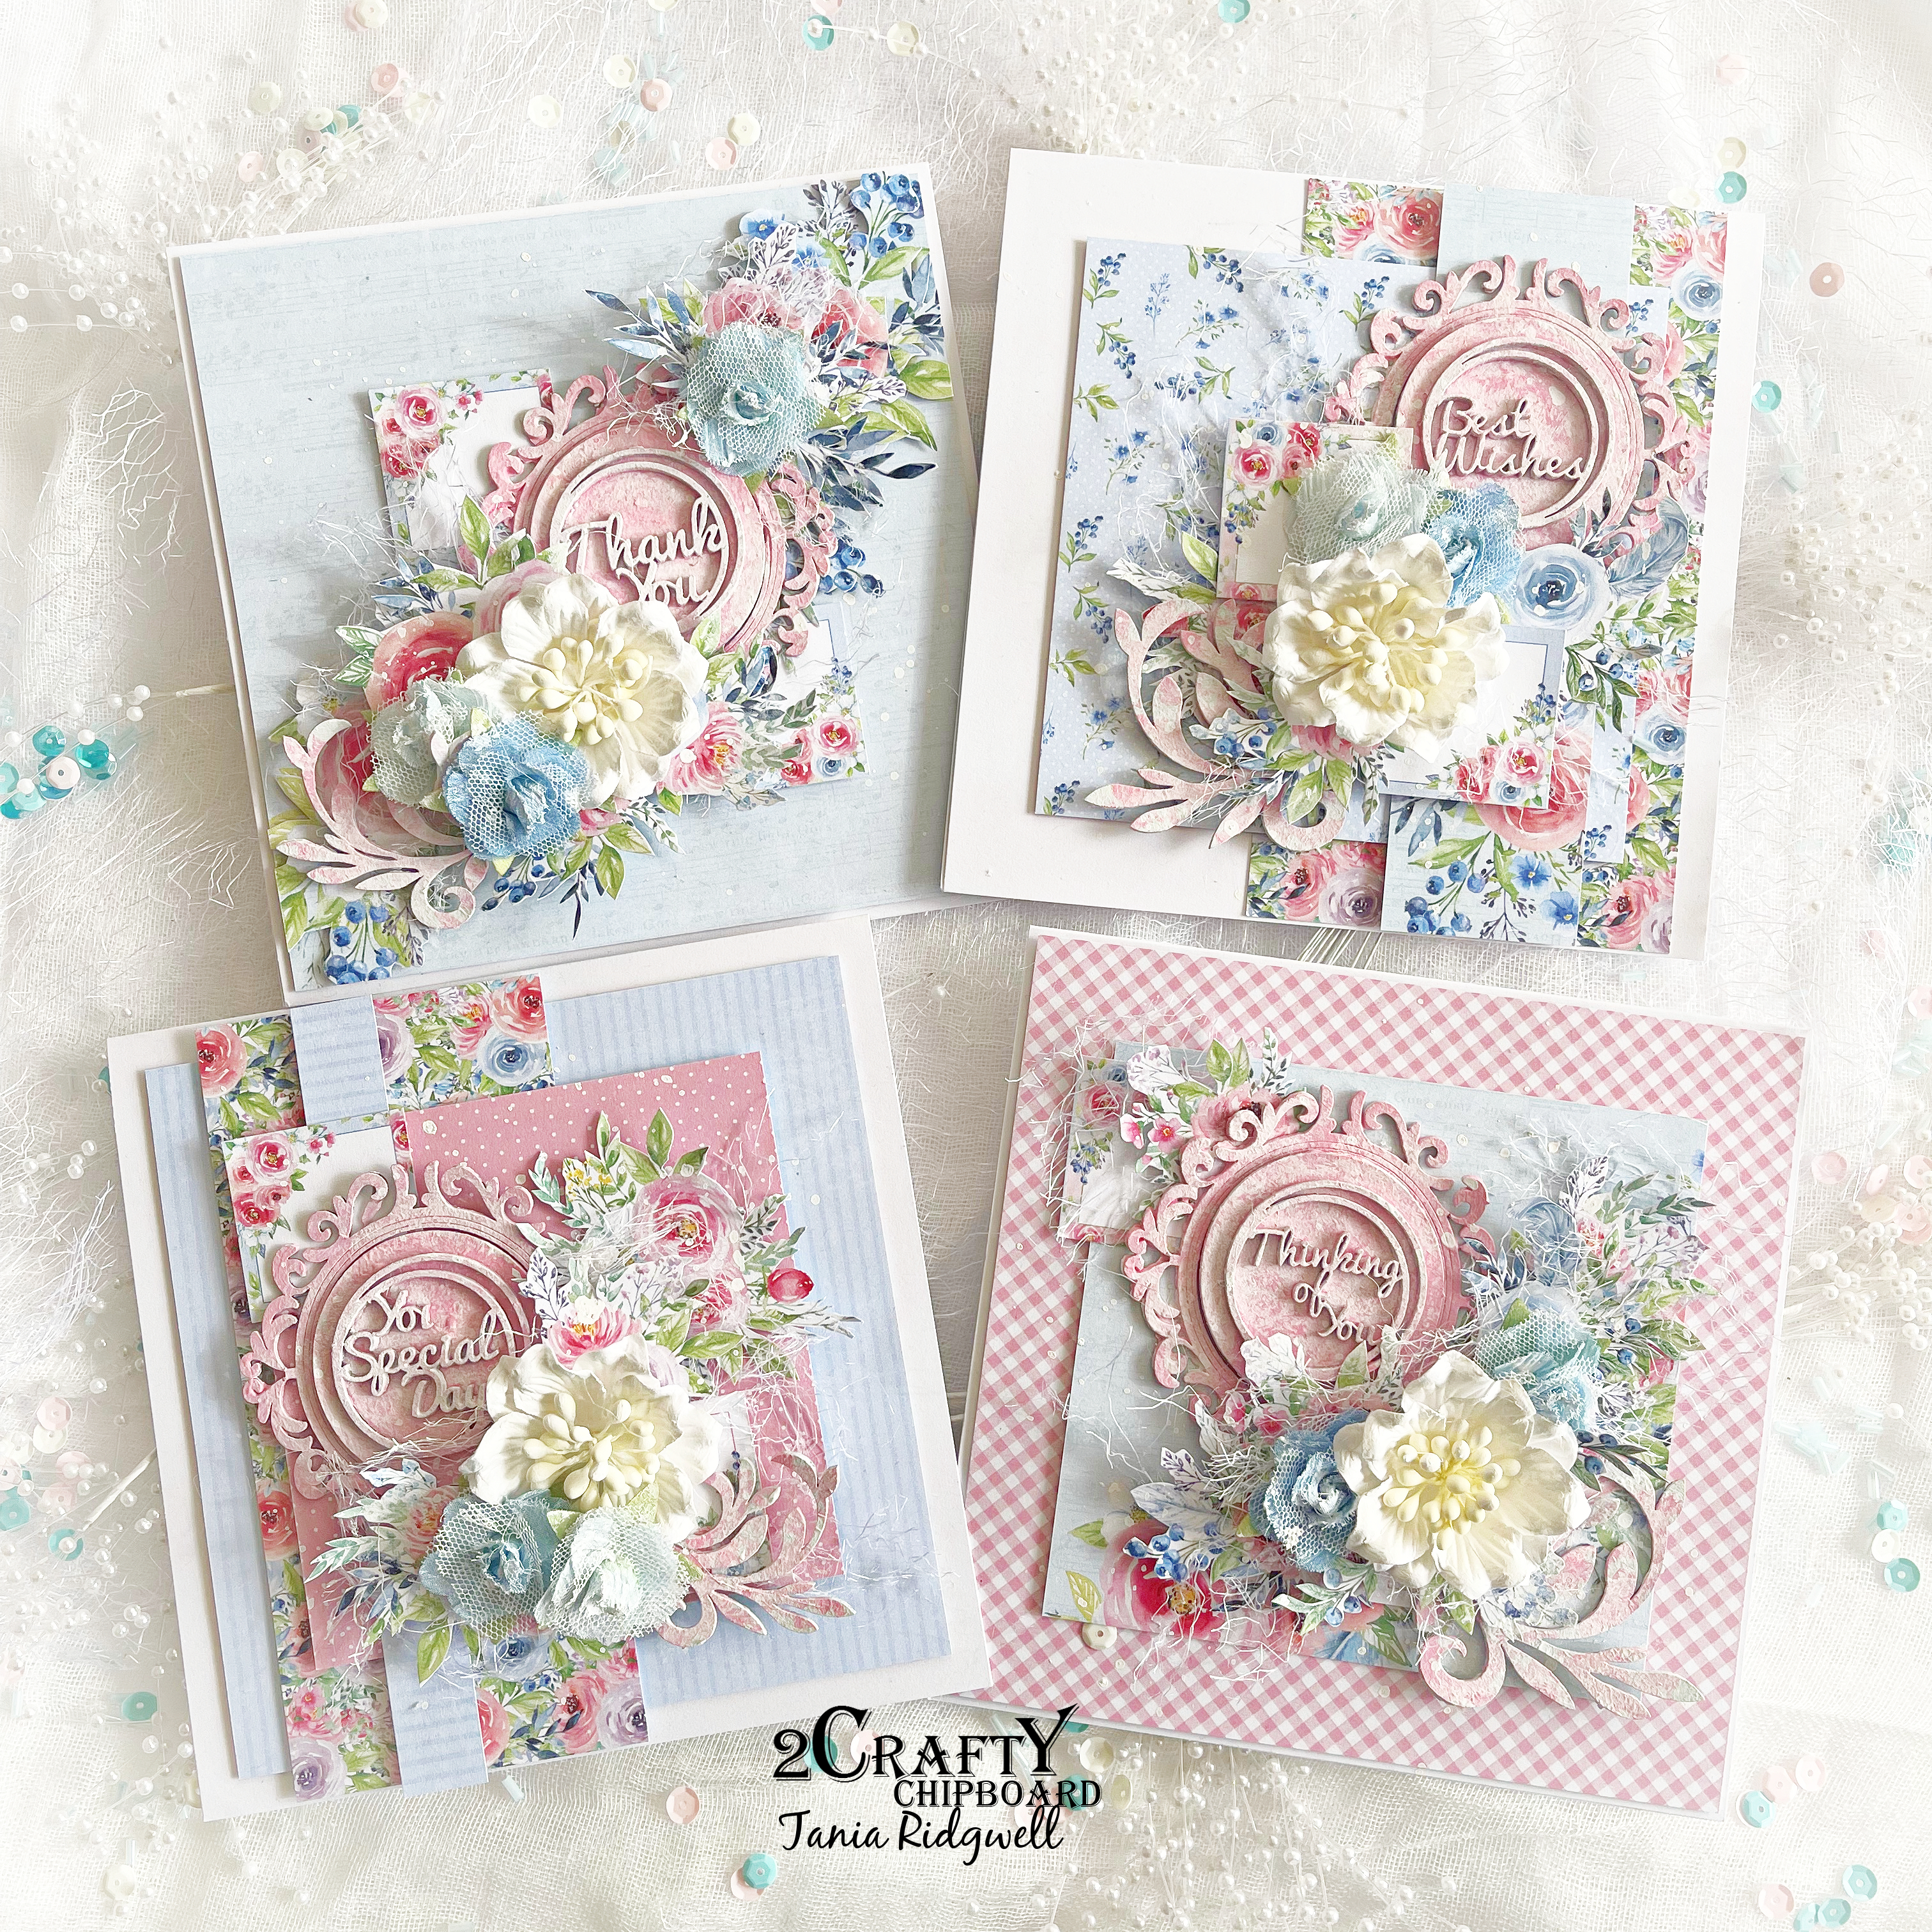
*Mini Decorative Frame Set 6
*Card Word Circles - Sentiments
*Flourish Adornment Set 7 


I created each of my card bases using the gorgeous Paper Rose Bluebird Song Paper Collection.

I just love the pretty colour palette in these patterned papers. I gave each of the chippies a coat of gesso first, once dry I painted them all with Dylusions Rose Quartz paint.  As I didn't want the pink paint to be to vibrant I sponged on some gesso over each piece.

To construct each of the cards I added all my chipboard pieces.  I then embellished them with fussy cut flower elements and assorted flowers.  I finished each card by dabbing a small amount of gesso on all of the flowers.

See each card below.


Thats' all from me today, I hope I have inspired you all a little with my Bluebird Song Cards.  
Until next time thanks so much for stopping by.

Tania xx


Monday, June 6, 2022

'Adventure Awaits'
layout by Rachael Funnell


Hello, 2 Crafty fans!
Rach with you sharing my newest layout
featuring my nephew & some fabulous 2 Crafty Chipboard..


2 Crafty Chipboard used:
Tension Spring set
Adventure Awaits title
2022
Mini Decorative frame set 6


Starting with my title 'Adventure Awaits' which I thought was 
 just perfect for this photo and I have inked this with black. 
 
If you are a regular or are familiar with my layouts, 
you would have noticed by now that I do love to add the date and 
or year to most of my pages and with this layout I have added just the yr 2022
 First, I applied a coat of gesso to the 2022 and once dried, inked it lightly with a lime green


2 Crafty have a GREAT range of FANTASTIC frames in a variety of sizes and styles
to choose from, which you can also use or remove the centres..

 I have chosen to ink this Mini Decorative frame from set 6 and the centre bit with a tan colour, 
before adding a little quote... I'm REALLY happy with how it looks...


AND lastly are these Tension Springs, Where I have heat embossed these
beauties with a dark blue & don't they look FABULOUS!!!

I am really happy with my layout & 
I hope my layout has inspired you in some way...
Until next time!

Sunday, May 8, 2022

'Relic - by Emma Zappone

Hello Everyone and welcome to my first share for the month of May.
This share is on the smaller scale of 8inx8in. I work mostly with 3x4 photo images, which work great on my usual 12x12 or A4 layouts. So this time I decided to create small and tight, but still using the 3x4 image. I love the result and also let's love how cool and quirky this image is too!


Now lets talk about the awesome chippy used.
I have chosen to play with some of the newer pieces which added an eclectic/steampunk
vintage vibe to the project.

Pieces used are......

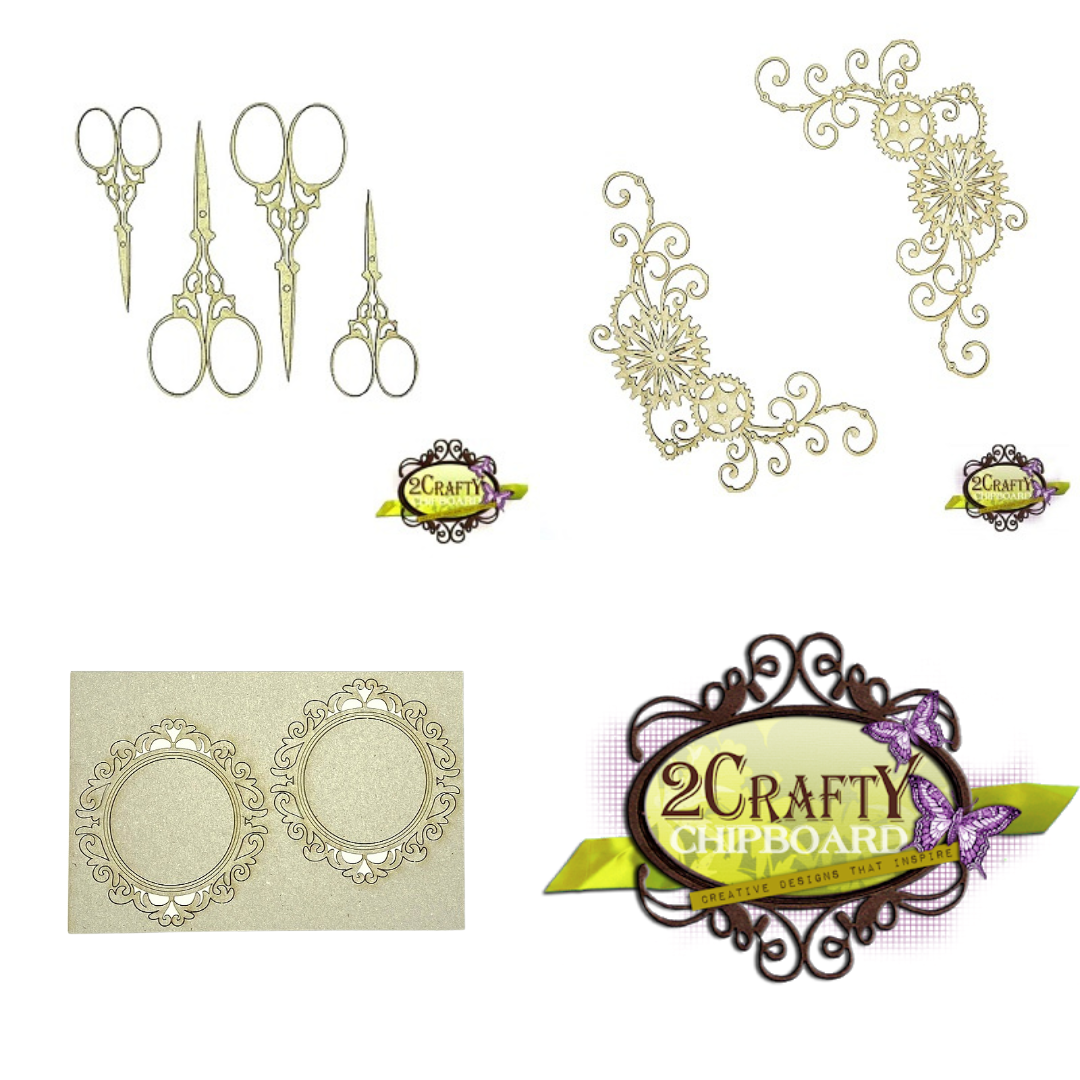
Mini Scissors
Mini Decorative frame set 6 
Corner Steampunk set 6


I wanted the chipboard to really sing around the image. I also wanted to use a new product and medium on the chipboard which was the new Ranger Foundry wax. And boy I was NOT disappointed! 


I could layer the colours over each other onto the chipboard as you can see here on the Steampunk corner, drying and setting the wax as I went. And the chipboard loved it! It certainly started to sing.


I was hoping it wouldn't hide any of the details of the chipboard as I painted the wax over the pieces, as sometimes if your painting with acrylic this can happen.  But as I was setting the wax the beautiful grooves and details really came through. As you can see on this pair of Mini Scissors, shining in Gilded Gold.


Each piece of chipboard has been treated with this finish on this page. And I must say that I am loving it! It really added to that steampunk vintage look I had desired from the start of the project.

I hope that my 8x8 page has inspired you to create this week and maybe play with a new or different medium on your chipboard. This chipboard LOVES all mediums!!

See you all soon, stay crafty.
Em xx


Monday, April 4, 2022

Love, Adore, Dream Frame by Tania Ridgwell

Hi there!

Tania joining you today with the first of my DT shares for April.
  I have altered a wooden frame.


2 Crafty Chipboard Used:

*Circle Word Tag Set 1
 *Border Fancy Set 2
*Addy's Butterflies 
*Mini Decorative Frame Set 6
*Mini Title Stick Set 3 


Once I had coated the frame with a couple of coats of gesso and decorated the inner panels with patterned paper I set about embellishing it with lots of 2 Craft Chipboard goodness.


I used Prima Blue Lagoon Metallic Wax to colour the Mini Decorative Frame Set B.  The Fancy Set 2 Borders and Addy's Butterflies have been coloured with black mist.
Once I had added photos I embellished the frame with flowers and chipboard pieces.


I used several of the Circle Word Tag Set 1 chipboard and also a piece from the Mini Title Stick Set 3 which I kept raw to finish off the frame.


That's all from me today, I hope I have inspired you all a little with my Altered Frame.  
Until next time,
Thanks so much for stopping by.

Tania xx

Wednesday, March 30, 2022

'Alice' by Emma Zappone - VIDEO TUTORIAL

 Hello everyone.
Emma with you on the blog today with a 12x12 Layout and Video.
Here is what I'm sharing with you today....


And the beautiful chipboard used.....

Fine Floral Corner
Lorena Corner
Mini Decorative Frame set 6


The image I used today really inspired the whole story behind this project. It is by an amazing artist named Femke Muntz and they are just the best melancholy artworks.
The girl in the painting had an emotion I could match and feel. But yet a softness and vulnerability.
So I wanted chipboard to match the softness and yet fill the page with hope.


The chipboard all had a similar finish to them, but also an individuality.
The Lorena corner was painted with a liquid acrylic paint, then stamped with black ink and a script stamp and then had a clear glaze over the top to add super shine.


The beautiful delicate mini frame had the same finish as the corner piece except instead of a clear glaze I added a emboss glaze in a tattered rose colour, which deepened the colour and mage it a beautiful feature to the page.


Finally this stunning Fine floral corner was cut into 2 pieces and had a denim blue acrylic painted over it. No stamping was done on these, but a double quote of clear glaze was applied that added life to the florals of the piece.


I love that I have become a story teller in my scrapbook art. And I do this by using small quotes to create the story of the page. This one is - 'Alice, She merely went on with her life, to the best of her ability where only the imagination can go.' 


I think you will see more of this style artwork included in my projects. 
I hope you enjoy the process video too.


Have a great week everyone, and I will see you soon.

Em xx