Showing posts with label Mixed Media scrapbooking.. Show all posts

Monday, June 3, 2019

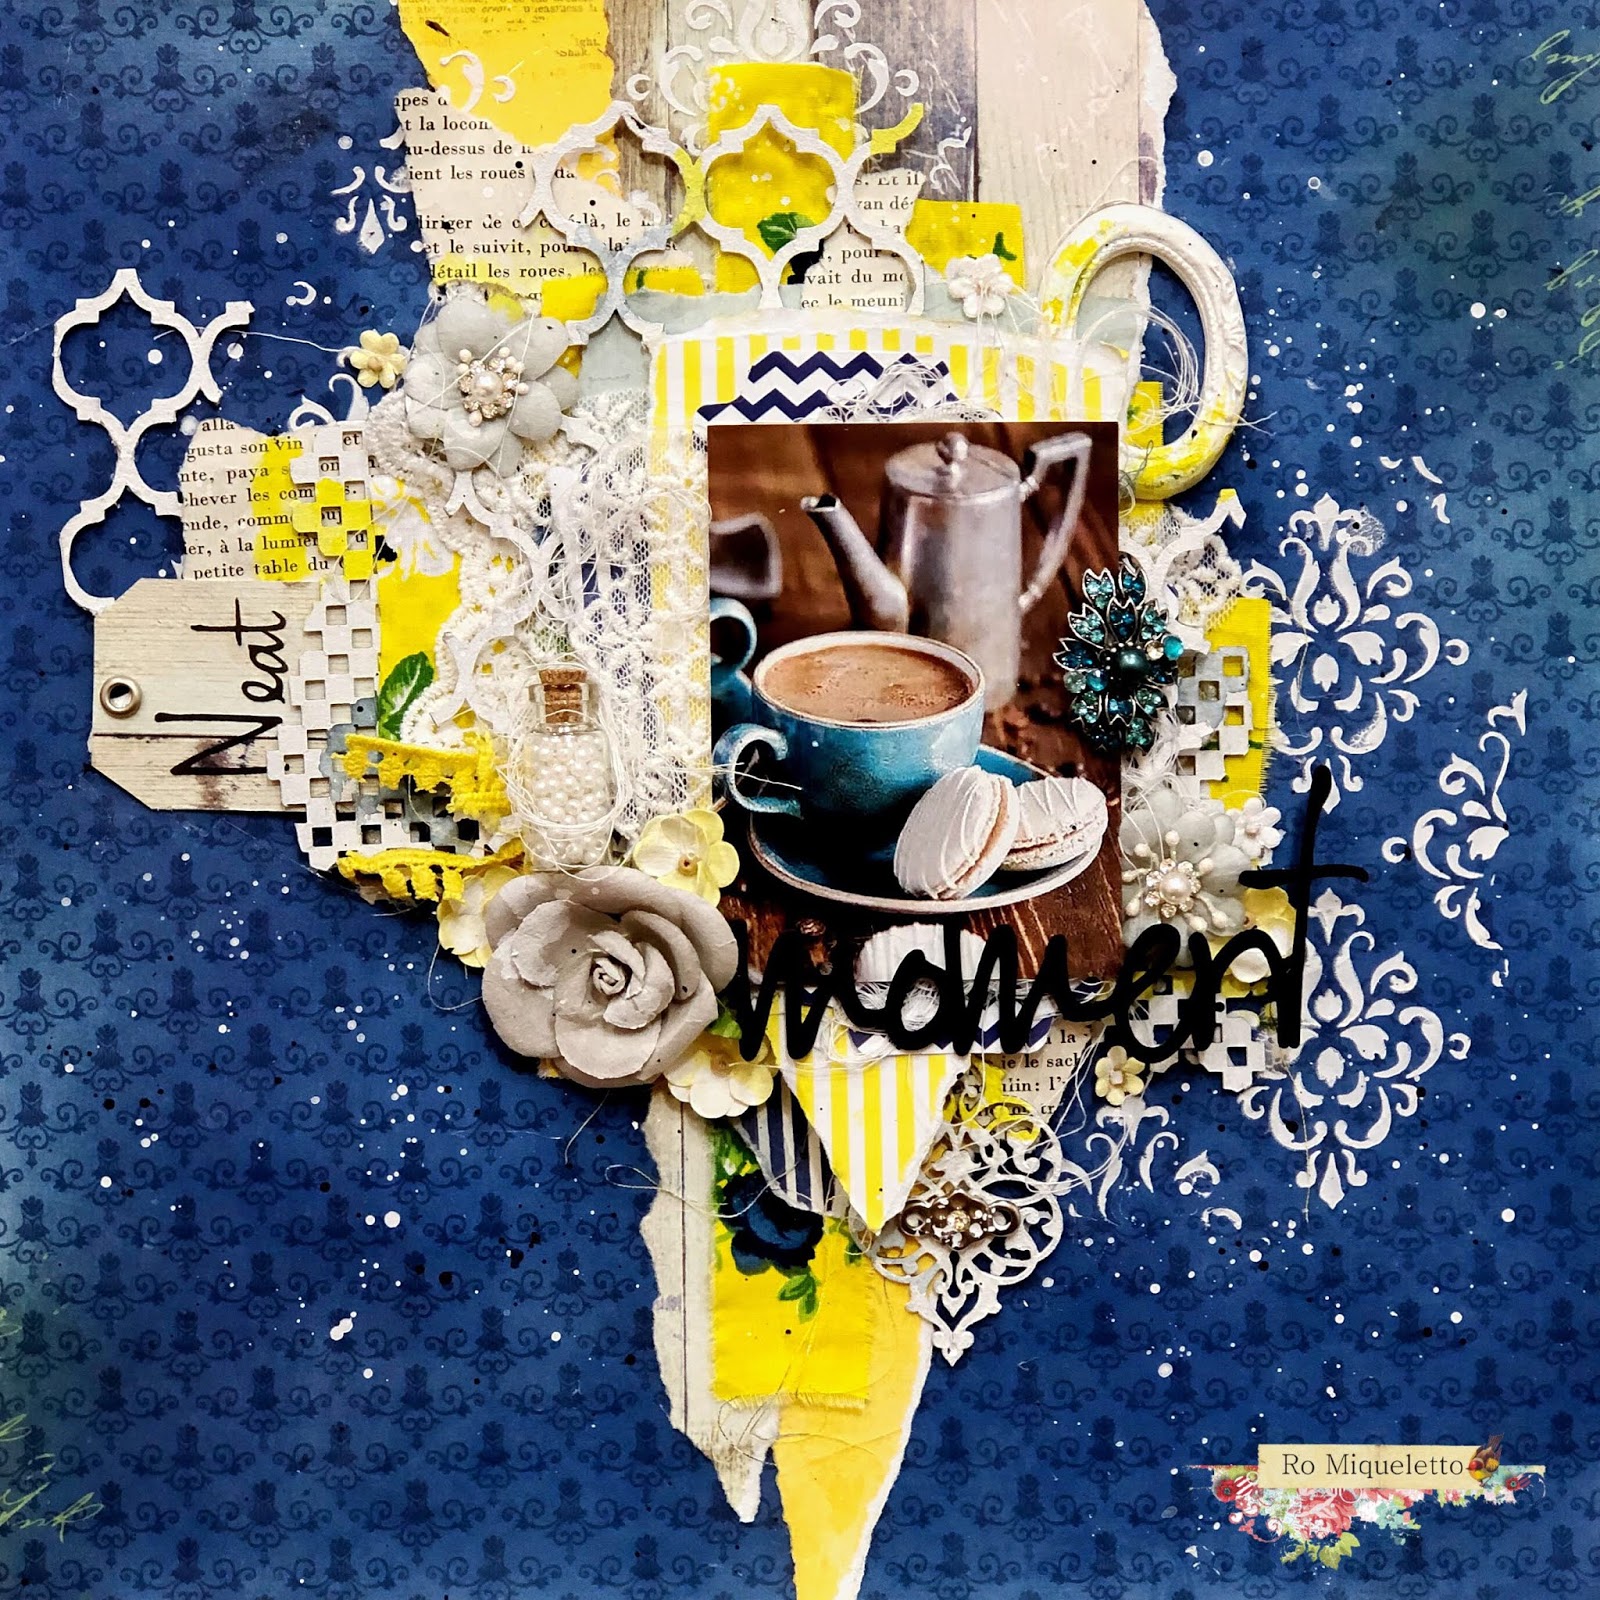
‘"Moment" layout by Ro Miqueletto

Hello 2Crafty friends!  

Today I want to show you my new project for our collaboration with CSI Challenge Blog.
2Crafty Chipboard is one of the sponsors of the challenge this month.

"Moment"


Today I present a layout that shows the moment that I like to have every day!


2Crafty Chipboard used:

Moment Loopy Font
Moroccan Panel
Element Set 1.
Checkerboard Panel

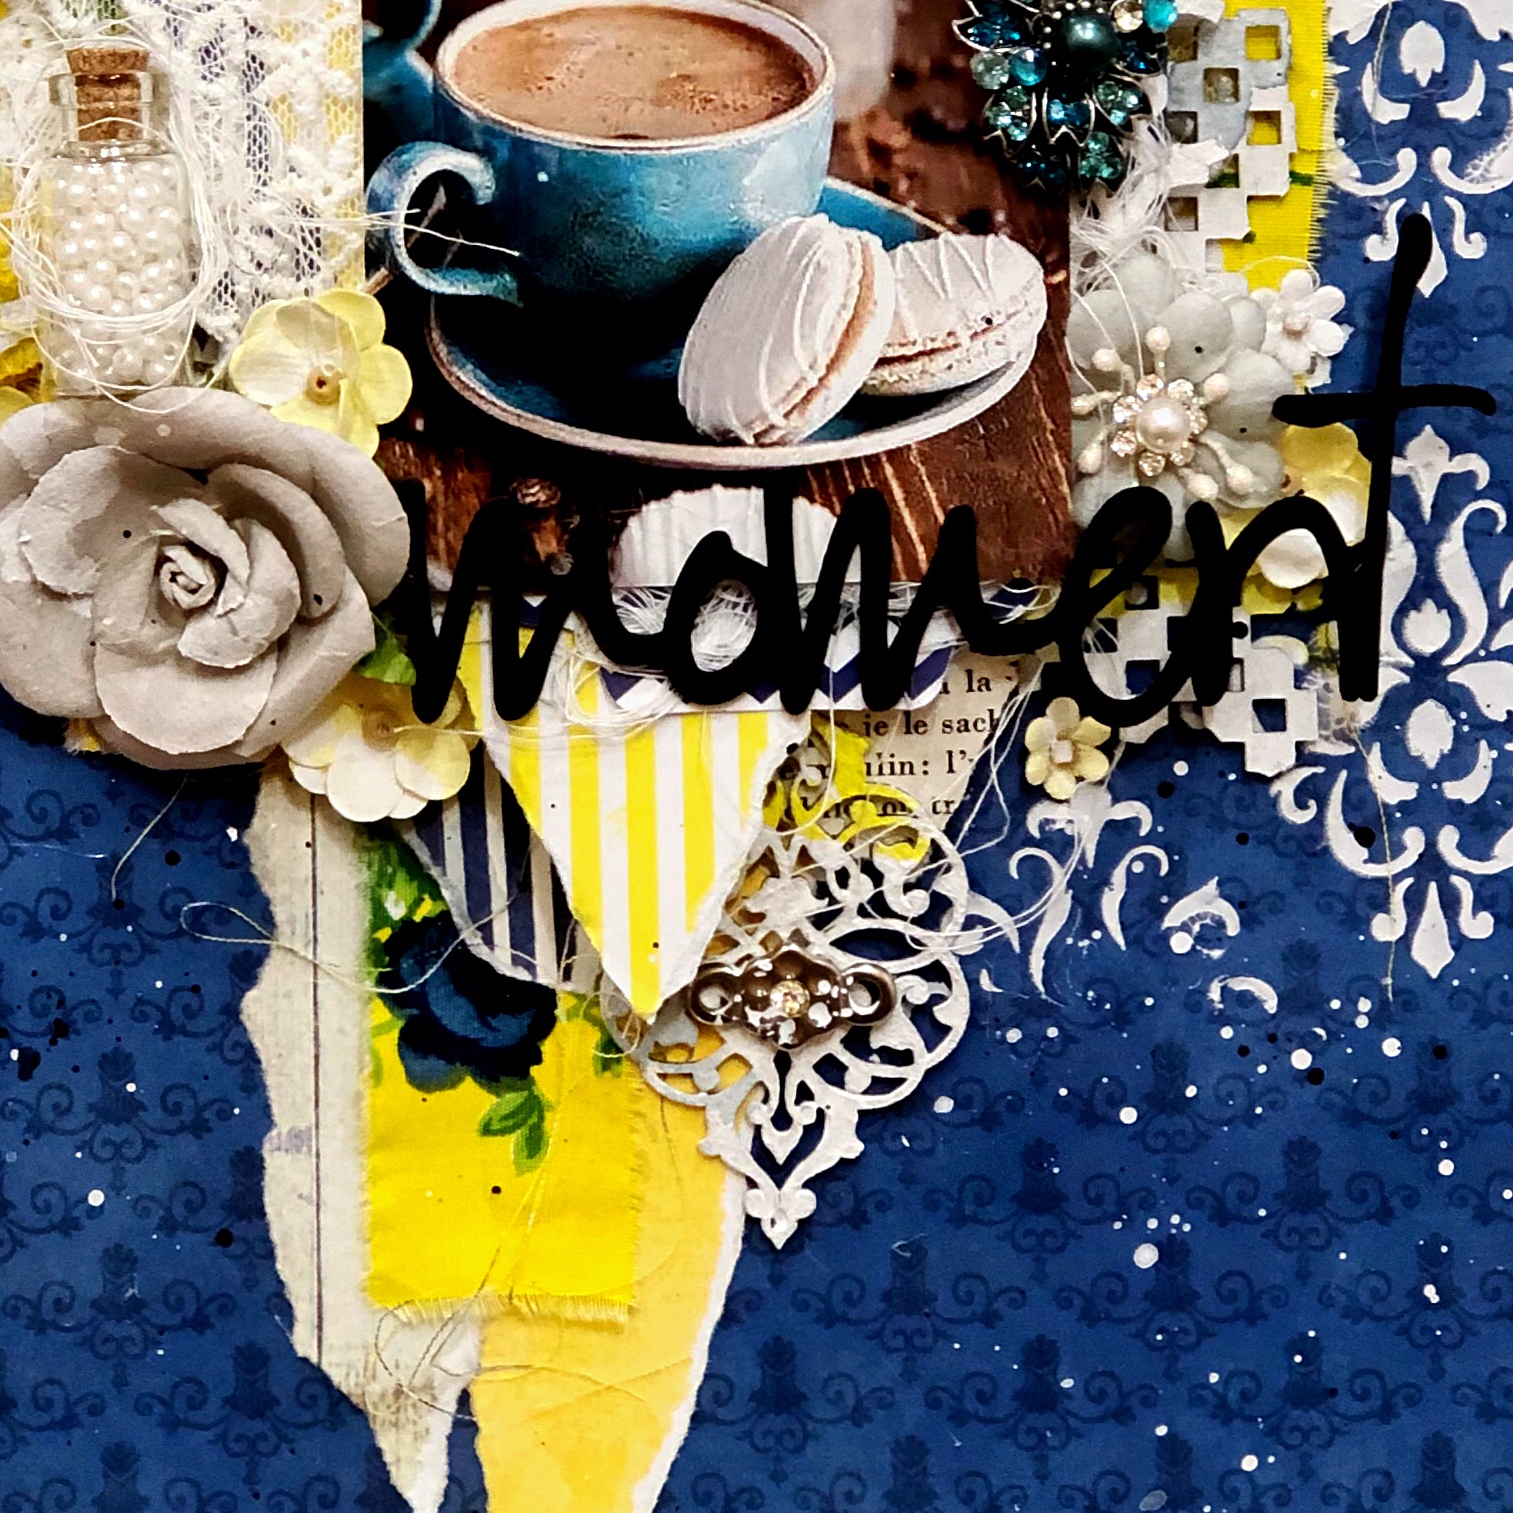
To register this moment I used a title chipboad with a beautiful letter (Moment Loopy Font).
To highlight the title a cute arabesque chipboard (Element Set 1).


I love to decorate with arabesque theme and this very beautiful panel (Moroccan Panel).


This square chipboard stands out in some pieces of the layout.


I Hope you like it!

Until next time.

To visit my blog click here:


Sunday, July 29, 2018

More Inspiration from Elisa Ablett

'Love that Smile' 


Hi Crafters,

Thanks for stopping by the Blog today.

Elisa here from the design team with my latest inspiration for you; 
a colourful boho style mixed media layout featuring some lovely pieces 
of 2Crafty Chipboard and a half mandala background design featuring 
the new Nuvo Shimmer Powders and Finnabair Metallic Wax.


2Crafty Products used:

Amelia Flower Stem - Large
Polaroid Frames
Love that Smile Title


Firstly, for my title I inked the chipboard in a metallic matching ink 
and then roughly coloured over the top with a darker purple paint marker, 
it matches perfectly with the script/handwriting of the title.


Next, I coloured the Polaroid frame in with a black glitter marker to 
create a solid base for my photo cluster and to make the 
colours pop a little more on my next piece of chippie.


For next piece of chipboard 'Amelia Flower Stem', I decided to alter by
first painting it black, then while still wet dipping it in the liquid made
by adding water to my Nuvo shimmer powders. I used the same shimmer powders
on my background as well to add colour and dimension to my mandala.


You can see that shimmer and shine happening on the chippie!


Add a bit of metallic wax by smoothing over the black modelling paste and the black chipboard
with a make up sponge or a dauber. Last details ! add some hand cut butterflies from acetate and paper to add to the boho look of your layout. You could also add feathers or wire or beads as well.

That's it from me today! 

I hope you been inspired to try your very own Boho style layout complete with awesome Chipboard!

Hugs xx

Elisa


Wednesday, June 13, 2018

June Inspiration By Elisa Ablett
"This Boy

Hi 2Crafty lovers,

Elisa here from the design team with my the first of my June projects for you,
a grungy mixed media boy layout featuring loads of 2Crafty Chipboard along
with stencils from A.B.Studio, distress ink, Aall and Create stamps and old book paper.

"This Boy"

Here are some close ups of the finer details !!


I wanted to distress and 'grunge up' my square frame, so using a
distress tool and black distress ink pad, I lightly inked the frame. 
I also added yellow details using a yellow pico embellisher.


I love using compasses on boy pages and I wanted to add little pops of yellow and 
teal to the page, so I inked both the compass chipboard to match the background.


Loads of stamping and stencilling in the background.


For the title to my page I inked the chipboard title 'this boy' with a metallic silver ink.

Then once dry I inked the bottom of my title in a blue distress ink.


More grungy stencilling and stamping, and some scribbly writing with a black pico embellisher.

Check out the products used from the 2Crafty Website

This Boy (unit of 3)   Compass (units of 3) Frame Square Borders (unit of 3)


Thank you very much for stopping by the blog today, 
make sure you leave me some love xx

Hugs

Elisa 

Tuesday, May 29, 2018

Limited Edition by Elisa Ablett

Hi Crafters,

Elisa here with my latest creation for May, a fun mixed media layout 
featuring some of my favourite chipboard pieces. 

I also have compiled some chipboard colouring tips for you below!


2Crafty Products used

Indian Feathers
Circles
Limited Edition Title
Fancy Damasks 


Close ups of the finer details...


Tips for colouring your chipboard !

Tip 1 - use watercolour shimmer markers to colour your chipboard and 
add that layer of shimmer and shine.


Tip 2 - Use paint dabbers to create an ombre effect on your feather chippie pieces. 

Paint the top of the feather in one colour and then using the other paint dabber, 
colour the bottom of your feather and use the dabber to gently blend the two colours together. 


Tip 3 - Adding distressed foil accents to your chipboard pieces

Use a cheap glue stick and rub over your chippie pieces roughly. 
Using tweezers add foil flakes over the top of your glue areas. 
Let dry and then using a large stiff paintbrush, roughly brush
over the top of the chippie pieces, brushing off the excess foil leaving
distressed foil accents.


Thanks for stopping by the blog today, I would love it if you left me some feedback xx

If you want to subscribe and see more of my work, here are my links :