Hi everyone! Debbie here with you today to share my June projects.
"Gorgeous"

I found the picture on Pinterest and immediately knew I had to use it on a layout.
I did some minimal masking on the background paper and added some paint splatters. A beautiful picture, lots of flowers and an array of 2Crafty Chipboard!
2Crafty Chipboard Used:
Corner Twisted Vine
Elsa Frame
Ornate Screen
Butterfly Frames
Corner Alexia's
Fine Word Set 2
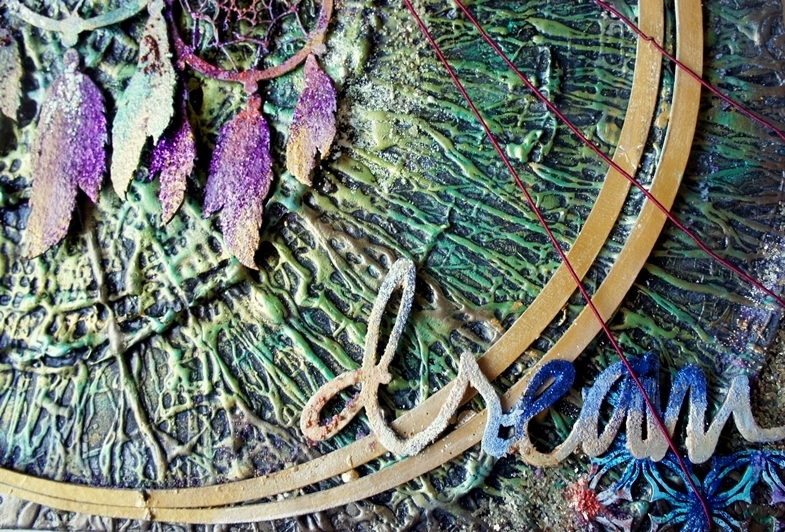
Lavender Shrub


To the left and right of the photo I placed the Elsa Frame which I cut in half and embossed with antique taupe embossing powder. I wanted to mimic a garden gate. I embossed the Corner Alexia's also with antique taupe powder and cut it in half and used at the bottom sides of the photo. Among the flowers I placed the Corner Twisted Vine, embossed with verdant and antique taupe powders.

At the top of the photo I placed the Ornate Screen, embossed antique taupe, along with the title.
To the side I placed the Lavender Shrub embossed with verdant powder.

Here you can see more of the Lavander Shrub, along with the Butterfly Frame embossed with plum powder.
************
"Happy"

My second layout was made for a friend. Love the background paper and left it as is only adding some of my favorite pieces of 2Crafty Chipboard and lots of flowers.
2Crafty Chipboard Used:
6" Revolution Frames
Word Circles Set 1
Angie's Vines
Doily Border


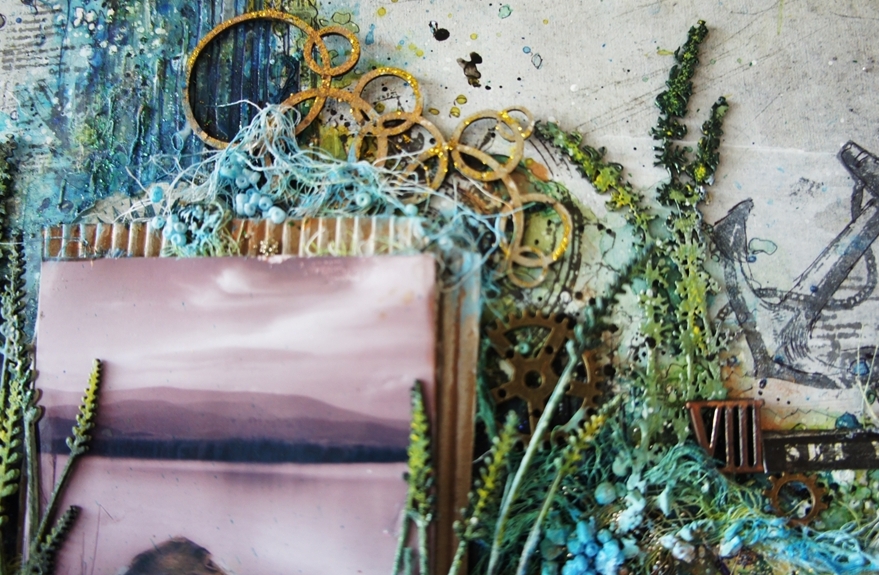
I embossed the title happy with mixture of various blue shades of embossing powder. Angie's Vines with a mixture of verdant and antique spice powders, and a piece from the Doily Border embossed with Navy powder.

Tucked beneath the flowers is a small Revolution Frame, and pieces from the Doily Border Chipboard.

Love the mixture of color in the Angie's Vine. I added some micro beads for texture.
I hope I have inspired you.
Thanks for stopping by!