Showing posts with label Happy Birthday Card Words. Show all posts

Friday, November 4, 2022

Beauty In Bloom Cards by Tania Ridgwell

 Hello there! 

Tania joining you today to share the first of my DT projects for November.  I have created some cards to share with you all.

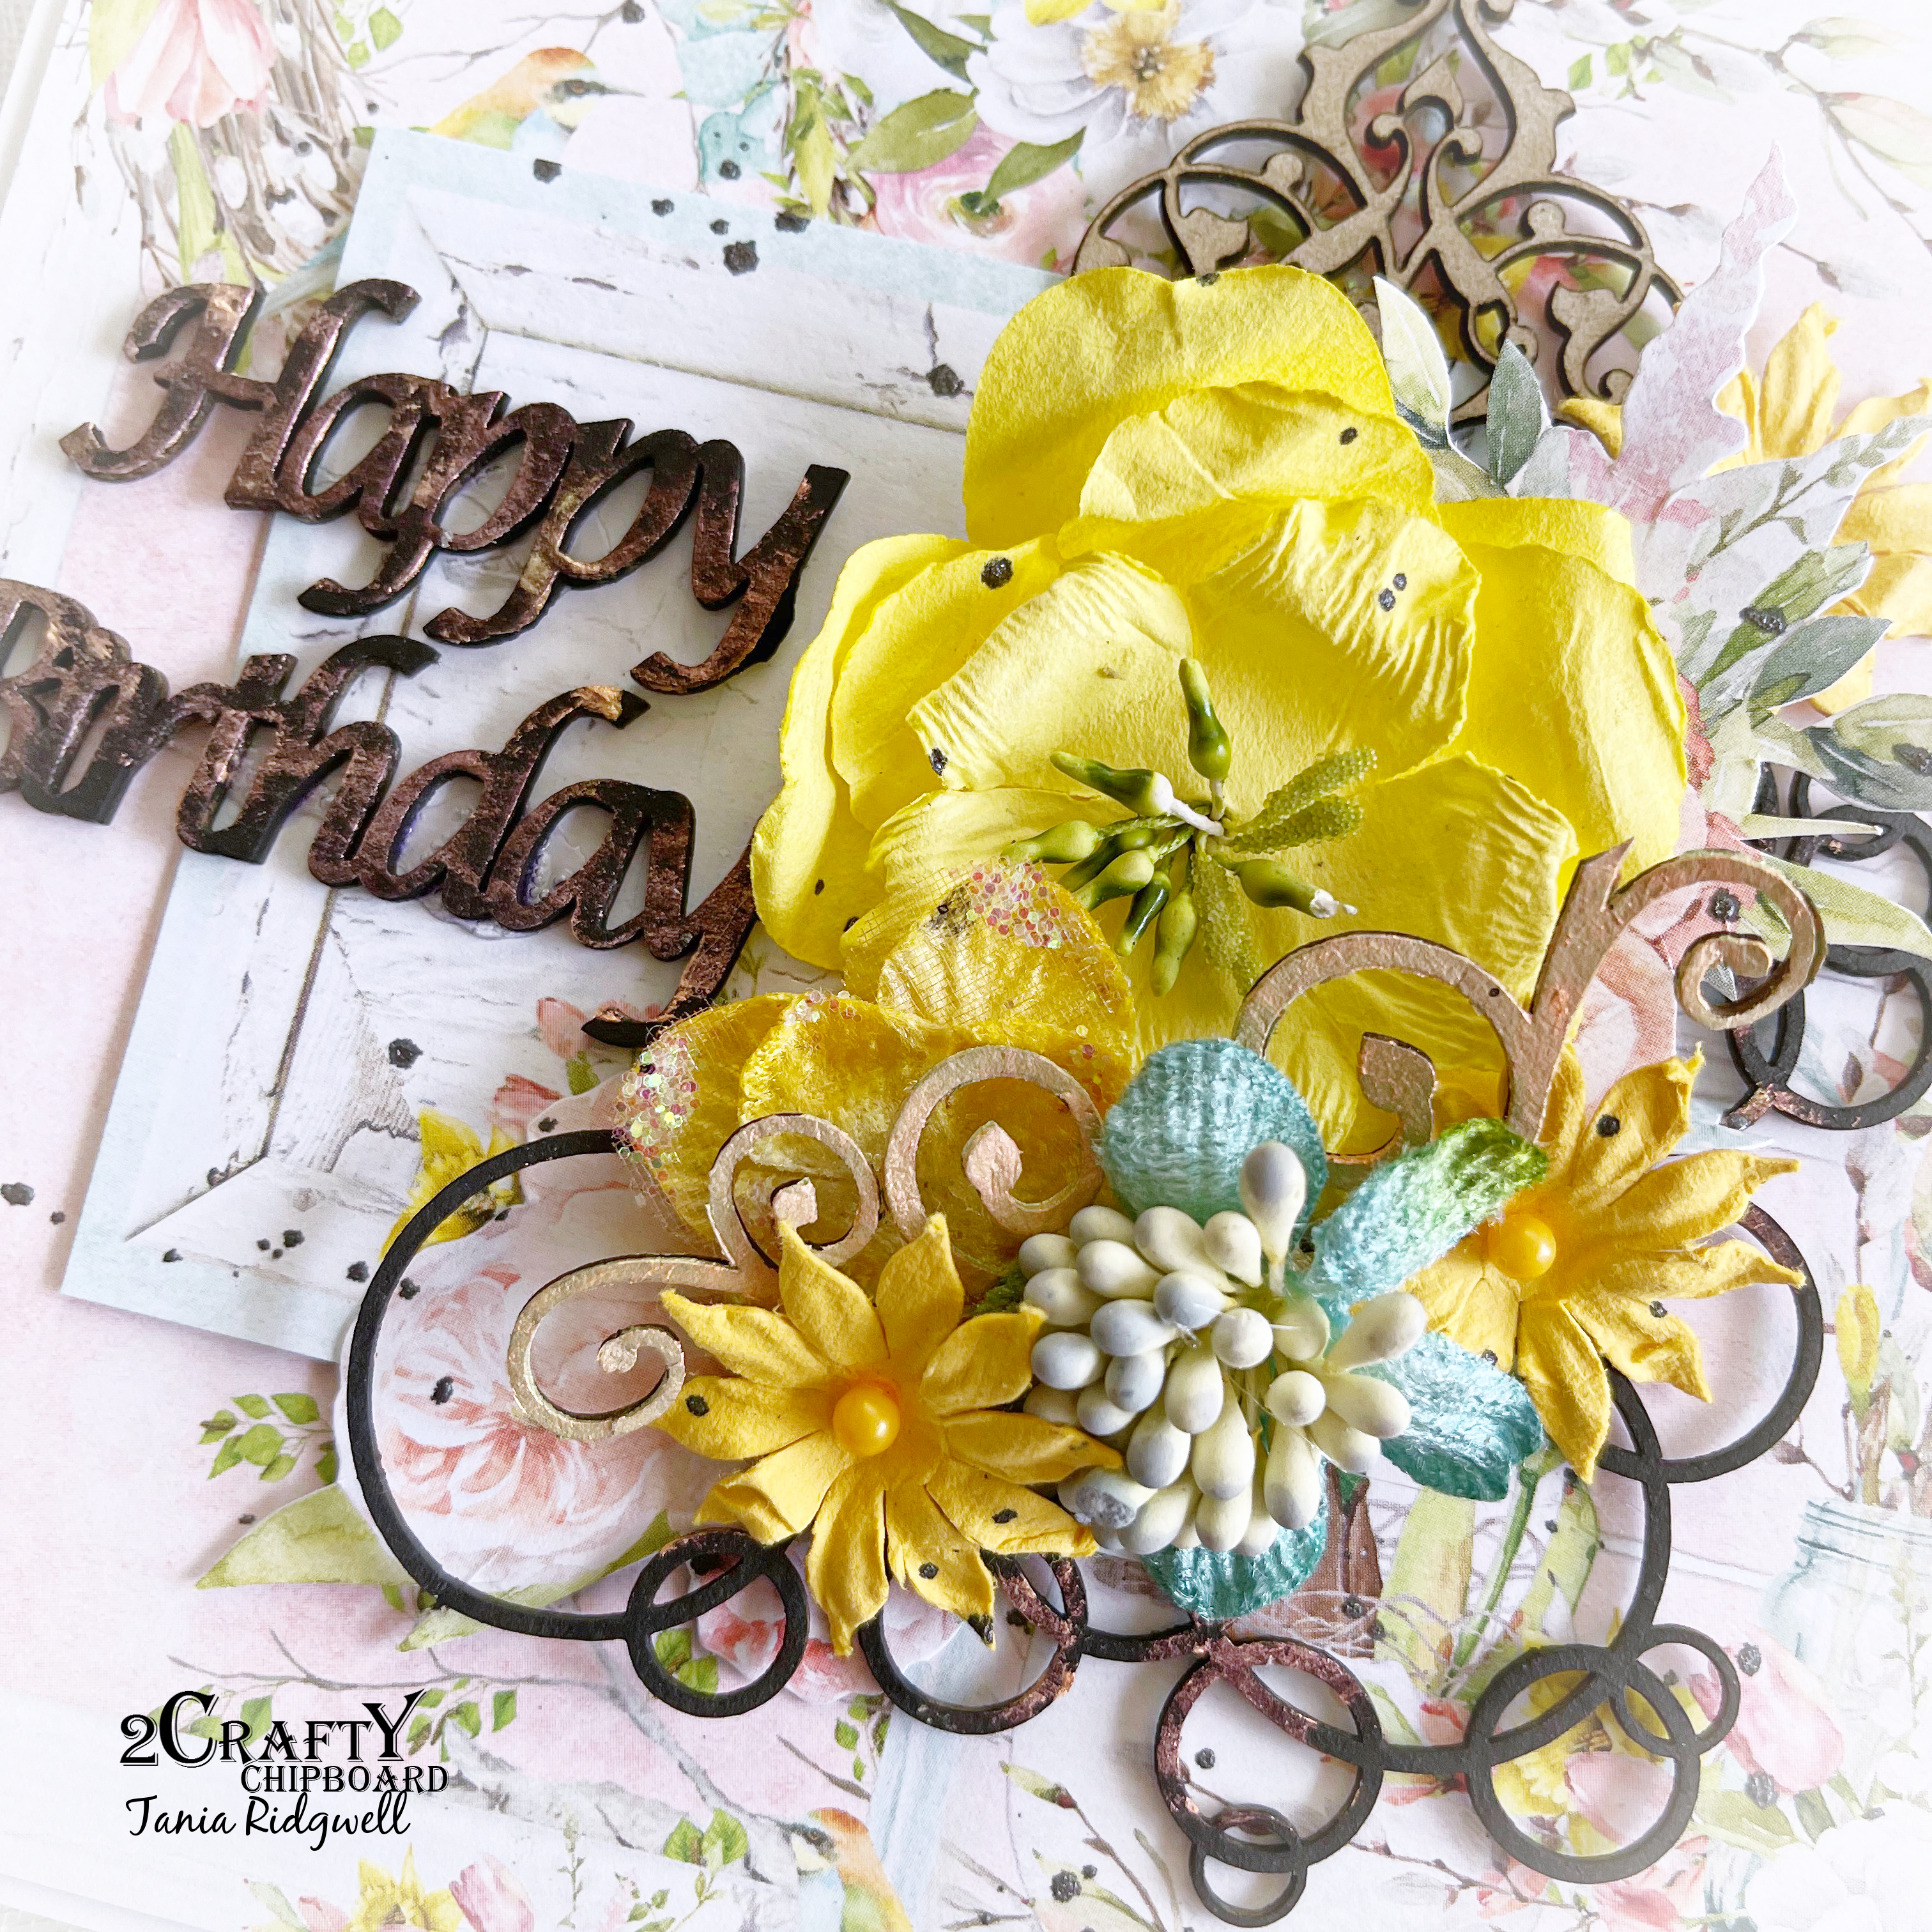
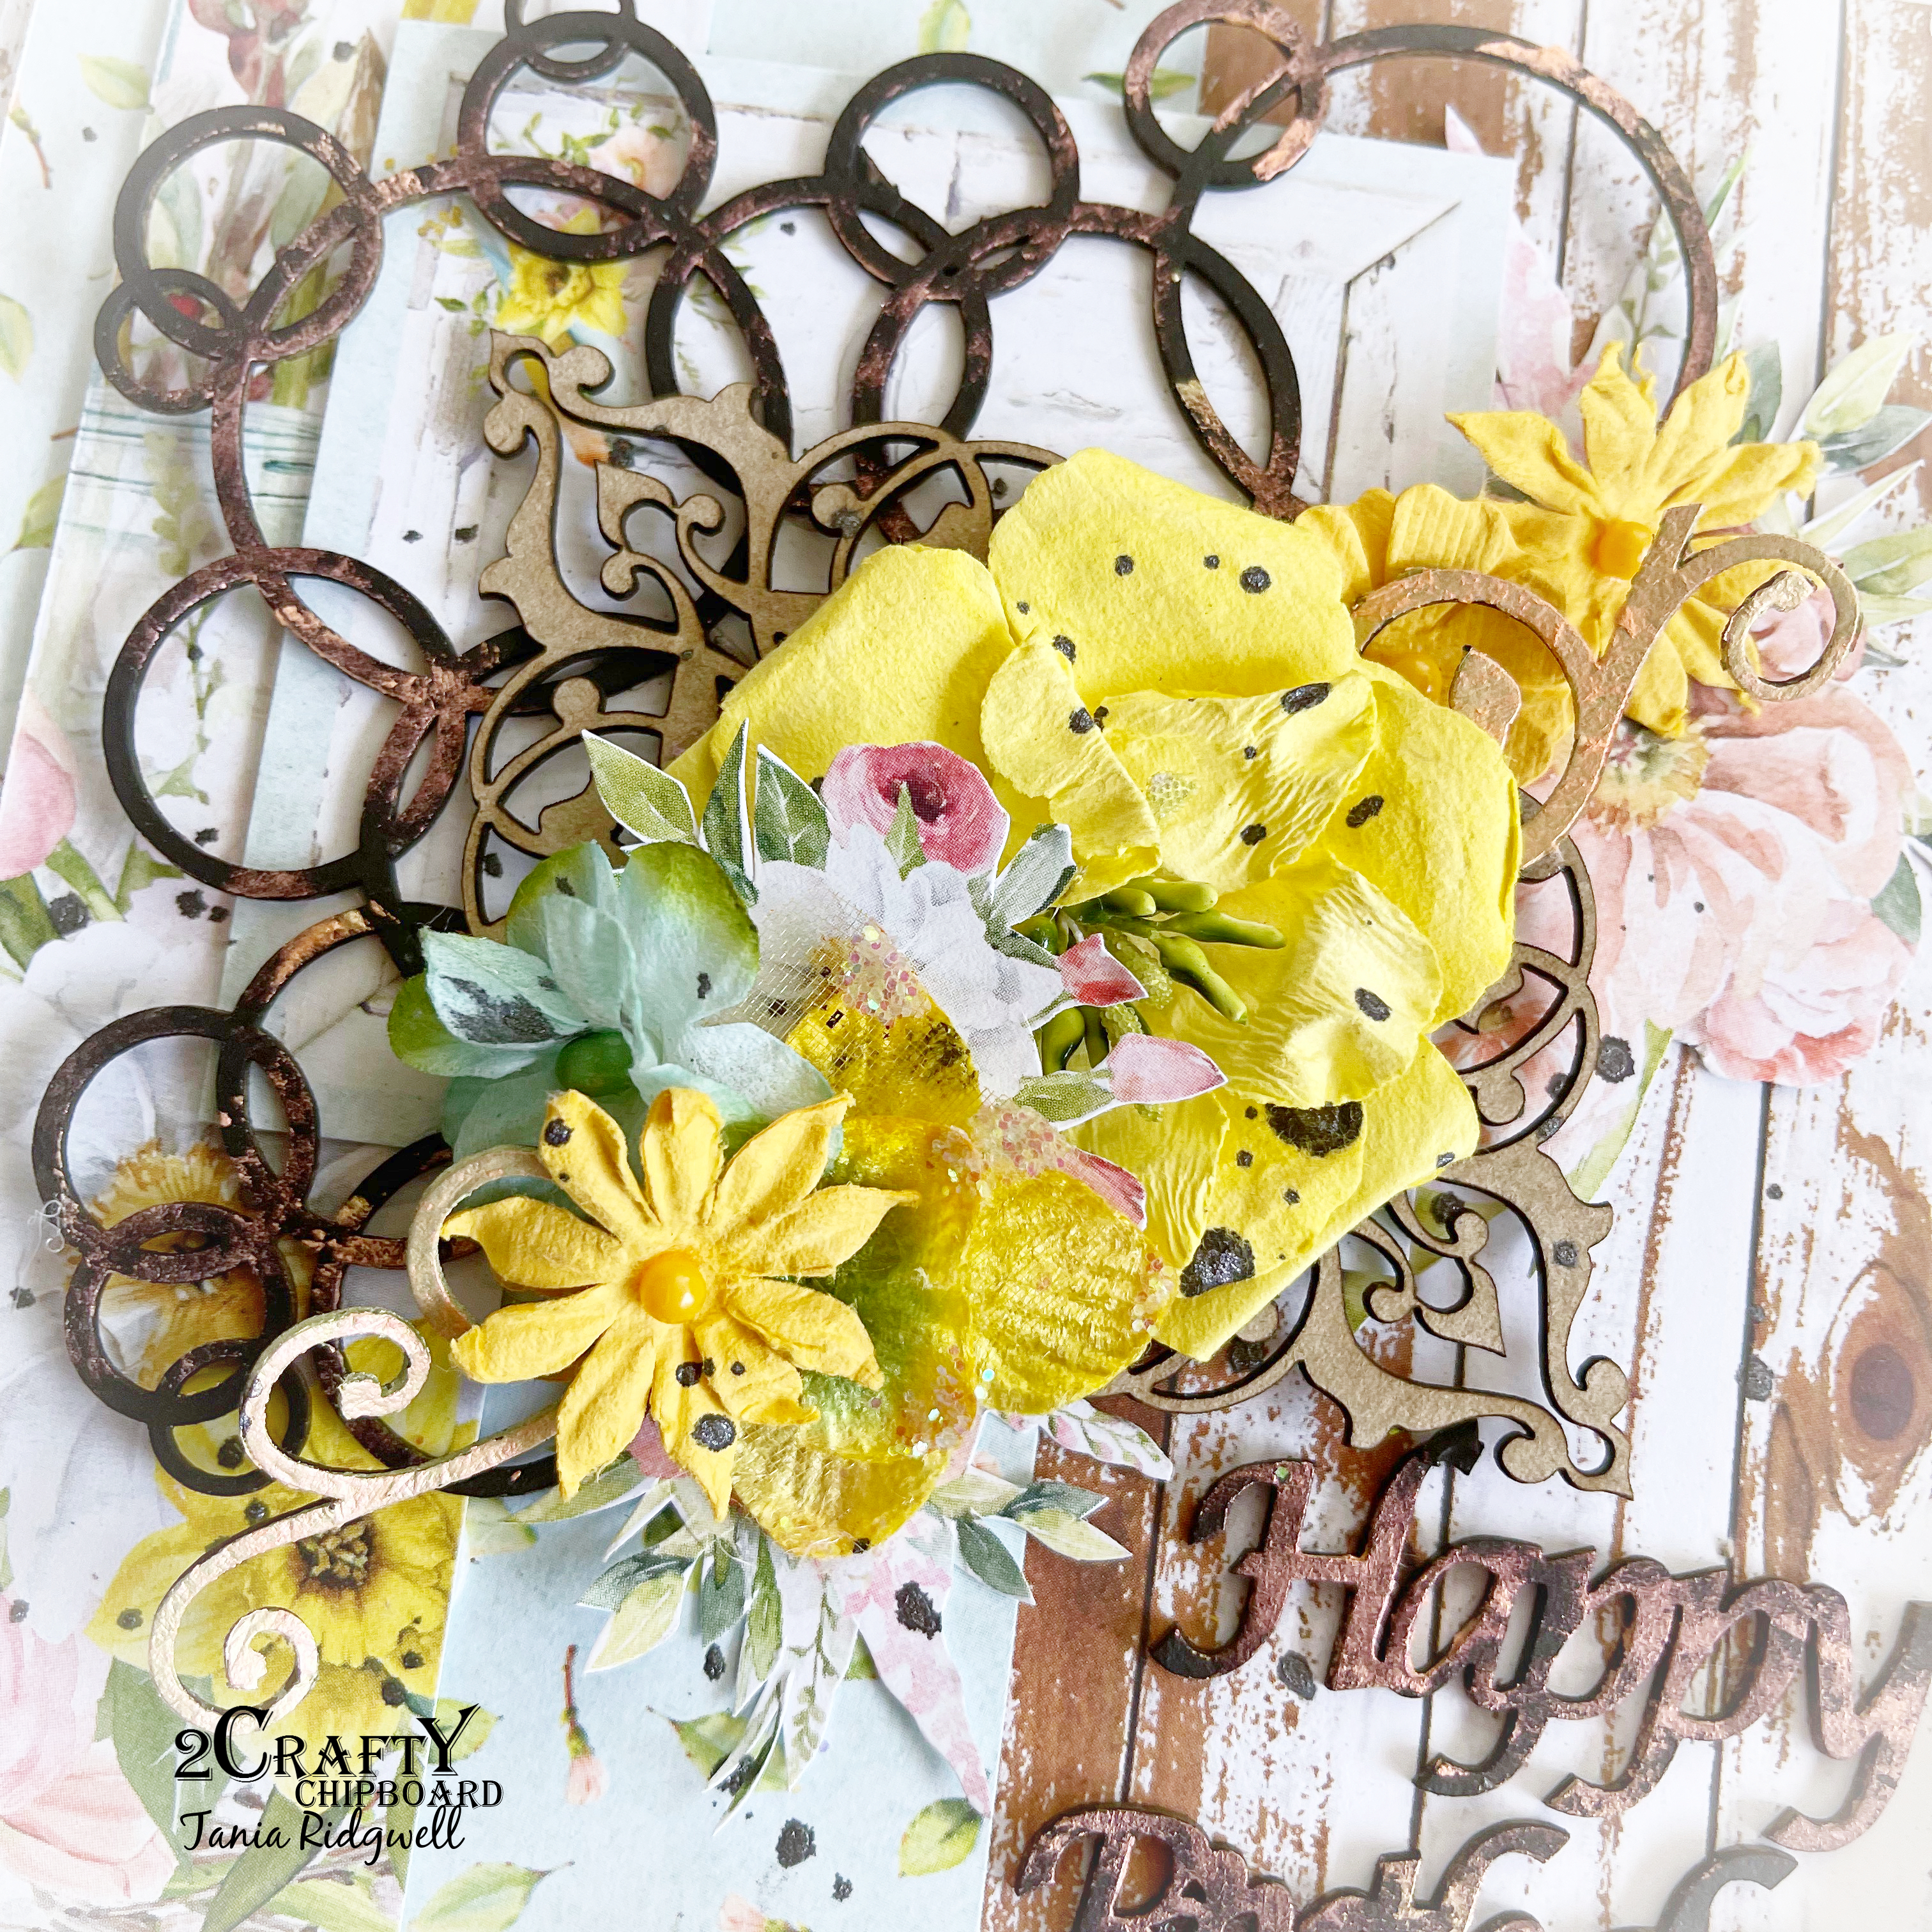
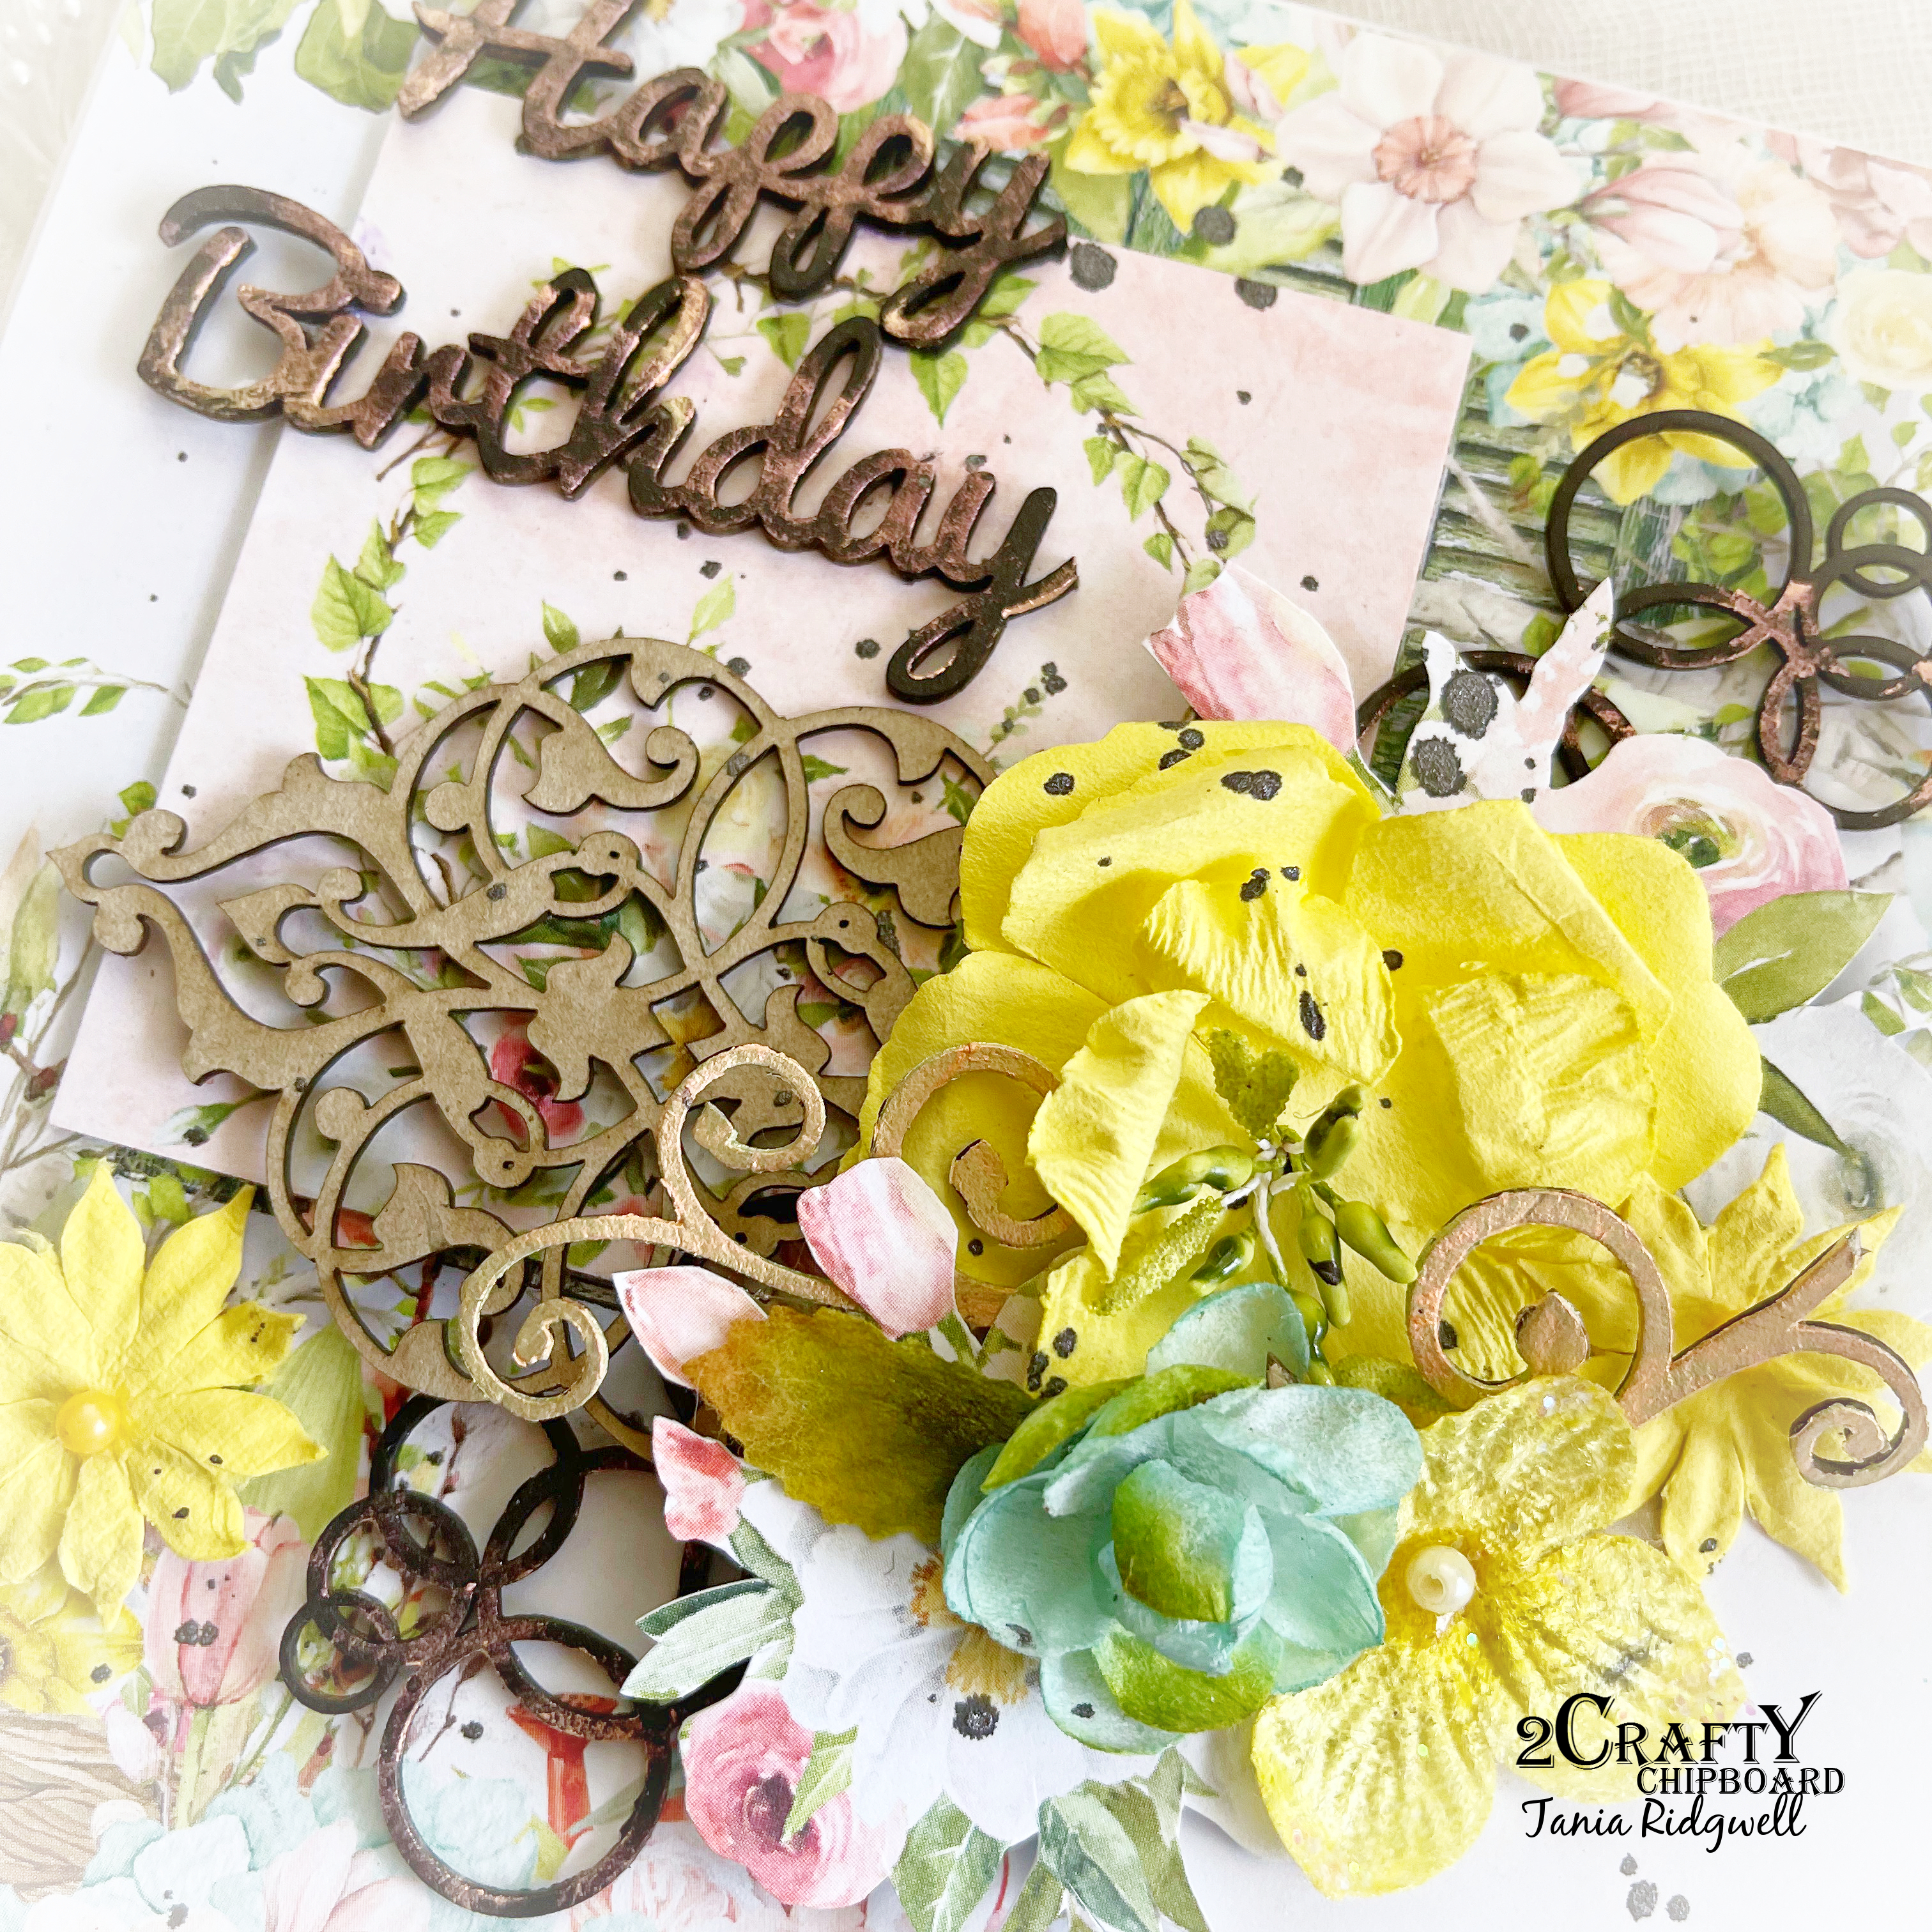
"Beauty In Bloom Cards"

2 Crafty Products Used:

*Bubble Clumps
*6x6 Happy Birthday Card Words
*Flourish 2
*Element Set 1


I created each of my cards bases using the gorgeous Mintay Beauty in Bloom Paper Collection. I painted the Happy Birthday and Bubble Clumps Chipboard firstly with Black Paint and once dry I randomly sponged on some Gilded Apricot Opal Polish. The Flourish 2 Chipboard pieces are also painted with Gilded Apricot Opal Polish and I have left the Element Set 1 Chipboard raw.
To construct each of the cards I embellished them with flowers and fussy cut flower elements, then added my chipboard pieces to each card.  To finish off each card I splashed on some black dylusions spray.

See close ups of each card below.


That's all from me today, I hope I have inspired you all a little with my Beauty In Bloom Cards.
Until next time thanks so much for stopping by.
Tania xx

Wednesday, June 8, 2016

Beck BT Says Goodbye
With Her June Project Shares


Hi, it's Beck Beattie here sharing with you my last projects.  I have had so much fun 
playing with all the chippies, but unfortunately my term has come to an end. I will still
 be sharing lots of chippy creations on my blog, so do head past there when you get time
 (just click on my name at the bottom of the post)...
Well with all that sadness dealt with.... here we are with this months share!

  But before we start....
Please remember while you are here  to become a blog follower & leave a blog comment to
be eligible to go in our monthly draw for a great chippie prize pack.
 
  "Love is a Journey"
I used three different designs of chipboard on this canvas all in different way, and I
cant wait to show you how I incorporated different effects on each of them!


I also have video to share this month of this canvas I created. Hope you enjoy it! 


I cut the circle lace panel into strips and then added to the corners of the canvas.  To add
more interest to them I first added Faber-Castell Black Chalkboard paint.  I then added colour
 with Gelatos, followed by some  Gesso using a baby wipe to sponge it on.


I altered the corner Ivy chipboard piece and then added a gold colour spray.  I then added some   Gelatos in champagne and metallic melon over the top.  I also added some water with a mini mister to help the colours blend a little.


I added colour to the title piece with  Gelatos, followed by some  Gesso
using a baby wipe to sponge on


   2Crafty Chipboards Used:
Love is not a Destiny
Circle Lace Panel
Corner Ivy


 "Masculine Card"
Today I also wanted to share with you a mixed media masculine card.
 

I enjoyed adding some different products on this one as well, altering the chipoard 
colours in fun ways with various mixed media products.  

I adhered the Stacked circles missing one in between size each time and then added
 a coat of  Gesso.  I then added some Gelatos colour to the background.


I coloured up the 'Happy Birthday' words with a brown Faber-Castell PITT Artist Big Brush pen.


Next I added lots of layers of Gelatos in various colours for a mottled and aged look.


   2Crafty Chipboards Used:
Stacked Circles
Happy Birthday Card pack
Giant Cogs


 Thanks for taking the time to head across to the blog today! 
 

I hope you've enjoyed my shares on the blog over the year! 
 I have enjoying sharing with everyone so much!  


Happy Crafting
xxx Beck BT
 
Photobucket

Friday, January 8, 2016

January Shares With Beck BT
Plus a VIDEO


Hi, it's Beck Beattie here. 
 Welcome to the New year!! I'm here with my January inspiration shares
I had lots of fun with paint and sprays this month while creating my pages.  I have
 two different style projects for you showing some different uses for your chipboard. 
 
 
Please remember while you are here  to become a blog follower & leave a blog comment to
be eligible to go in our monthly draw for a great chippie prize pack.
 
 
"Happy"


 For my first page I wanted to share a sweet feminine page full of paintery fun and glimmer.
  I used lots of Shimmerz paint on this page and oh how much fun it was to create.

I created a video to show the fun I had creating this page.

To view VIDEO CLICK HERE...


Along with the Shimmerz paints I used lots of new Indigoblu stamps that
 are soon to be released, so hope you enjoy the early sneak peek of those.  

   2Crafty Chipboards Used:
11" Hibiscus Frame 
Leafy Twig branches
Cassie's Flourishes
Happy loopy font


"Happy Birthday Card"
Today I have a fun masculine style card to share.  I really had so much fun creating this one!  
I started out with some stencilling in the background using Fun Stamper's Journey 
chevron stencil and Color splash in Shimmer Gold.  


I sprayed the cog border piece with Fun Stampers Journey Shimmer Silver spray.   
I just love the metallic effect it instantly gave the chipboard!


I simply coloured up the chevron bits with a red marker -
 such a quick and easy way to color up the chipboard!


The 'Happy Birthday' words were easily painted up with Indigoblu black Gesso


Add some lovely interest to your chipboard by mopping up various colours of sprays
 from your craft mat one at a time and you get this neat effect!


Finish off with some splatter of watered down black gesso for a cool grungy effect!


2Crafty Chipboards Used:
Mini Sampler set 1
Cog Border
Turkish Lattive Panel
Happy Birthday Card pack


  Hope you got to welcome in the new year in a fine way and wish you all
the prosperity of the New year!   
 

I hope you enjoyed my share this month on the 2Crafty blog!

Happy Crafting
xxx Beck BT
 
Photobucket

Friday, July 10, 2015

July Layouts by Debbi Tehrani

"Happy Mail"
 
I'm so delighted to be starting my second term with 2Crafty! 
Thank you, Vanessa, for keeping me on to work with your awesome products.
 
I recently won a prize from a sketch challenge, 
so I decided to make a page about that, 
coupling some awesome 2Crafty chipboard with the kit I won.
 
 
The Happy in my title is from the Happy Birthday Card Words set. 
That's a wonderful set to get--it has 8 "Happy Birthdays" in the set.
I inked that word and the arrow from the Assorted Arrows set" with black ink.


I swiped several shades of ink on the Doily to get the right color to match my papers. 
The circle from the Circle Stack was also inked with black.


This delightful Heidi's Vine was swiped with several shades of green stamp ink, 
and then I drew some veins on the leaves with a pen 
and added a few pink rhinestones to the buds.


Because I scrap 8 x 8, the borders are too long for my pages, 
so I snipped two bits from the Doily Border and swiped it with ink 
to match the doily I used under my photo. The lovely cursive "love" 
is from Mini Word Set 2.


How handy is the pack of 2015's to document the date? I also coated these with black ink.

2Crafty Products used on this layout:

Assorted Arrows
Happy Birthday Card Words
Doilies
Circle Stack
Heidi's Vines
Doily Border
Mini Word Set 2
2015's


"You Rock My World"

Last summer I went to a bunch of concerts, 
and I found the perfect 2Crafty pieces 
to capture the excitement of that summer.


I used the You Rock My World title as the centerpiece of my layout. 
I inked the star in two shades of yellow to match the stars in my paper. 
Then I inked the words black. 
Next, I masked some of the title and coated the word "Rock"
 with embossing ink and silver Zing embossing powder. 
Once that had melted, I added glue to the rest of my title and sprinkled black glitter. 
I mounted the title on adhesive foam to make the title pop off the page.


I coated the Gears and Music Notes with the Zing embossing powder 
and inked the little stars from the ATC Tiny Stars and Hearts sheet in a yellow 
to match the star in my title..


I cut another silver embossed Gear in half to use in two spots on my page.


I used leftover pieces of Film Strips Small - Tiny on my layout. 
I embossed those with black ink. 
I've got a music note layered on top of the film strip and a tiny star adhered to the music notes. 
I love that I can layer three pieces of chipboard on top of each other, 
and my layout still isn't too bulky.

2Crafty Products used on this layout:

You Rock My World
Film Strips - Tiny
Film Strips - Small
ATC Tiny Hearts & Stars
Music Notes
Gears


Thank you so much for stopping by and taking a peek at my pages. 
I hope I gave you some ideas for using these awesome 2Crafty chipboard elements!

Photobucket