Showing posts with label Circle Revolution Frames. Show all posts

Tuesday, January 23, 2024

"Priceless Memory"
Layout by Marie Sabatier


 Hello everyone,

I am delighted to present my second inspiration of this January.
A layout with bright colors!


"Priceless Memory"
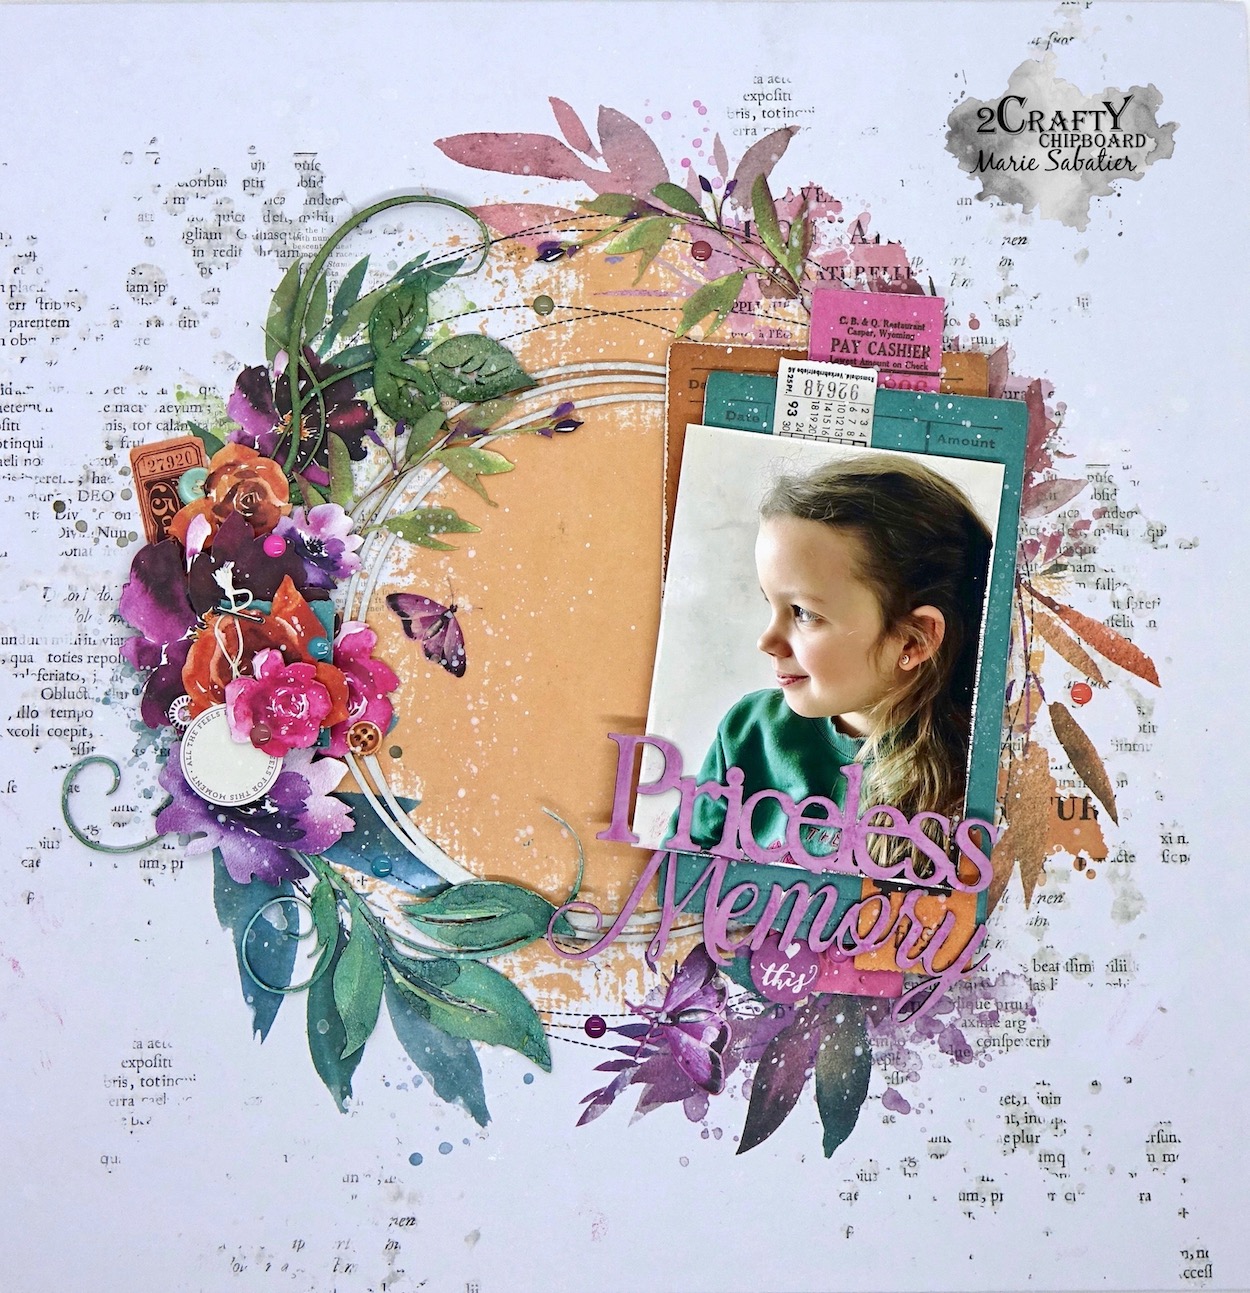


The 2Craftychipboard used:


- Priceless Memory Title
- Circle Revolutions Frames
- Leafy Shrub Set 2


I apply a layer of white gesso on each chipboard.

I start my layout with the chipboard "Circle Revolutions Frames" that I simply embellish with a layer of white acrylic paint, then I place it in the center. My arrangement will be organized around him.


To embellish the chipboards 'Leafy Shrub', I use and combine inks from the brand Lindy’s Gang in different shades of green. To achieve a mixed effect I spray water. 
They are very well highlighted in my beautification cluster.


The title "Priceless Memory" is simply inked with Oxide Distress ink. 
I dissociated the title so that I could put one part on my photo and another just below.


I hope you like this layout.


Good scrap to you!


Thursday, September 8, 2022

'Dreaming' by Emma Zappone - BONUS VIDEO

Hello Everyone, Emma sharing a 12x12 Layout and process video with you all today.

This page is bright, pattern friendly and it uses some bold and uncomplicated chipboard.
This one is entitled - 'Dreaming'.


Now lets check out the chippy......
Circle Revolution
Dotty Bits


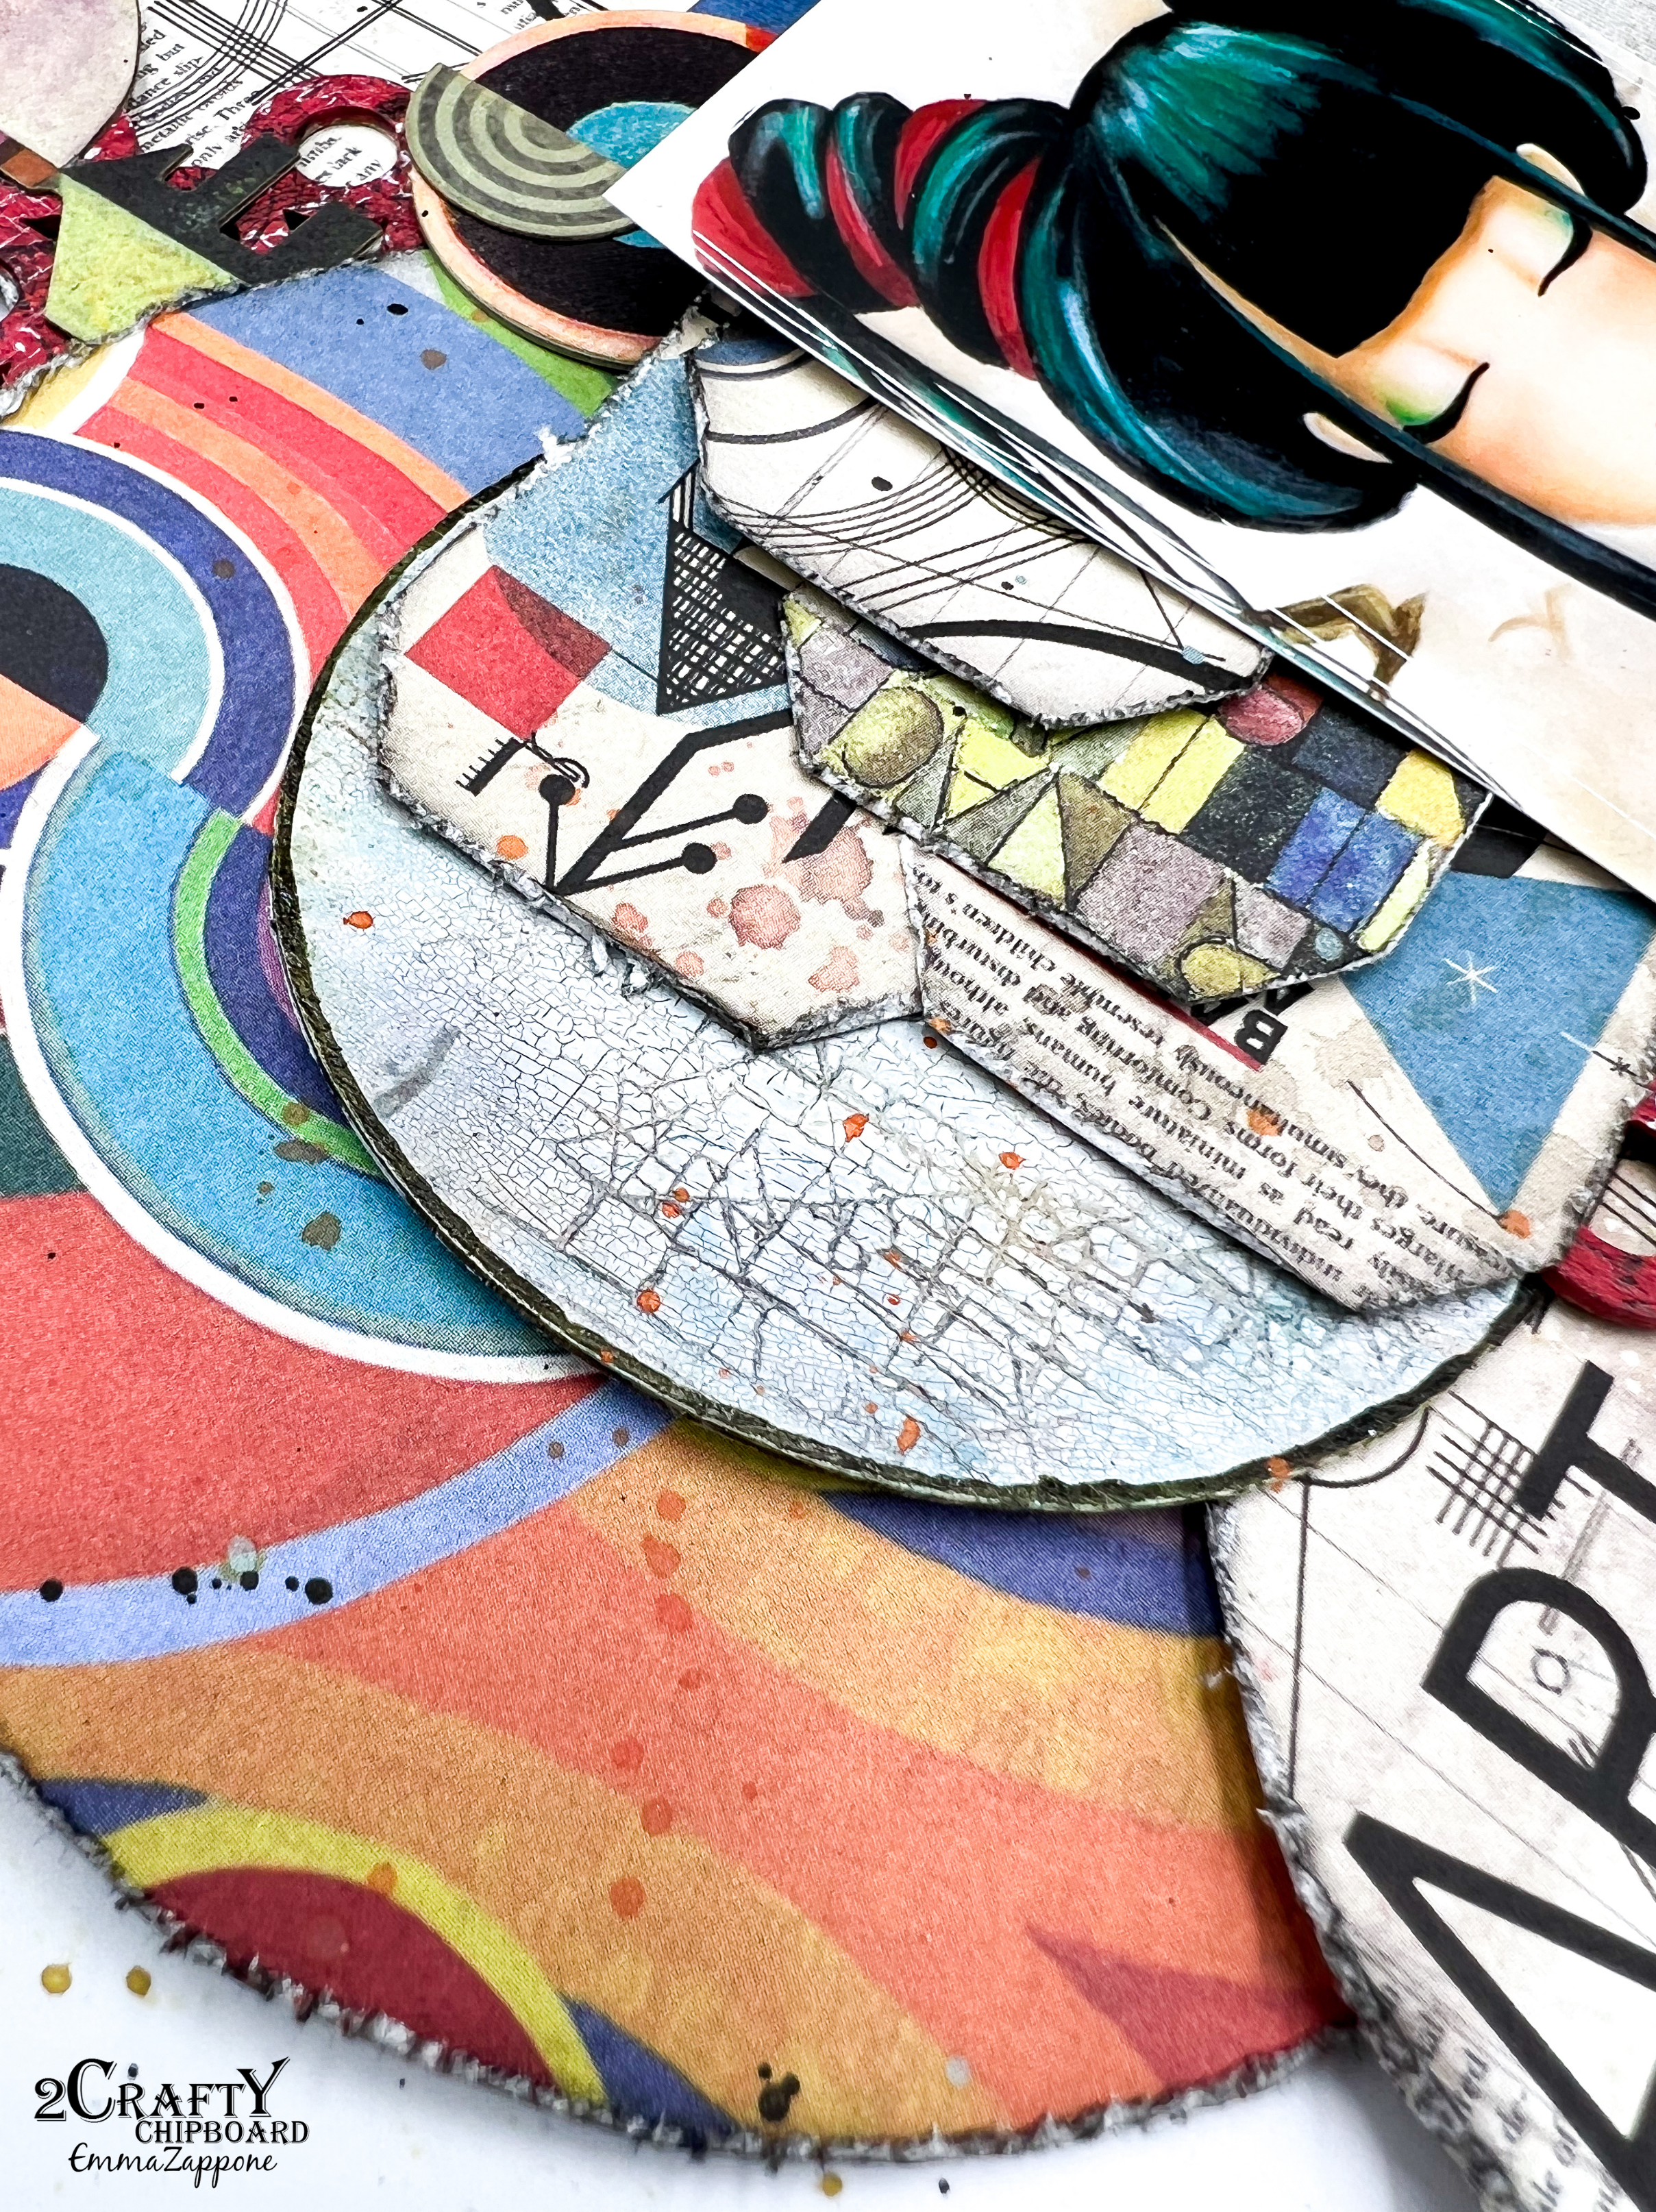
For this page I chose to use the 'negative' pieces of the 'circle revolution' chipboard allowing the thicker chippy to be played with. 


As you see here in picture, the yellow and green circles are the chipboard elements. 


These 2 pieces have both been painted with acrylic mediums and then stamped. The effect is so very cool and bold. They really compliment the paper range used. 


The panel under the tags with the texture in this image above is also a chipboard 'negative'. This piece was primed with white gesso and then a crackle paste was added. While the paste was still wet I pressed a stamp into it and then heat set. Once dry I started to paint with a liquid acrylic and some waxes to get the distressed look I wanted. You can see this being achieved in the video.


The awesome Dotty Bits were also primed with White Gesso and then painted with a red acrylic, but to tone it down to match the papers, I added a brown wash over the top. Once dry I stamped with white modelling paste to create texture and interest on top of the bits.


How cool and fun it was to use what we might usually think of as off cuts.
These are design elements in themselves.


You will see all these elements and more come together in my video. I hope you enjoy the process.


Thanks so much for joining me today and I hope my page inspires you.

Stay crafty, Em xx


Saturday, August 7, 2021

"Summer Fun"
by Sabrina Turpin

Hello 2Crafty friends!

I hope you are all doing good! I am fresh off my summer vacations and I am feeling totally recharged! Today I'd like to share a layout featuring my family and I on our nice camping trip last week.

"Summer Fun"


On the "Star Bubble set", I applied two coats of green embossing ink. For the "Circle Revolution Frames", I used two coats of shimmering blue metallic paint.


For the title "Summer fun", I applied two coats of yellow embossing ink and one coat of transparent sparkling embossing powder.

I used the following 2Crafty chipboards in this layout:

Star bubble set [m00666]
Circle Revolution Frames [12075]
Summer fun [w00523]


That's all for me today! I'll be back in two weeks with another layout to share with you. See you soon and happy crafting!


Wednesday, July 1, 2020

"happy life"
Layout by Marie Sabatier


Here I am with a new page for this month of July, already 6 months of the
 year have passed. Everything is going so fast!

I chose to make a summer page. 
I played with these two photos to make my layout.

"happy life"


2Crafty Chipboards used :

- ATC Title Sticks Set 3
- Circle-Revolution Frames
- Old Fence
- Winter Twig Branches
- Lighthouse


To start I applied a layer of white gesso on the chipboards.

On the "Lighthouse" chipboard I applied white cracking paste then a little wax.


For the "Circle-Revolution Frames" and "Old Fence" chipboards 
I applied brown embossing powder, once dry I rubbed with a file to give 
an aged appearance.


For the "Winter Twig Branches" I left natural just with a little white gesso.


For the title I just applied a little shiny wax to the white gesso.


Here it is finished.
 I hope this page has given you some inspiration especially with these wonderful chipboards. 

Thank you for always being here with us.


Tuesday, June 16, 2020

"Picture Perfect"
Layout by Marie Sabatier


Hello,today I have my second page to share with you for June.

To make this page I was inspired by the colors of the photo, 
 and I chose these magnificent "Aztec Flower" chipboards.


"Picture Perfect"


2Crafty Chipboards used :

- ATC Title Sticks Set 2
- Circle-Revolution Frames
- Aztec Flower Set 1


As you know, I have protected each chipboard with a layer of white gesso.

On the "Aztec Flower" chipboards I applied "Purely white" embossing powder.
I don't know why but right now I like white.
 It is a neutral color easy to match on a page and which accentuates the details.


I really like the finesse of this "Aztec Flower"


On the "Circle Revolution" chipboard I also applied embossing powder
 in a dark brown which I then paa\inted on a little with wax.


To finish with the title I just skated with a little wax on the white gesso.


I hope to have given you a little inspiration, to create with these marvelous
 chipboard these that of happiness.

See you soon.


Monday, October 1, 2018

October Inspiration "Love that smile"
By Marie Sabatier


I present here my inspiration of the month of October. 

I chose these two pictures of my little girl at the beach 
(I could not make the choice).
 I printed the photos in sepia color.


I applied a pattern on the bottom of my page to give a little relief using a 
stencil and a paste embossed and I covered with embossing powder and heated.


On all the chipboards I applied a layer of white gesso and 
then a heat embossing powder in different colors.


Some close-ups :


Love those little hearts on the Heart BubbleSet


Embellishments and that's it !!!

For this page here the chipboards that I used :

- Love that smile Title
- Circle Revolution Frames (negative piece between the frames)
- Mesh Bits
- Heart Bubble Set


If you want to join our team, do not hesitate, because
 at the moment there is a DT Callout.

Follow the link:


See you soon !!!


Tuesday, January 12, 2016

Canvas & Journal Page
by Athanasia

'LOVE'
 Tiny Canvas

Hello 2Crafty friends!
Today I'm sharing a tiny canvas I created for a friend of mine as a present.

Before we get started though......

Please remember to become a blog follower & leave a blog comment to
be eligible to go in our monthly draw for a great chippie prize pack.

My canvas only measures 8x7 cm and I really love how small and cute it looks.
Even though it is so small I managed to use 7 chipboard pieces and 2 metal pieces 
 to create a dimensional cluster like a pyramid!
This is how it looked before I altered the chipboards and paint it all.


In order to alter the chipboard pieces I used H2Os watercolors and silks by ColourArte
 and black embossing powder by Lindy's Stamp Gang.


First I created a mixed media background and then I started gluing all the 
embellishments with 3D Gloss Gel.


I really love how this  mixed media pyramid looks!
Here are some closeups with details...


2Crafty chipboard Used

ATC Tiny Hearts and Stars
ATC Words 1
Spiral Snowflakes
Fluer Arrows
Hearts
Card Word Circles (I used only the circle)
6'' Circle Revolution Frames ( I used the center of the frame)

ATC Tiny Hearts & Stars  (units of 3)  Card Word Circles - Sentiments (unit of 3)  ATC Words 1 (units of 3)

6" Circle Revolution Frames (units of 3)   Spiral Snowflakes (unit of 3)  Hearts (units of 3)
Fluer Arrows (units of 3)


'Walk Alone In Darkness'


I like making pages with quotes I love in my black journal.
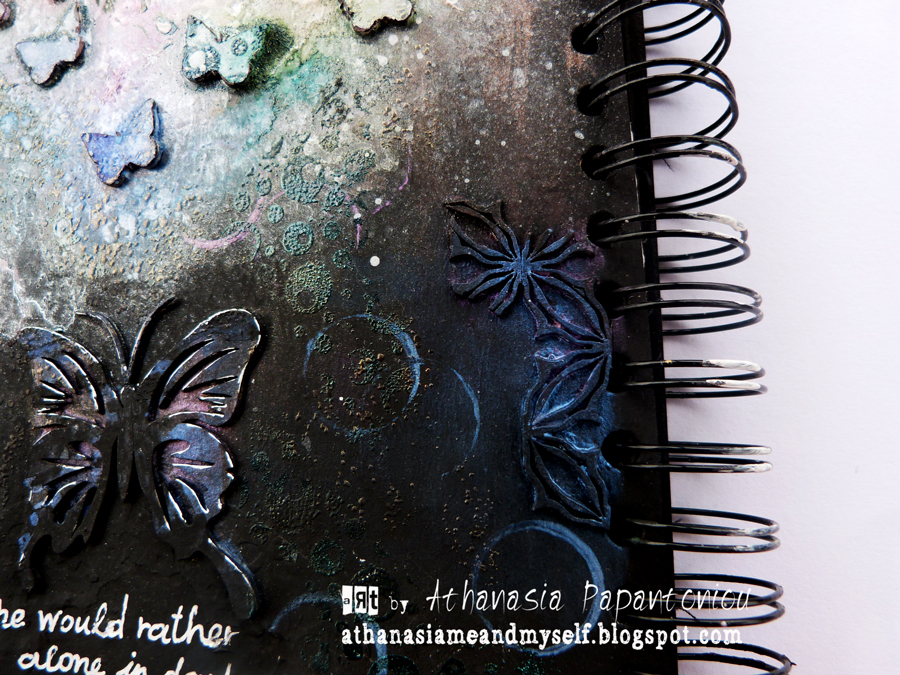
For this one I used some small butterflies of the Butterflies set to represent
 the crowd and one big Marianne's Butterfly to be main character of the quote.
I also used some pieces of the Circle Lace Panel - I think it matches so
 beautifully with the butterflies.


First I glued all the chipboard pieces on the page and then I painted them with
 black and white Gesso to create a light and dark shading all over the page...

For the small butterflies I used ColourArte sprays to color them and Lindy's Stamp Gang embossing powders with stamps on them and also on the background to embody them on it.

For the big butterfly I used irridescent silks to color it. They really make the perfect paint for black surface. I also used a White UniBall pen to make some doodling on it and also write the quote.


2Crafty chipboard Used

Butterflies
Marianne's Butterflies
Circle Lace Panel

Butterflies (unit of 3)  Marianne's Butterflies (unit of 3)   Circle Lace Panel (units of 3)


Thank you for visiting!
Have a lovely crafty day!
xxx
Athanasia


Photobucket