Hello 2Crafty lovers!
It's Lisa here today to share some scrappy goodness with you.
"Breathe"

2Crafty products: 'ATC Georgian Frames'
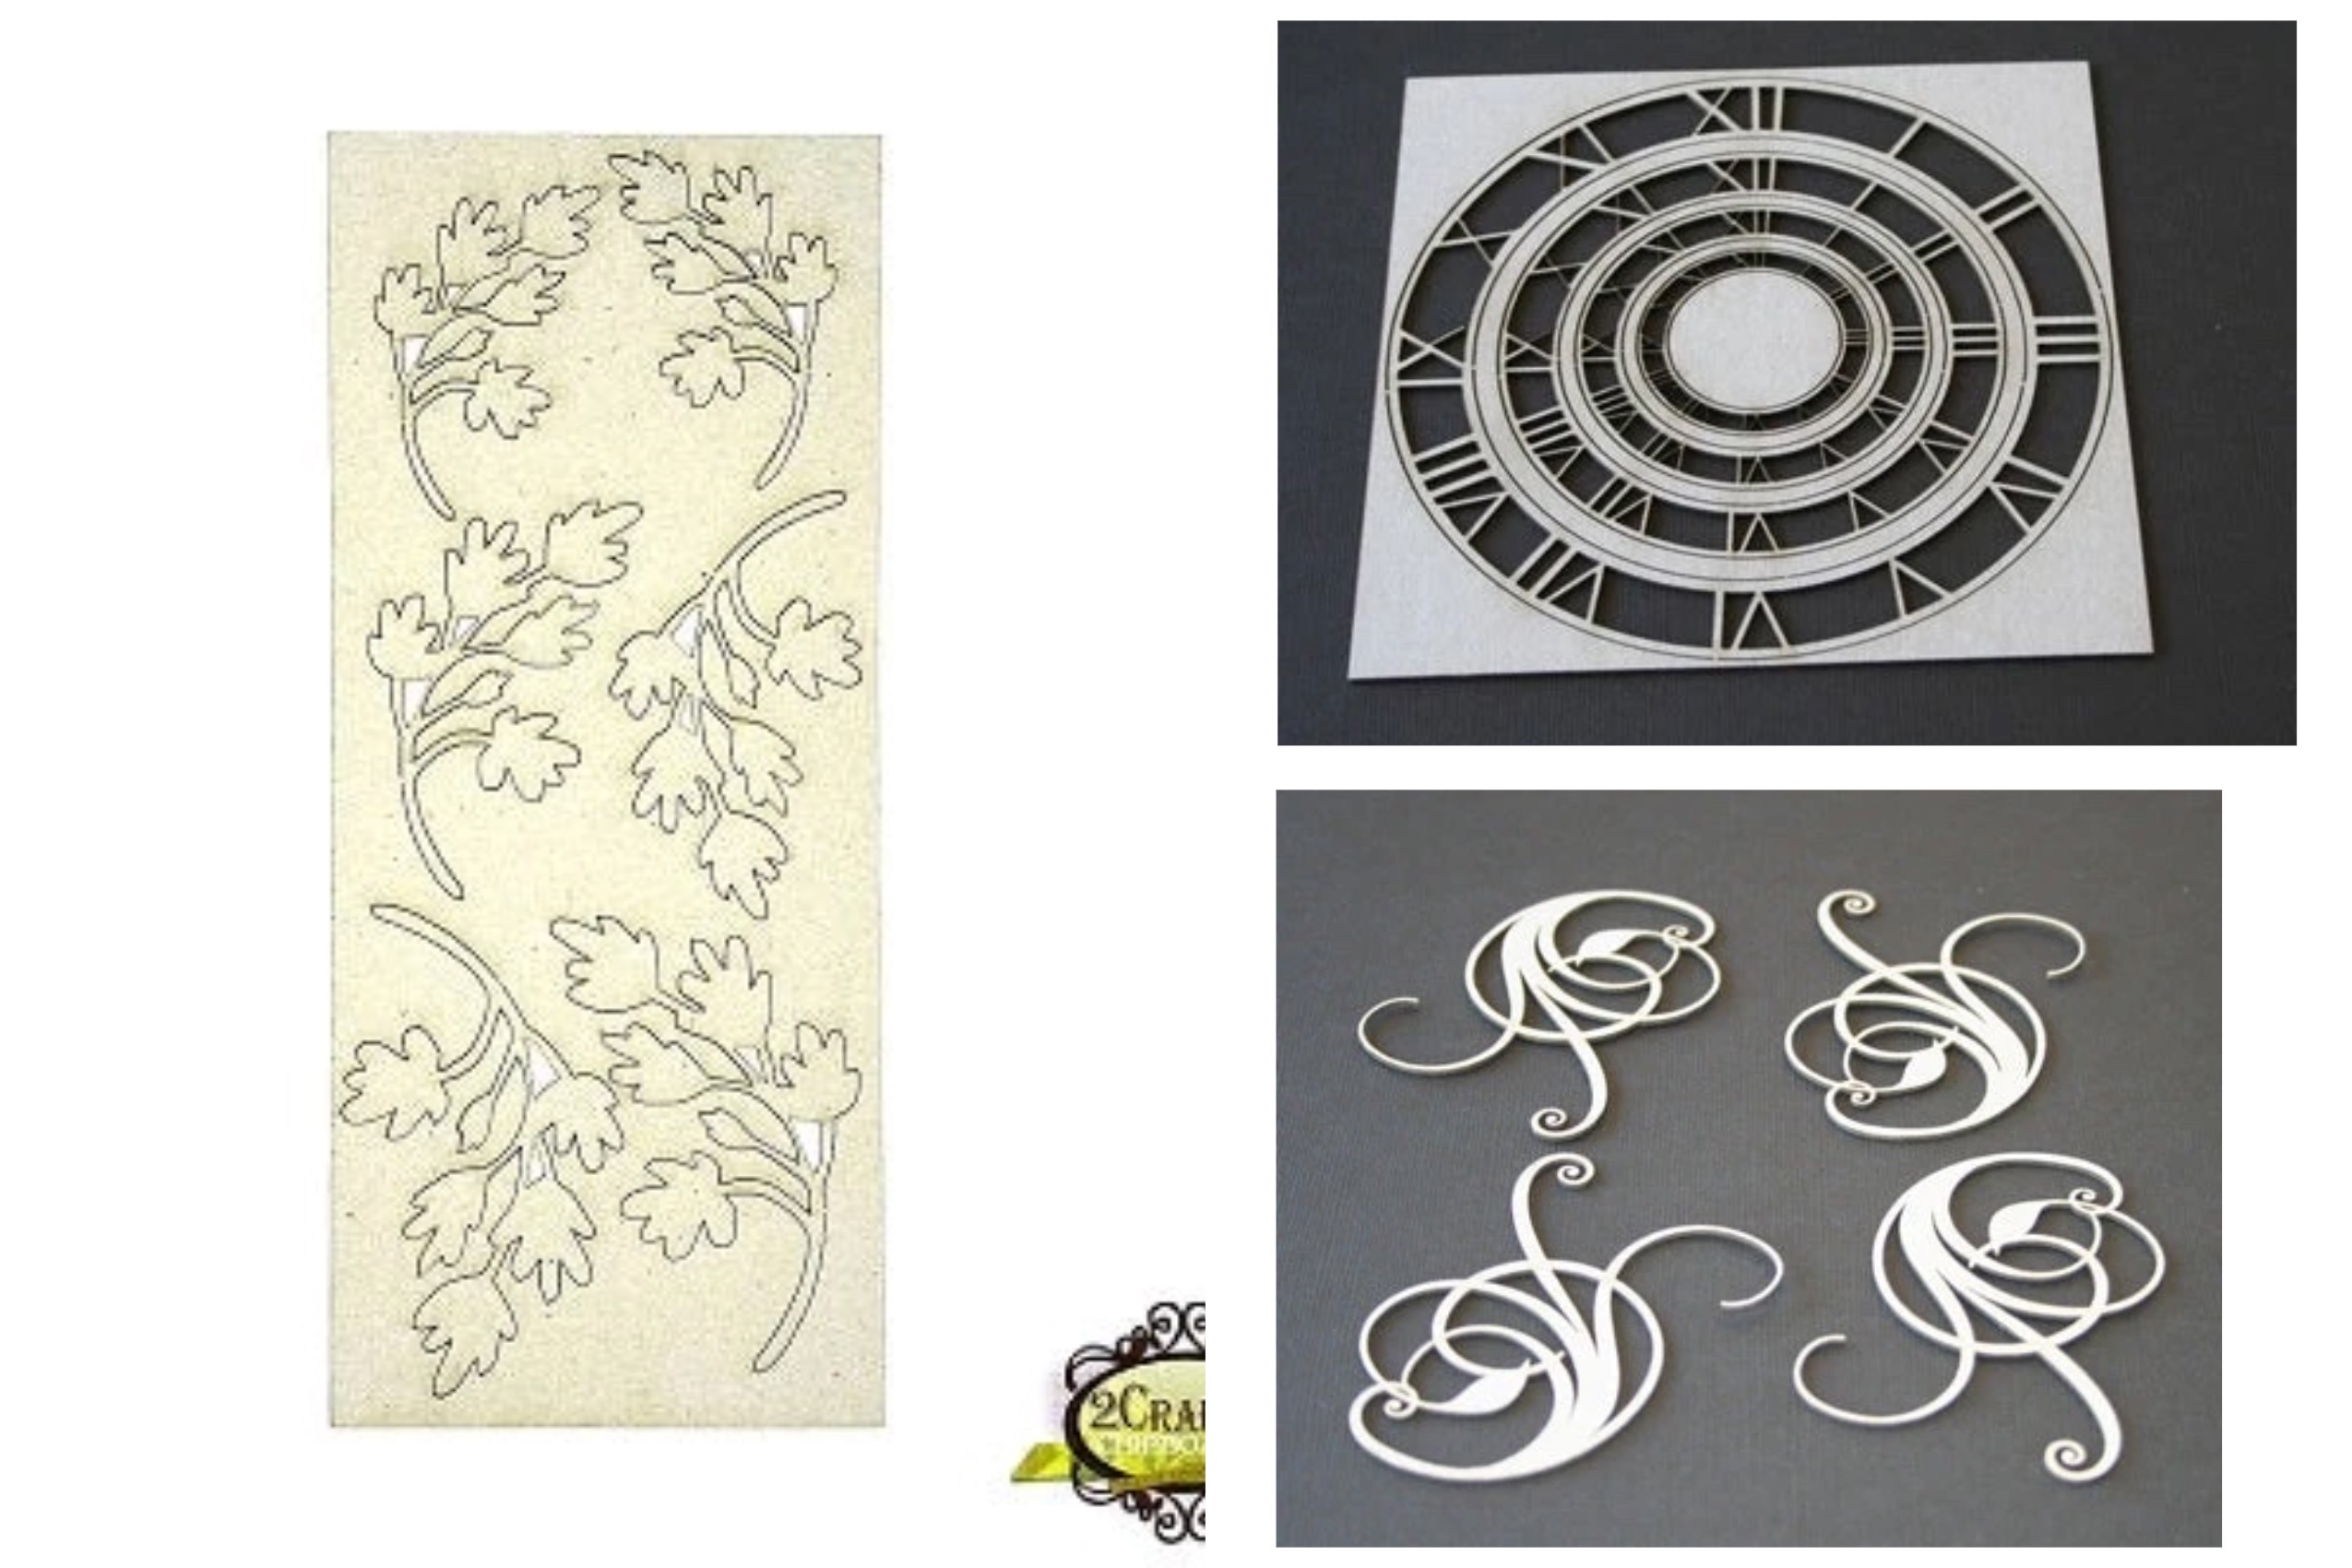
'Flourish Set 4'
'Foliage Set 11'

'Flourish Set 4'
'Foliage Set 11'

For this layout I started with a bit of
stamping and splashing on my background paper.
stamping and splashing on my background paper.

I used one of the 'Flourish Set 4',
that I have embossed in white.
I also used two of the 'Foliage Set 11',
I also used two of the 'Foliage Set 11',
also finished in white.

I also used one of the 'ATC Georgian Frames',
embossed in white and layered with a sentiment sticker.

I then used another of the 'Foliage Set 11',
also in white, tucked into my floral cluster.

I really like how this layout turned out.
I hope that you like it too!
I hope that you like it too!
Until next time!
Lisa