Showing posts with label Ornate Heart Set. Show all posts

Sunday, March 22, 2020

Once Upon a Dream
by Sabrina Turpin

Hello 2Crafty fans!

I hope you're doing well! On our side, spring time has officially started here in Quebec and
snow is finally melting away and we're starting to enjoy a bit of warmth.
 Things took an unexpected turn for us a few days ago when everything shut down due to the pandemic and everybody being asked to stay home.
 But we're making the most of it, spending some quality family time together.
 It also means I have a bit more time for crafts!!!

"Once Upon a Dream"


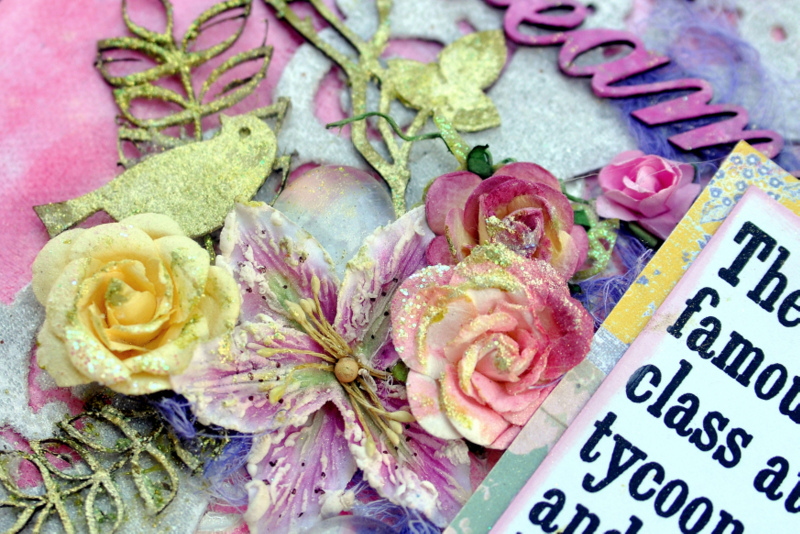
On the "Ornate Heart Set", I applied some shimmering rose gold paint.
Then I dabbed a pink ink on top.


For the "Scroll 3", I used burgundy embossing powder, then applied a bit of copper embossing ink on top. Finally, I've added just a tiny bit of white embossing ink.


For the title, "Once Upon a Dream", I applied copper-pink embossing enamel.


I used the following 2Crafty chipboards in this layout.

Ornate Heart Set [m00500]
Once Upon a Dream [w00467]
Scroll 3 [pa0043]


That's all for me today!
 I hope you enjoyed this and that it gave you a bit of inspiration for your own creations!
Stay safe, I'll be back soon with more ideas to share with you guys.


Tuesday, December 10, 2019

Amazing Day
by Sabrina Turpin

Hello 2Crafty friends!

I'd like to share with you a nice colorful layout I did this week featuring my hubby and I 
enjoying the the sun earlier this year.
 I'm really happy with the result, with the colorful chipboards making everything pop out nicely.

"Amazing Day"


On the "Leafy Shrub Set 2", I applied pink embossing powder.


For the "Ornate Heart Set", I used orange embossing ink and then lightly traced the contour with black ink.


For the title, "Amazing Day", I simply applied yellow ink.

 I used the following 2Crafty chipboards in the layout:

 Leafy Shrub set 2 [M00492]
Ornate Heart Set [M00500]
Amazing Day [W00456]


That's all for me today! 
I hope you enjoyed this layout and that it will give you some inspiration for your own creations! 
I will be back soon with more ideas to share with you.
 Until then, have fun creating!


Wednesday, February 4, 2015

February Shares with Margaret Mifsud

 Hello everyone and welcome to the 2Crafty Blog!!  I hope you are having a wonderful day.
 
Margaret back with you again to share my projects for February.
As the 14th of this month is Valentine's Day I thought I would share some Valentine cards with you.
 
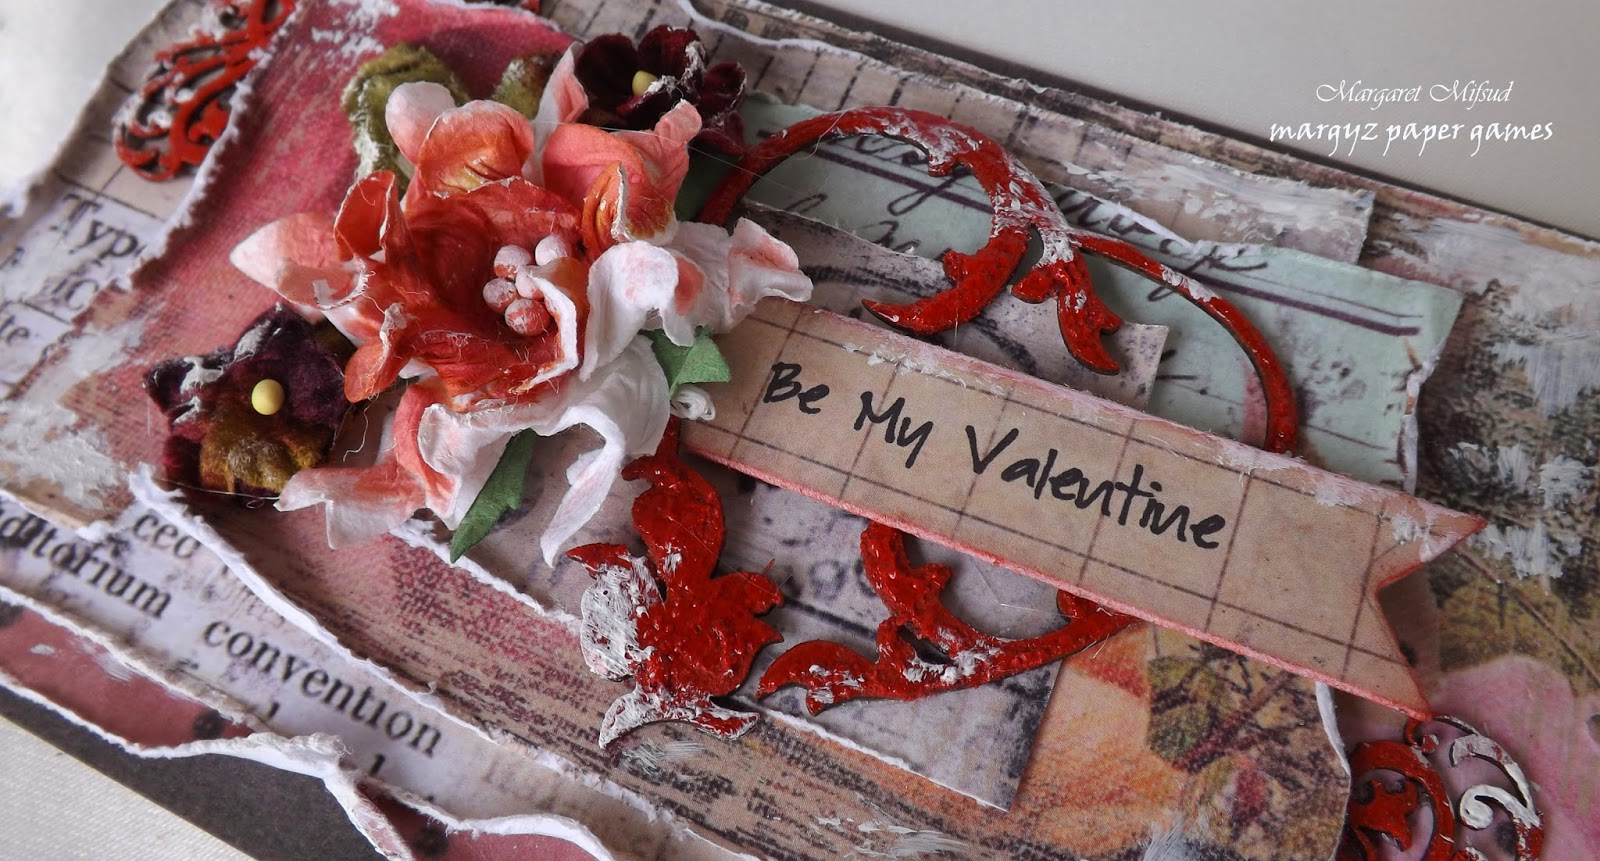
 'Be My Valentine'
 
2Crafty Chipboard used
 
 Element Set 3


  Ornate Heart Set

 
The papers used here are from Prima's Romance Novel A4 Paper Pad.

 
I cut one of the pieces from the Element Set in half and used them in opposite corners.  They were both coloured with red acrylic paint and then dabbed with some Glossy Accents.  I really love the intricate design on these chippies, they are so pretty and so versatile too.  You can leave them whole or cut them up to fit your project.  They are very robust.

 
The Ornate Heart was first covered randomly with some Coarse Texture Gel and was
 then also coloured with acrylic paint and covered in Glossy Accents.

 
I cut a little banner shape from the blank of  another chipboard piece, printed the greeting
 onto another piece of the Romance Novel papers and glued it to the banner.

 
When everything was dry, I dry brushed randomly around the card with gesso. 


'You Light up My Life'
 
2Crafty Chipboard used
 
 Light Bulbs

 6" Clock Frames


These papers are a mix of Kaisercraft and Prima.


I love that the 6" Clock Frames comes in a set of three and that they are all different sizes so they are suitable for all sorts of projects.  I cut the middle sized one into two pieces and placed
 them under the paper layers on opposite sides of the card.
I added some patches of crackle paint for texture and once again swiped the finished card with gesso.


The clock was coloured with VersaMagic Midnight Black and then and also with
VersaColor Scarlet.  I didn't cover it completely as I wanted it to look a bit old and worn.


These light bulbs are so cute! I am so pleased I was able to use it here and it was actually the inspiration for my greeting!  It was coloured in the same way as the clock and then I coated the filament with gesso.


Once again I used a piece of chipboard cut from the blank chippie  leftovers as a base for the greeting.  This was a tip I got from one of my Teamies Janice Nichols.  She advised to never
throw out the blanks as they can be used in all sorts of ways.  Thanks Janice, it worked a treat!!


My last card is another feminine one.
 
'Love'
 
2Crafty Chipboard used
 
 Hessian Patch Panel

Word Circles


I used a piece of watercolour paper and created the background on this card with some
 strips of paper and some texture paste through a stencil.  I then did some stamping
 and lightly sprayed it all with Fired Brick Distress Ink.
 

I had a small piece of the Hessian Patch Panel left over from another project and 
found it was just the right size for this card.  I coated it with white acrylic paint and
 then dabbed over that with Silver Distress Paint.  I really love this panel, it was 
the perfect base for my flower cluster.


The Word Circle was coloured in the same manner but this time, before it was dry,
 I also covered it in clear glitter.


These Word Circles are brilliant!!!  Small enough to use on cards but also a 
good size for Scrapbooking and off the page projects too.

  
Well, that's it from me for this month.
I hope you've enjoyed this post and found some inspiration here.  
 
2Crafty Chipboard has hundreds of designs so I know they would have the perfect size
 and shape to suit any project you are working on.
  
 
and remember, to find a 2Crafty stockist near you
simply email salesat2crafty@optusnet.com.au
Thank you so much for visiting, and enjoy the rest of your day.
Take care and God Bless.
oxox
 
 
Photobucket
 

Wednesday, July 9, 2014

Helen Tilbury's July Post
An Inspirational Canvas,
a Set of 3 Cards & a Penguin Page!


Hello to you all today!  HELEN back with you  to share my July projects with y'all!


First I made a canvas for myself!  I needed something to take pride
 of place above my workspace {there is a little patch of wall above
 the blinds as my work area is in front of two lovely big windows}.  
Hence the reason why my canvas is a landscape orientation.  
The size is 10 inches high by 14 inches wide.  {approximately 25cm x 35cm).


I used the "Always Follow Your Dreams" title.  
The 2Crafty titles are beautifully balanced & in the very prettiest of fonts.  
They add the perfect touch to every project.  I always prime my chipboard with 
white acrylic paint {you could use gesso - acrylic paint is just cheaper for me!} then
 I painted it with an Adirondak Paint Dabber in Raspberry {a must-have Ranger
 colour} then sprayed over it with some pink mist to give it a sparkly touch.  


I used a card with an inspirational quote on it & around the card I used a giant 11" 
Florabella frame.  I painted it with white acrylic paint then sprinkled it with tiny
 glass beads while the paint was still wet.  I adore the sparkly look this gives.  
I used a plastic vintage doily as a stencil, together with some hard modeling 
paste, that I embossed with white gold embossing powder whilst still wet.
It has an awesome sheen to it in real life!


Around my sentiment & over my frame, in the top left & bottom right hand 
areas only, I clustered numerous flowers & tucked various pieces of 2Crafty 
chipboard leaf designs underneath them, together with some glass pebbles
 from the home decor store & some misted up gauze from the pharmacy!


I used the leafy silhouettes {see far left} which I LOVE because they are just the 
outline of the leaves only.  I also used some leafy twig branches, some Summer
 leaf stems & some Tiny leaf stems.  I also used the Tree with Sparrows, just a 
section of it together with 2 of the sweet little birds, as well as 3 shrubs from a 
couple of Shrub Sets.  I painted up my leaves using some green mica paint for
 shimmer, then on some of them I added some green art glitter whilst still wet. 
 I have a leaf green & a lime shade.  I also used Gold so there are several 
co-ordinating goldy green colours going on & it looks nice & dimensional!


Next up I decided to make a trio of cards. 
 Very unusual for me as I don't choose cards usually but I've decided I need to
 become more versatile as a crafter & create more ''other" projects aside from
layouts {for example art journal pages, canvases, cards, etc!}


For my first card {below} I used the Leafy Twig Branches which I painted green 
then embossed with a two-tone white/green embossing powder.  If you are a 
lover of chipboard & altering it then embossing powders are a must.  They're
 a little expensive so I suggest buying them slowly to build up your stocks.  


I also used part of "Tree with Sparrows" in my bottom cluster.  2Crafty has SO MANY 
beautiful leaves, flowers & flourishes that I suggest  you get hold of a selection so you can mix & match them when tucking them into your floral clusters, as I have done this month.


Making Mixed Media cards can be messy so I worked on all 3 at the 
same time to get the most out of my dirty stencils & spatula!


For my 2nd card I used the Dandelions.  They come in a set of 3 & I used just 2 of them.
They are really an IN design at the moment & I love how they look.  I embossed mine
with green embossing powder which I then sponged over with gesso to highlight.


I always use either hot glue {which is very strong & effective but takes control & practice to apply) or Tombow Mono Adhesive (the little white bottle with the green writing) which is a great glue for small items.  It dries clear & is really strong but fast setting so no mistakes!


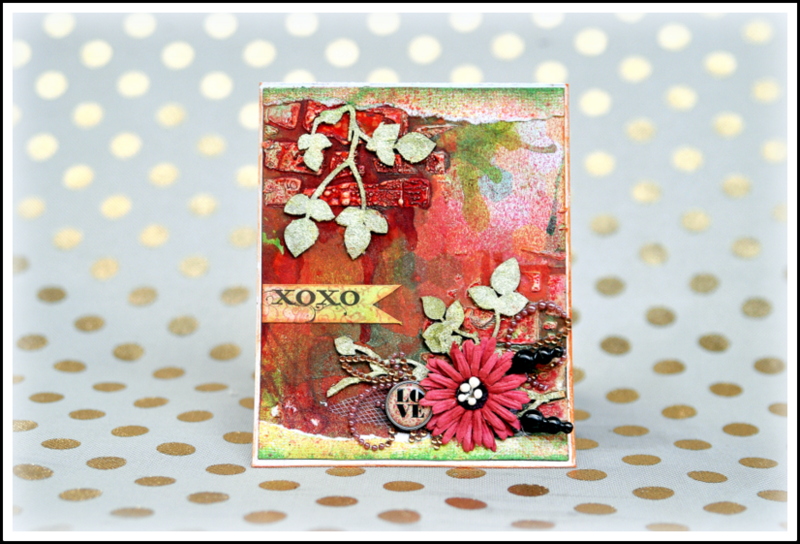
For my last card I used a heart from the Ornate Heart Set (of 2).
I've used these hearts quite often as I'm crazy about heart symbols
(I have them all over my house!) & these ones are lovely. 
 I embossed this one with a greeny bronze embossing powder.


If you enjoy the mixed media look & want to try it out for yourself you need to start 
adding some extra texture to your projects.  This can be easily achieved by using
 thread (that you just unspool & drop onto your layout/card/etc in a creative bundle!)


 Then use chipboard to ''anchor" it by gluing it on top of it, or, even easier 
& prettier I think, use gauze.  It is so inexpensive & you can buy it in 
pre-cut squares at the pharmacy.  It also mists up really easily 
using your spray mist & water spray to blend & dilute.  


Now onto my final project. 
 It's one I created back in
 February & you can see more of it on my blog HERE.  


I used a combination of 2Crafty swirls & corners to create my photo & cluster mat 
for this layout & gesso dabbed the chipboard only before glazing it for a shiny finish. 

 As this page was about my Daughter's obsession with Penguins I kept the colour
 palette cool & wintery.  Thanks for looking at my creations today - I hope that I 
inspired you in some way to create using 2Crafty Chipboard! 
 HELEN 
  
  And remember, to find a 2Crafty stockist near you, drop an email to...
salesat2crafty@optusnet.com.au


Photobucket