Showing posts with label Decorative Disc Set 1. Show all posts

Friday, January 25, 2019

Magical - VIDEO and Layout
By Emma Zappone

Welcome to the end of the week 2Crafty friends.
Em sharing with you today.
Here is my Friday inspo...…

"Magical"

And here are the beautiful 2Crafty chippy pieces used....


Products used are:
Freda's Butterflies
Florance swirl set
Fine word set 2
Decorative Discs

I would love you to check out my video here...


Some more detail, this is what I treated my chippy with.


For the finish on the butterflies I opted to ink with Archival black ink and then with
 my finger applied a Distress Oxide over the top to give a little colour and then again
with my finger rubbed Finnabair wax over that.
Simple yet effective.


I applied the same process with the decorative discs but with different colours.
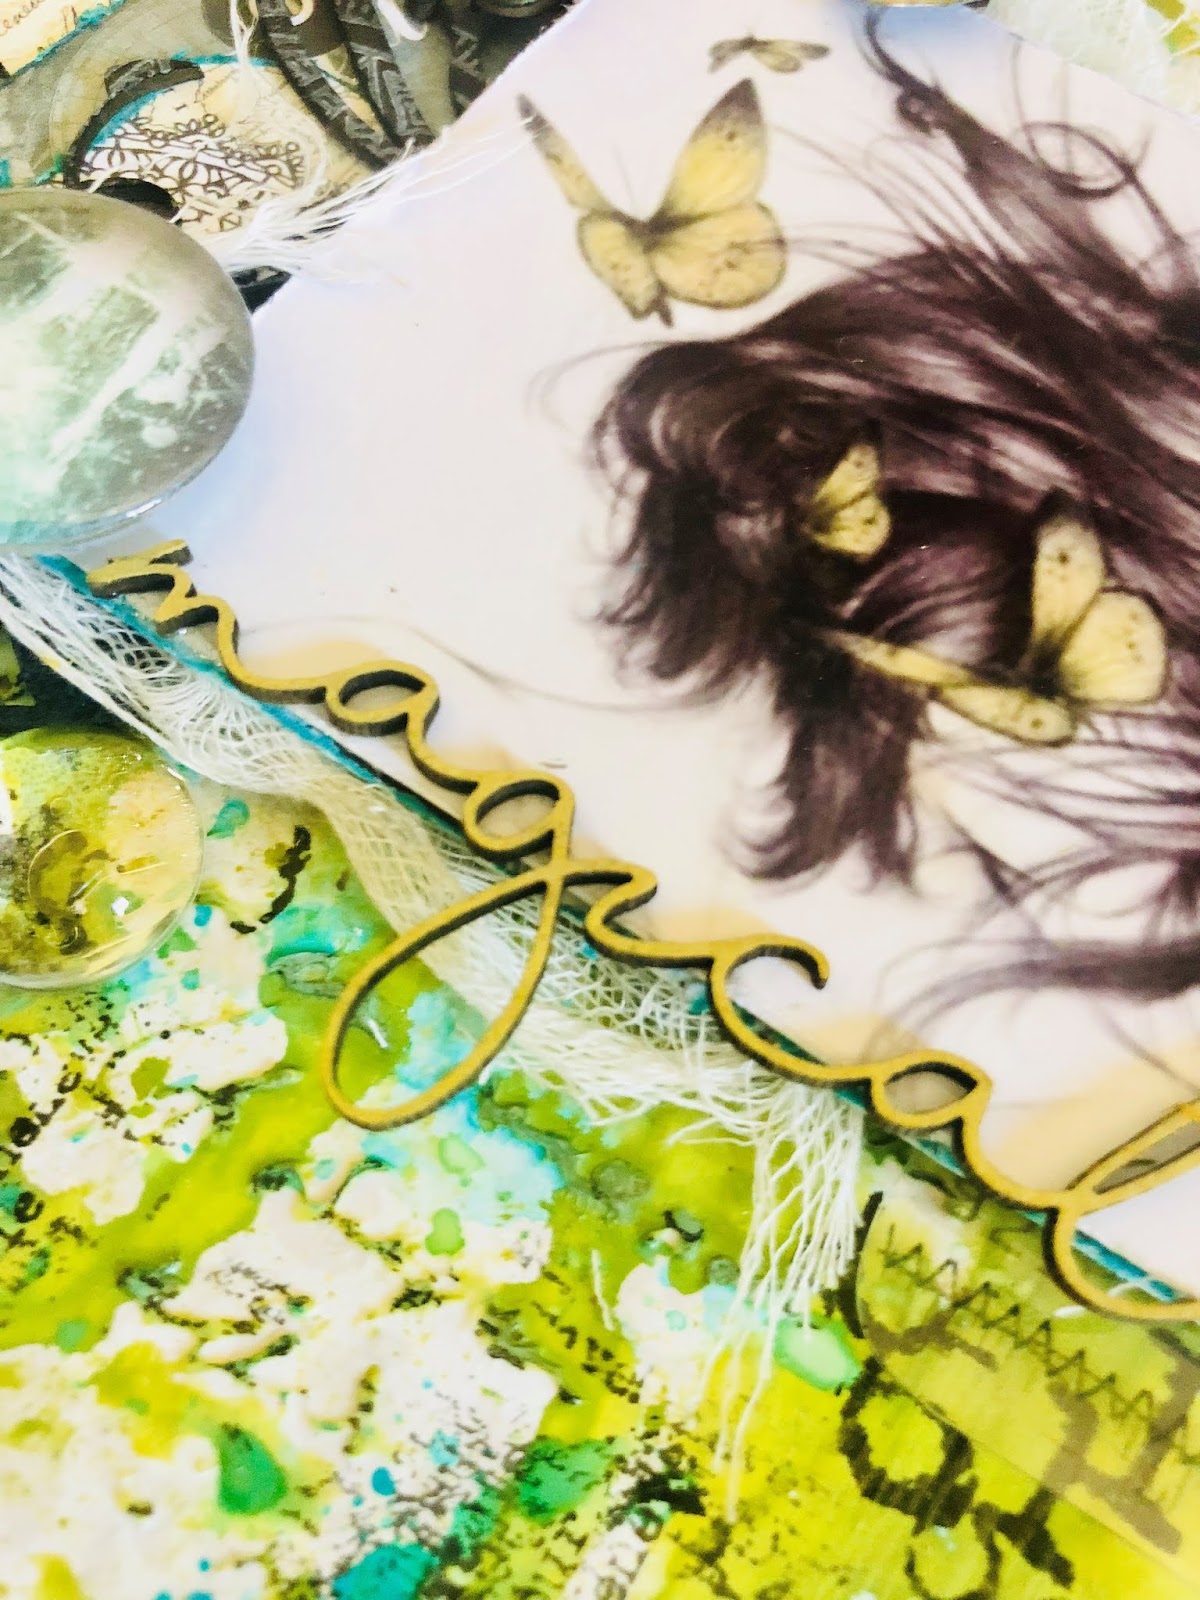

For the word I coated it in a coordinating Distress Oxide, super quick on
 this delicate word but striking all the same.


For the beautiful Swirls I inked yet again with the black ink but then stamped
over them with a white ink to add interest and texture.
I love this effect and use it quite often on the chippy.

I hope this and the VIDEO give you a little Friday maybe weekend inspo?

I look forward to visiting you all again in Feb.
Till then Em xx


Friday, September 7, 2018

"Escape Under the Stars"
By Emma Zappone

Welcome everyone to my first share this month.
Today's share is totally inspired by the image, my love of all things Star Trek and sci-fi.


Here are the chipboard pieces I chose to bring this layout to life.


Because Star Trek is iconic I decided to go with a bit of a retro feel as this
 particular artwork is of the original Spock.
Hence this is why I chose the retro squares for the background. I painted the
chippy in an Art Alchemy acrylic first and then once dry stamped over it with a
white ink.  The stamped image is the same one as  what I stamped directly on my layout.


The Circles I sprayed with a Dylusions ink spray and I chose a purple, a colour I very rarely
use as I just don't like it, but felt this page would do purple justice, you know, being spacey and all.


The arrows I painted in a Sparks over them being inked in black first.
I also painted the decorative disc under my arrows in the matching shade of purple.


My title word from the Mini word set is also in the purple but
with an Opal metallic over the top to add extra sheen.


Over all I feel I have captured the essence of space and beaming up into it.

I hope you can see where I was going with it anyways.

I'll catch you all again a bit later on in the month.
Till then I hope you are inspiring and being inspired.
Em xx


Wednesday, May 23, 2018

'Go See Do Explore'
by Rachael Funnell

Hello! Rach back with you sharing my second May Inspiration...
This grungy boys layout, featuring my son!
'Go See Do Explore'  

2Crafty Chipboard Used...
Chevron bits
Mini Checkboard pieces
Mini Travel words
Geometric Arrow
Decorative Disc set 1
Wing Set 1
6" Clock Frame


Before gluing The Mini Travel words - 'go do explore' onto my photo, I had been inked
 with a black, Yellow, Teal inks....  The see word  I had given it a couple of
coats of gesso..... 
I did the same to the treatment to the few Chevron bits....


The Decorative Disc was also coated with gesso, then cut in half, placing
half at the side & the other half at the bottom of photo....


The Mini Checkboard bits, I have inked with black &
 randomly placed throughout my layout...


The Geometric Arrow.... which I TOTALLY LOVE.... 
I have given it a couple of coats of gesso..... 
Using  the smallest 6" Clock face frame, I have inked with Yellow!


I hope you like & inspired by my grungy boy's layout..
See you next month...

Wednesday, February 21, 2018

February Inspiration with Sabrina Turpin

Hello 2Crafty fans,

It is my turn to share my February layouts. Playing with the 2crafty chipboards is 
always a pleasure.
 I hope you'll like my layouts as much as I had fun to making them!
.
"Hello Beautiful"
Hello Beautiful is a layout made with the school photo of my daughter.


In the "Hello Beautiful" layout, I embossed the "Feather" chipboard
 with a copper embossing enamel.


 The "Pointed Doily Frame", the "Decorative Disc Set #1" and the "Winter Twig Branches"
are inked and embossed with different colors of embossing ink. 


For the title, I used  aged white embossing enamel.

2Crafty Chipboards Used...
Hello Beautiful
Decorative Disc Set 1

Feather
Pointed Doily Frame
Winter Twit Branches


"Perfection"

For my "Perfection" layout, I decided to use a black background 
that I found gave it gave a boyish look.


For this layout, I used the "Diamond Chunks Bits" as a background, which I 
embossed with silver powder and then used black embossing ink on top of it.


I diluted some charcoal paint and applied it to the "Swirly Star Border". 
This gives a nice effect where the chipboard looks very roughly painted.

For the "Steampunk Gears", I also used paint, but a metallic navy blue one which I diluted less.


For the large "Wire Star" in the background, I used regular undiluted grey paint.


Finally, for the title, I used white embossing powder on the word: Perfection.


2Crafty Chipboard Used:
Perfection
Diamond Chunk Bits

Steampunk gears Medium
Swirly Star Border
Wire Stars

I also have an extra layout to present, because I'm a guest designer the CSI blog.
 I created this layout for the #248 CSI: Colors, Story, inspiration.

For this month, 2Crafty Chipboard is sponsoring their challenges. 


I used "Hearts Clumps" for the background. I applied a white gesso on it and
 I applied some waterpaint powder to the background. 


I left the "Mini Branches" chipboard at their natural color. For the little 
"Messy Square Frame", I used a glittering embossing powder.


Finally, for the title, I used the word "Love" from the "Fine Words Set #1"
 and applied embossing ink.

2Crafty Chipboards Used..
Mini Branches
Hearts Clumbs

Fine words Set 1
Messy Square Frames

I hope that my layouts inspired you!