Showing posts with label 6" Zipper frame. Show all posts

Friday, March 29, 2024

'Be big as the Journey is small' - by Emma Zappone

Hello everyone,

Em with you today and I have an 8x8 canvas to share with you.
It has Steampunk vibes.


And here are the chipboard pieces used....

12x12 Weathered Clock Face Frames
Steampunk Gears Medium
Steampunk Gears small
6" Circle Zipper Frame set


I trimmed the medium Clock face to create an 'edge' to place on the base of my layers on the canvas.


The clock and the zipper frame both have the same finish. It started with a mix of complimentary colours in distress oxides, and then finished with a clear emboss.


The gears are painted with an acrylic ink in burnt sienna and raw sienna.
I love how these sit nestles into the flower clusters.


The small elements really add to the completeness of the project.

I hope you enjoy this share and get inspired by some of the elements.

Have a great weekend and I will catch you all again soon.

Till then, stay Crafty
Em xx


Thursday, March 21, 2024

'Loving these Moments'
layout by Rachael Funnell


Hello everyone!
Rach back with you today sharing my newest creation..
This masculine layout featuring hubby, our son & our toy poodle 
(which if you look closely her head is popping out from hubby jumper lol)


2 Crafty Chipboard used: 
Loving these moments with you (title)
2015
6" Zipper frame
Steampunk gears Medium
Steampunk gears small


Let's start with this fabulous title, which is just perfect for this photo...
 I have gone with simply given it two coats of gesso...
Then the 2015 I have sitting at the bottom of photo I have inked with this lovely blue...


Next I have these super cool 6" Zipper frames and I decided to use the two larger frames
and inked one with black & the other with two coats of gesso..
Doesn't it look so GOOD sitting on the photo


Laslty I had a few Steampunk gears in medium & small 
I went with inking the small gears with black & the medium gears with
this lovely gold ink...


I just love how this layout has turned out and 
I hope I have inspired you in some way
Thanks for stoppin by!

Wednesday, March 20, 2024

"Snow Happy"
Layout By Marie Sabatier


Hello everyone,

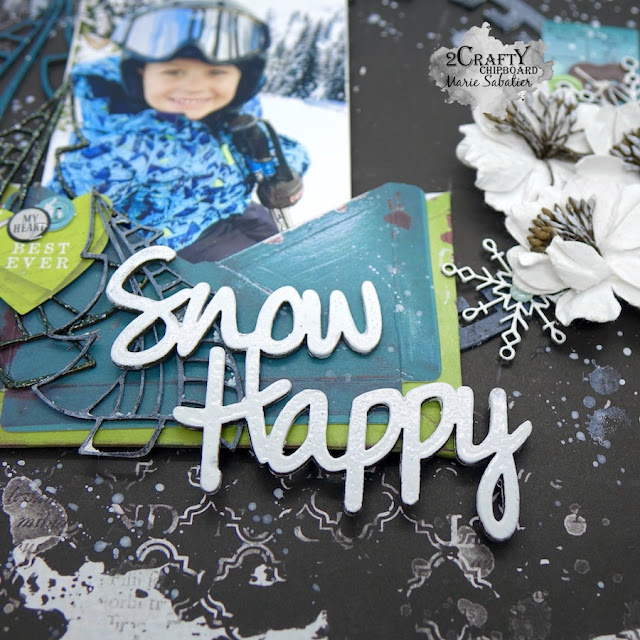
This layout was inspired by the happiness of my grandson in this photo taken recently 
during the ski holidays. 
He was so proud to win his first medal for his skiing debut.

"Snow Happy" 


2Crafty Chipboard used:

- Snow Happy
- 6" Circle Zipper Frame Set
- Funky Outline Christmas Trees
- Crystal Snowflakes


To achieve this layout I was inspired by the colors of my grandson’s outfit.

I start by using black gesso on the chipboards "Circle Zipper Frame" and "Funky Outline Christmas".
On the circle I add a thin layer of "Old White" matte wax.

On the chipboard "Funky Outline Christmas" I choose different colors and materials. 
A wax "Lucky Emerald", embossing powder "Ghouly Goblin Green" and again wax "Old White.
I love layering chipboard!


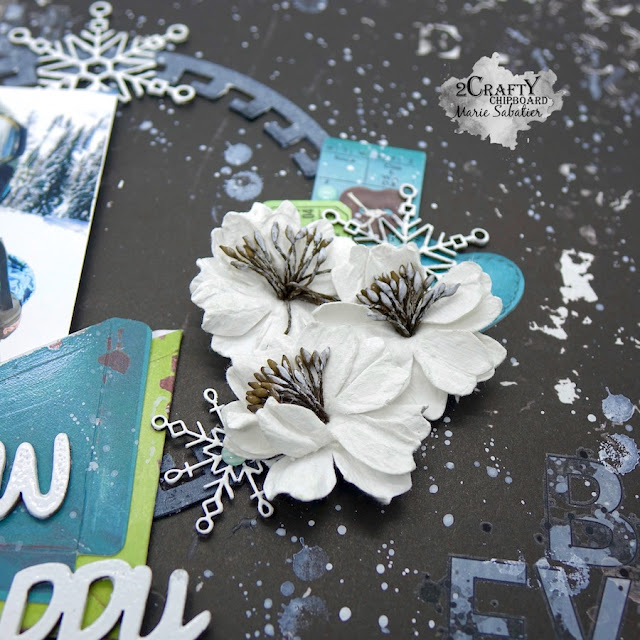
I use "White" embossing powder to embellish the "Crystal Snowklakes" chipboards 
and I insert them into my embellishment cluster.


I do the same for the title, but I make it even whiter by applying two layers.


Nothing special for this layout, just add beautiful chipboards and voila.


Many thanks for your visit!


Wednesday, November 30, 2022

'Design Artist' by Emma Zappone BONUS VIDEO

Hello everyone. Em with you today on this last day of November. 
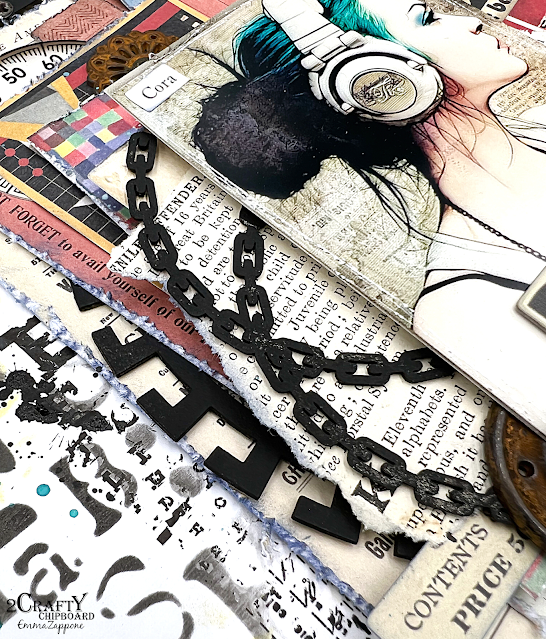
Today's share introduces you to Cora, a graphic design artist from New York.
She gets a lot of her inspiration from the urban lifestyle she lives. Graffiti artists and fashion designers are her main inspo for most of her designs. Check out the process video here.


Here are the main pieces featured in this layout....

6" Funky Line Panel 
6" Zipper Frames
9" Steampunk Border


I really wanted to capture that inner city vibe where one can be inspired by other artists. I love how the chosen chipboard are eclectic visually but together on the page compliment each other. I have also cut portions from some of the chipboard to maximize usage for other projects.


Lets start with the Funky Lined Panel. I cut a couple of different sizes to start with from the original panel and painted with black Gesso. Once that was dry, I then stamped lightly with some white ink and a ticket stamp to give some detail to the panels.


The Zipper frame really adds a little quirk. I painted this in black Gesso also and left it matte.


I repeated the process for the Steampunk border with the Gesso but left the paint a little more rough to add a slight weathered look to the chipboard. With this Steampunk piece I only wanted to use the chain part of this design, so I cut these off the actual border. You can see all this in the Video.


Using the simple black gesso really made these pieces stand out on their own. 


I really enjoyed the process and love the end result. I hope you do too.
Be sure to check out the video to see it all come together.


See you all soon.
Em xx


Friday, July 22, 2022

'Explore' layout
By Rachael Funnell


 Hi everyone & the warmest of welcomes to you all!
Rach with today sharing another bit of 2 Crafty inspiration
This masculine/grungy layout...


2 Crafty Chipboard used: 
6" Zipper frame
Aztec Arrows set 1
2020
(Explore)Mini Word set 4
Mini Border 1


With the chipboard pieces, I've used
 I have kept it relatively simple,
 either inked with black OR a nice thick coat of gesso...


Dabbing the gesso with a sponge to the 
 6" Zipper frame, (Explore)Mini Word set 4 & Mini Border 1
to give these pieces a real nice textured finish...


Once I inked the Aztec Arrows with the black
I cut one of the arrows in half, then glued them onto my paper layers..
Hope you are inspired in some way today!!
Until next time