"Happiness"
Hi everyone.....I'm super excited to be here (still pinching myself) and
to share my first designs with you!!
My first layout is titled
'Happiness'
This layout is for and about my teenage daughter, so I wanted to use
bright colours teamed with black to go with the 'teen' feel.
I used the following 2 Crafty Chipboard:
Triangle Set
Zig Zag Borders
Polaroid Frames
Fine Heart Borders
Line Words - Happiness Borders
Indian Feathers Set
I painted the "polaroid frames" a number of bright colours that went with the papers I had
selected. I then stamped them randomly with black Staz-on and a small chevron stamp.
I used the same technique on the "feathers". I made sure the stamping was
fairly random, I certainly didn't want them to look 'perfect'.
I added a "zig zag chevron border", painting it bright pink.
As my layout was very bright, I added black as a contrast to set off the colours.
I painted the "fine heart border" and a few "triangles" black. I turned
these on their side to look more like arrows or 'play symbols'.
I painted the word 'happiness' from the line border pack black too.
The black is really grounding against the bright colours, and helps direct the eyes into the page.
I'm really happy with how this layout turned out.
It suits my teenage girl perfectly.
'Discover'
My second layout is is about a cute little moment I captured between two
cousins who were meeting for the first time.
For this layout I used the following 2Crafty Chipboard:
Lattice Leaf Set
Mini Branches
Mini Travel Words Set 2
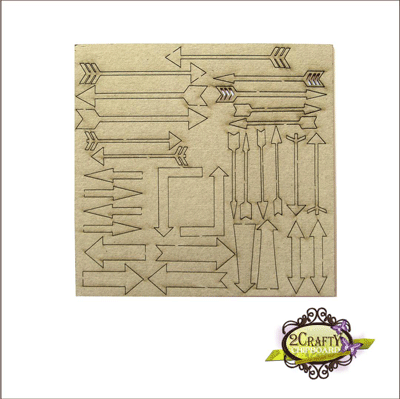
Assorted Arrows
Polaroid Frames
Film Strips Small
I used 'discover' for my title from the "Mini Travel Words Set 2".
I painted it black and then added Dimensional Magic to give it a high gloss/resin finish.
I also did the same with the "Assorted Arrows",
the "lattice leaves" and the "film strip".
With the "mini branches", I coated them in a few coats of white gesso and then
stamped over the top using Black Staz-On and a script stamp.
I love how this adds extra texture, and allows me to add more layers.
To bring in some more contrast and texture, I embossed one of the "polaroid frames"
using an aged metal emboss powder. I love the finish!!
Thanks for popping by, I hope you've found inspiration here today.
I can't wait to share more with you again next month!
Much scrappy love,