Showing posts with label Angel Wings. Show all posts

Monday, December 23, 2024

Too Cute for the naughty list
layout by Rachael Funnell


Hello everyone!!!
Rach back with you sharing another christmas layout
featuring the SUPER CUTE photo of my daughter,
 back in the day when they were so eager to let me take photos LOL....


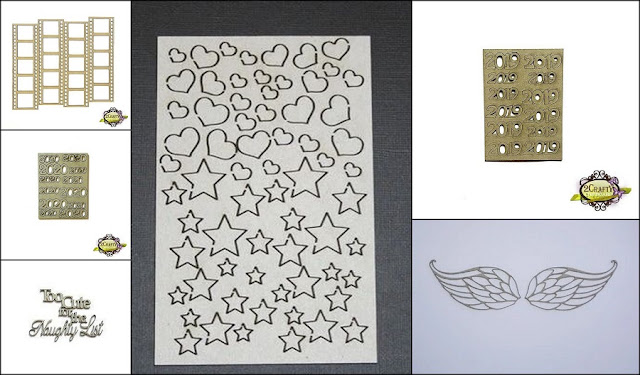
2 Crafty Chipboard used:
12x12 Stacked Film Strips
2020
Too Cute for the naughty list
ATC - Tiny hearts & Stars
2019
Angel Wings


Let's start with the date, Now if you wanted you could contact 
2 Crafty Chipboard and Vanessa would happily create a sheet of what every date you are after,
 but I already had plenty of 2020 & 2019.

 so I made my 2009 by cutting out the 2 from the 2020 and then cutting the 9 from 2019 
and inking it with this lovely red..
Next are the gorgeous Angel Wings,  I have inked these set of wings with Tim Holtz - Speckled egg 


Then I have sitting underneath my photo  12x12 Stacked Film Strips, 
which I have cut in half and with a paint brush added some gesso.
I also added gesso too a few of the ATC - Tiny Stars...


Lastly for my ttile Too Cute for the naughty list, Simply inking this with the same red 
used for the year 2009...


I would like to say a BIG THANK YOU everyone for all your sweet supportive comments in 2024..
WISHING YOU ALL A VERY MERRY CHRISTMAS 
& ALL THE VERY BEST IN 2025


Monday, October 2, 2023

'With Brave Wings She Flies' Journal Cover
with Lisa Amiet

Hello all!
It's Lisa here today to share some 2Crafty inspiration with you.

For this post, I have decorated a journal / album cover with some
of the gorgeous 2Crafty designs that perfectly suited my papers. 


This is the front cover of the journal.


This is the back cover. 

2Crafty products used:


I have used a set of the 'Angel Wings' for my fairy,
which I have embossed in a gold glitter.


I have also used one of the 'Field Mushrooms' clusters in the corner, 
that I have coloured with watercolour paints, 
and finished with some glitter gold embossing to the dots. 


On the back cover, 
I have used two of the small hinges from the 'Hinges Pack',
that I have finished with watercolour paints,
 and a slight gold embossing powder to parts of the hinge. 


I then used the 'Kara's Oval Frame',
again finished in gold glitter embossing powder,
to frame the rose element from my papers. 


Lastly I have used one of the 'Clock Face Discs',
finished with glitter gold embossing powder, tucked into my layers.

I am really happy with how this cover turned out, 
now I just need to fill it with some splashes of colour.

Until next time!

Lisa 


Friday, December 2, 2022

'Different'
with Lisa Amiet


Hello 2Crafty lovers!
It's Lisa here today to share some chippie inspiration with you. 
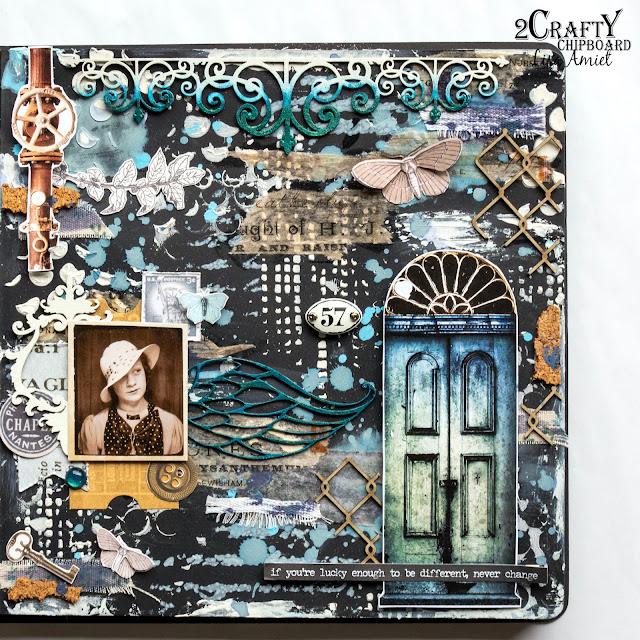
For this project, I created an art journal page,
celebrating what makes us different.


2Crafty products used:


I have used my 8 x 8 black art journal to create this page.


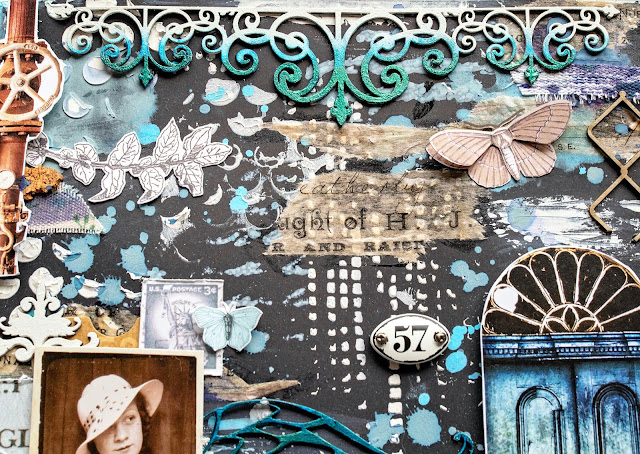
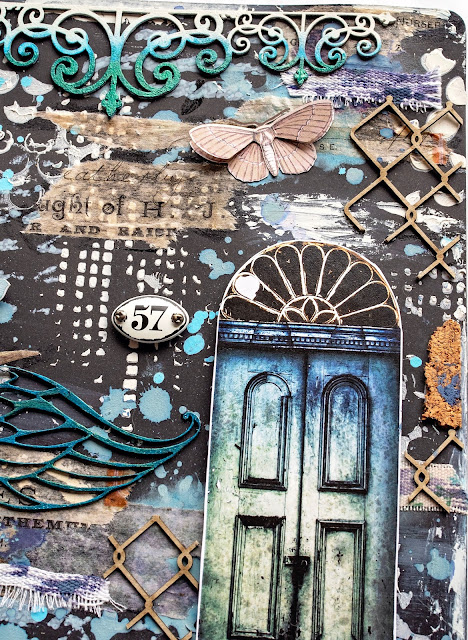
I have used one of the "6" Wrought Iron Border',
which I have given a multicolour effect to match my colour theme. 


I have also used pieces of the 'Fencing Wire Panel'
which I have left raw and cut into small pieces to add to my page. 


I used half of one of the 'Angel Wings',
which I have finished in a green/blue metallic paint,
 to match the border and my papers.

I have also used one of the 'ATC Georgian Frames',
finished in white, tucked behind my image.


I love how this art journal page has turned out,
I am definitely a more is better kind of a gal :)

Until next time!

Lisa 


Thursday, September 1, 2022

"Perfection"
Layout by Marie Sabatier


Hello everyone,

Like every first of the month, I meet you to present my inspiration created
with our wonderful chipboard. 

With this picture of my grandchildren I chose these chipboard that inspire their sweetness.


"Perfection"


The 2Crafty Chipboard used :

- Mini Word Set 3
- Half Circle Flourish Frame
- Angel-Wings


As always I apply a layer of white gesso on each chipboard.


To embellish the chipboard "Half Circle Flourish Frame" I used white and golden embossing powder. 
For my layout, I first arranged my photo in layers with cardboard and die-cuts to give volume.


I stick the chipboard on my photo that shows every detail and gives a feeling of being rocked.

For the title I simply added a layer of powder to emboss "holographic".


I end by adding this angel wing that I find perfect to harmonize with my photo.

To recall the gold of the chipboard, I add on the bottom of my page touches of powder 
to emboss white and gold.


I hope you will like this layout, very simple to reality.


Thank you again for visiting us. 


Tuesday, February 9, 2021

Wing Canvas
By Marie Claude Rodier

Hi everyone,

For my first project this month I have created a Mini Canvas.

We are about to redecorate my oldest son's room and he asked me to create something
that would best fit it's new decor with remaining metal pieces of an old mixed media
project that he particularly liked - I was happy to oblige!                    

Wing Canvas


I started by painting every metal pieces and chipboards with black gesso. Meanwhile,
I prepped my canvas with modelling paste, black gesso and several layers blue tone waxes.
When all the pieces were dry, I glued them with hot glue and heavy body gel medium.

I roughly applied Firebird wax on all pieces, leaving some part black
. White gold and white matte waxes were used to highlight them.

Flourish Adornment Set 6


Angel Wings, Medium and Giant gears


Frame Celia’s Flourish


 2Crafty products used...

Frame Celia’s Flourish
Flourish Adornment Set 6
Steampunk Gear Medium
Giant Gears
Angel Wings


Until next time, be happy and be creative!

Marie Claude
xx


Tuesday, December 1, 2020

"My WISH For You"
Album with a video slideshow
By Marie Sabatier


My new inspiration, a wedding album with lots of wonderful 2CraftyChipboard.

I created this album for the pleasure of giving.

The photos are the day of my nephew's wedding, an unforgettable day, a magical wedding
with a little country air but elegant and sumptuous.

For more details I made a photo slideshow video!


"My WISH For You"


To View video click HERE


2Crafty Chipboards used : 

- my WISH for you
- Iviclusters
- Angel-Wings
- Corner Hannah's Flourish
- Lace Heart Frames


- Fine Word Set 1
- Filigree arrows
- Tattered Hearts
- Lacy Border Set


- Arrow Word Set 2
- Frame Olivia
- Flower Doilleys


Beforehand I applied a layer of white gesso on each chipboard.


Then I embellished the chipboards either with embossing powder of different shades or with wax.


I really like the chipboards in the albums it adds a lot of charm and volume.

With titles, words and sentences can make you feel a lot of emotion.
For the album cover I embellished the chipboards with embossing powder in different colors.


Here are some details of the album pages with the chipboards used.


Chipboard lace borders are perfect for scrapbooks, 
they highlight the separation of the pages well.


I love the design of this heart, it is so romantic!


I hope you liked it and that you in turn might also make an album full of chipboard.

Above all, don't forget to watch the video.