Showing posts with label hibiscus. Show all posts

Monday, June 25, 2018

Beauty - layout and bonus video by Emma.


Hi 2Crafty friends, 

Today I’m sharing a layout that was inspired by my friend Kelsey's watercolour portrait 
she had painted of an image she had found 😜 
She inspires me and is creating some cool art.

I really loved it and felt inspired to create with it. 
I used some cool chipboard for it and really felt I wanted to play with a circle theme. 


So these are the pieces I chose.....

I also chose to use a colour tone that isn’t my go to but wanted to try something different for me.  Again I drew inspo from the image and this time her lips. So I chose a lindys starburst spray in magnolia magenta gold. 

And so for a couple of the bubble clumps I purely just painted them, and painted them in a colour tone to fit my page and compliment the base colour, I used a Dylusions acrylic in pomegranate seed. 


And for the other bubble clumps and the dotty bits I coated in an oxide ink but this time a muted tone using iced spruce. 
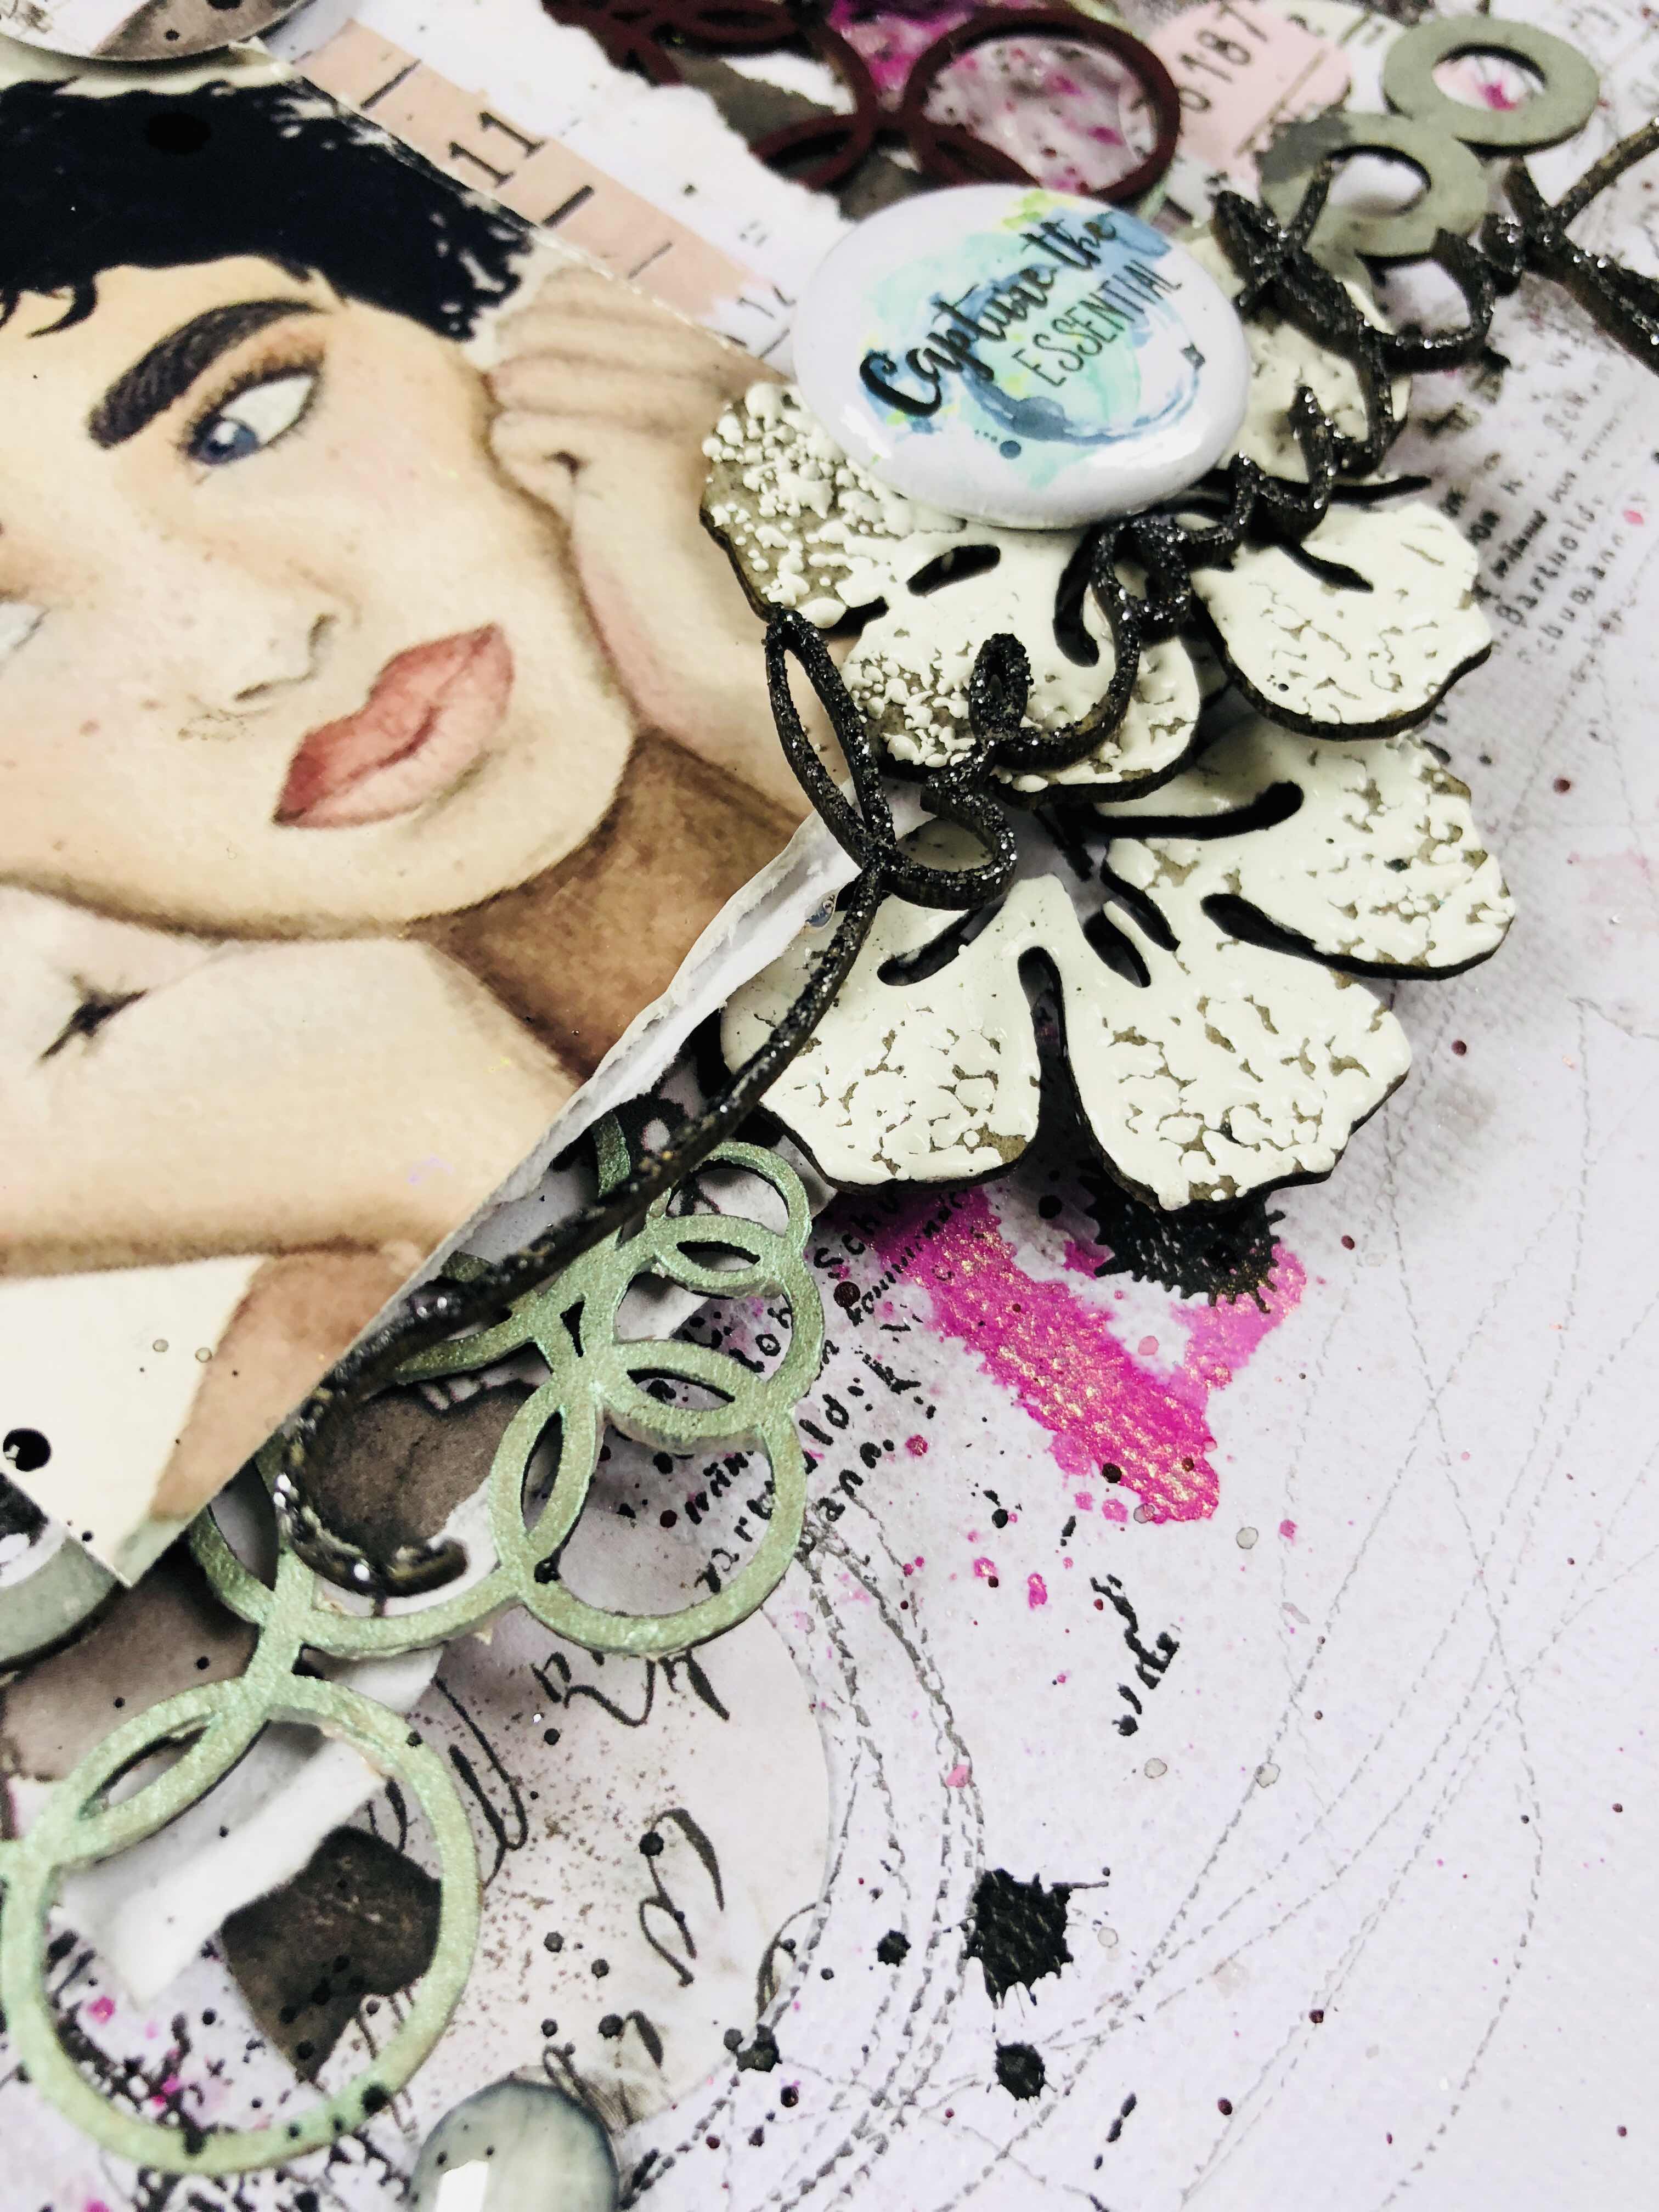

The gorgeous hibiscus flowers I embossed with a chunky white emboss powder, I really wanted them to not be ‘perfect’, so this is why I chose the chunky emboss, as it heats up it seperates and you can see through it. 


And finally for my title piece I again simply embossed with a novo powder. I love this black shimmer it really makes the title stand out. 

I really hope this has inspired you in some way. I have a little video for this one too, I would love you to check out and hopefully inspire just a little more. 


I’ll catch you all next month. 
Em. Xx


Monday, July 17, 2017

July Inspiration by Rachael Funnell

'Love'

Hello Everyone!
Rach with you to share two layouts for July....
My first layout 'Love' has lots of gorgeous chipboard!

2 Crafty Chipboard used:
Graceful butterfly
ATC - Tiny Butterflies
Indian Feathers
Hibiscus
Love flourish
Jewellery Strands


The 'Love Flourish' has a thick coat of gesso & finished off with some fine splatters of blue...


The delicate 'Jewellery Strands' have a very light coat of gesso, cut in half &
 placed top & bottom of the photo of my girl......

The gorgeous 'Graceful Butterfly' has a couple of coats of gesso,
then inked with a Distress Dark blue ink....

The 'Hibiscus' also has a coat of gesso & then inked with a Distress pale pink....
 Finished with some blue fine splatters & micro beads & beads.

The 'Indian feathers' have a coat of gesso & inked the edges with a teal ink....


'Capture'

'Capture' layout which features one of my nephew's....

2 Crafty Chipboard used:
Bubble words
Domino tiles
Mixed buttons
Polaroid frame
Mini word set 1 (Capture word)
Funky Arrows

On my background & underneath my photo is a negative chipboard piece for a extra
 dimension layer, then I have placed some Domino tiles on & around this negative piece,
 then given all this chipboard a light coat of gesso....
To create a bit more interest to the background I have inked 3 of the domino's with yellow ink!!


I have added a couple of the Funky arrows which have been inked black!


With the Mixed Buttons, I wanted them to stand out & have heat embossed them with a white....


The bubble word (COOL) where I have cut away the triangle piece & the Capture word
 from the Mini Word Set #1 both have a couple of coats of gesso....

For the Polaroid frame, I started by giving it a coat of gesso, once dried I gave it a
spray with a royal blue mist & adhering the frame it to the photo!


Hopefully I've inspired you in some way....
THANKS for visiting us today!!
Rach  x

Thursday, June 1, 2017

Layout and ATC's by Sandra Bernard

''You Shine''

Hi chipie fans! I'm back today with another pink layout. 
Love hibiscus flowers, so I based my project on those chipboard. 

2Crafty Chipboard Used:
Hibiscus
Sml leafy Vine
Skeleton leaves
''You Shine'' as title


I started by coloring my background with pink watercolor. Then, I put some distress ink over
 a stencil to create some interesting focal points. I stamped in grey to add more textures. 


My small leafy vines was colored with gesso, then with distress green color.
I added some glitter silver paint in some areas. 


I used two different tones or green to embossed my ''You shine'' title. 


I played with watercolor pencils to colored my hibiscus flowers. And I added
 also some yellow-green color too. 

The skeleton leaves have been colored also with gesso and distress ink green. 


'' Je me souviens''
Means ''I remember''

For my second creation, I choose to talk about my province, Quebec.
 Quebec is a french province of Canada.
In June, we celebrate our national bithday.
 That's why I created 3 ATC's about my province.

2Crafty products list:
fluer de lise ATC
Indian Feathers
Winter twig branches
folk hearts
Interlocking grid panel


I started my ATC's with modeling paste and stencil. Then I added some blue ink
 because the colors of our flag are white and blue. 

To contrast with the blue of the background, I chose to emboss my 
Interlocking grid panel and separated it in three pieces, one on each ATC.

My three ATC's are decorated with a fluer de lise which is our emblem and present on our flag too. 
A folk heart is present also on each one to show you my love for my province.


The first one is decorated with a nautical touch because a long river,''Saint Laurent '
'crosses the whole province. So I used a penny from our country.


The second one talk about our animal emblem, The snowy owl. So, I used a
 feather under my chipies "Indian feather".


The last one talks about our conifers present in our territory. 
That's why I used Winter twig branches. 


I separated our slogan national ''JE ME SOUVIENS'' on my three ATC's
 to show you that they form a whole.


I hope you like it...
see you next month
san xx