Showing posts with label 2Crafty Fine words 2. Show all posts

Sunday, November 25, 2018

Getaway - layout with Emma

Hi Everyone,
 Emma here with you today sharing something Blue.


And here are the beautiful chippy pieces I chose for this layout.....


This page came together using lots of layers and texture.
In amongst the paper layers I have added the smaller Doodled frame which I inked with a Distress Oxide and the added a light dusting of gold emboss powder.


I really loved the way this looked so I inked the Wild Flower I picked out of the selection and instead of just dusting it lightly, stamped with emboss ink over the Oxide and the I embossed. It left a really nice subtle texture on the chipboard.


I was totally in love with this Gold emboss powder, so for the Light Bulb I coated it in 2 layers of it.

Oh how it shines.


I continued this same process for the Word also.


The Gold and Blues worked so well together. And I just adore this image too. 
Such a great piece of inspo from Pinterest. Oh and before I go, the little moon shape on my layout is actually a piece of the frame that pops out from the cut. How cool and fitting for this layout....?

I hope you enjoy the rest of the month, and I will see you all in December.

Till then, Em. xx


Monday, June 25, 2018

Beauty - layout and bonus video by Emma.


Hi 2Crafty friends, 

Today I’m sharing a layout that was inspired by my friend Kelsey's watercolour portrait 
she had painted of an image she had found 😜 
She inspires me and is creating some cool art.

I really loved it and felt inspired to create with it. 
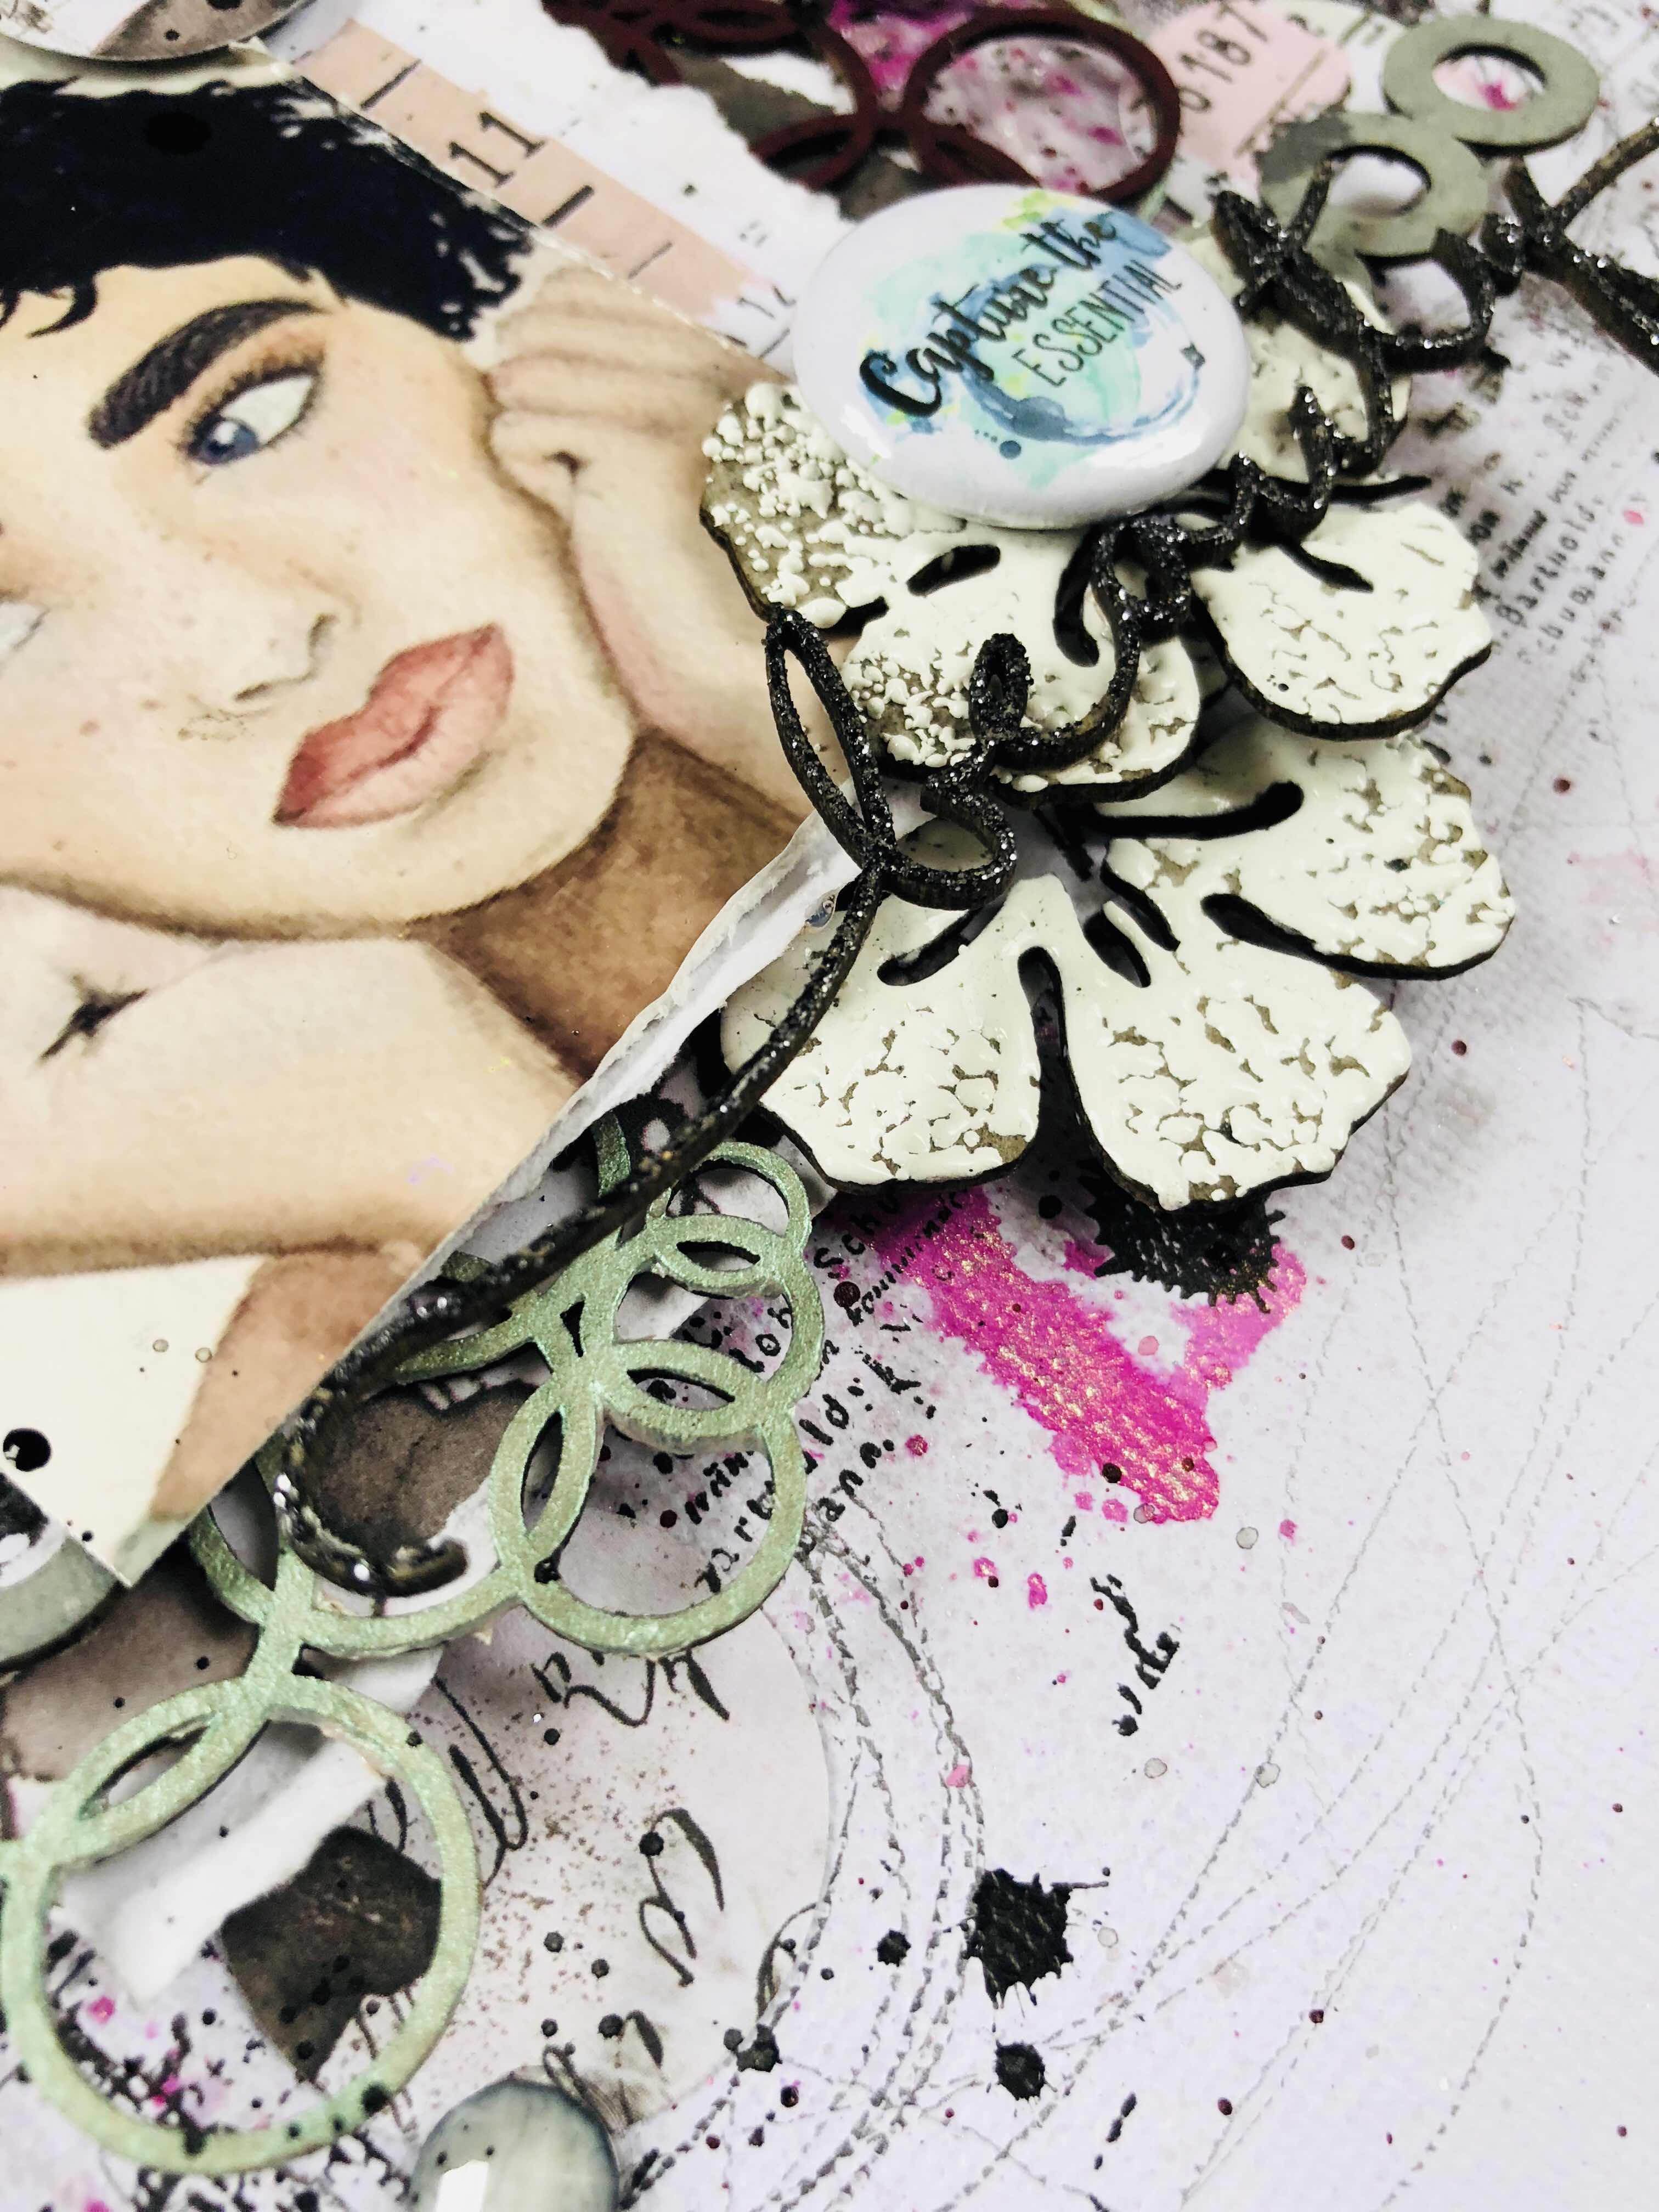
I used some cool chipboard for it and really felt I wanted to play with a circle theme. 


So these are the pieces I chose.....

I also chose to use a colour tone that isn’t my go to but wanted to try something different for me.  Again I drew inspo from the image and this time her lips. So I chose a lindys starburst spray in magnolia magenta gold. 

And so for a couple of the bubble clumps I purely just painted them, and painted them in a colour tone to fit my page and compliment the base colour, I used a Dylusions acrylic in pomegranate seed. 


And for the other bubble clumps and the dotty bits I coated in an oxide ink but this time a muted tone using iced spruce. 


The gorgeous hibiscus flowers I embossed with a chunky white emboss powder, I really wanted them to not be ‘perfect’, so this is why I chose the chunky emboss, as it heats up it seperates and you can see through it. 


And finally for my title piece I again simply embossed with a novo powder. I love this black shimmer it really makes the title stand out. 

I really hope this has inspired you in some way. I have a little video for this one too, I would love you to check out and hopefully inspire just a little more. 


I’ll catch you all next month. 
Em. Xx


Friday, April 27, 2018

April Inspiration by new Design Team Member
Elisa Ablett

"Adore You"


Hi there 2Crafty friends !

Elisa here from the design team with my first post and inspiration as part of this fabulous team.


Here is a list of the 2Crafty products used - 
Morrocan Bits
Sharon's Butterflies
Adore You Title
Film Strip medium


For the title - Adore You, I heat embossed it with 
Colour Blast Black Charcoal Embossing Powder.


To add some texture to my background, I added the Morrocan Bits, heat embossed with Colour Blast Royalty Embossing Powder. I also added a couple of pieces to the top left and bottom right clusters of my layout. 


Another great technique to cover chipboard is to ink your pieces with an ink pad and sponge dauber.


I love a chipboard film strip piece to add a vertical line to your layout. I heat embossed the
 film strip with Colour Blast Black Charcoal Embossing Powder. I find the Ranger
embossing liquid dabber excellent in covering large pieces of chipboard. 


To create my background, I stamped with a Prima flower stamp and handpainted
with water colour paints and a fine round paintbrush.

I also stencilled with black modelling paste through a new Aga Baraniak stencil.

💜💜💜💜💜💜

 My second layout for this month is titled


'' Shine ''


Here is the list of 2Crafty products used -
Chevrons
Fine Words 2
Star Frames
Stars


I painted a few of the stars and chevrons with a lovely buttercream coloured paint
 from Ceramcoat.  I also inked a few of the stars with black ink.


Once I inked a few of the stars and star frames with black ink, I used a quick and
 cheap foiling technique that I discovered using a bostik glue stick, foil sheets
and a large stiff paintbrush. It creates a lovely distressed look to your foiling.


I painted the title chipboard piece very carefully as its quite fine, while
it was drying and pliable, I molded it around the large star frame.


I created the large background circle with my 8 inch circle gel plate and combination of a navy and buttercream paint. I also added some black ink around the edges of the circle and some stencilling.

I have a favourite technique at the moment which is adding scribbly writing around my frames.


I hope you have enjoyed looking through my first post, I know I feel incredibly honoured to be offered a position on this team full of so many talented people working with amazing products.

Make sure you leave me some love xx

Hugs 

Elisa