Showing posts with label Squiggle Circle Arrow Journal Spot. Show all posts

Thursday, July 17, 2025

"Tiny Fingers Tiny Toes"
Layout
with Amy Voorthuis

 Hello and good morning lovely 2Crafty friend.
How wonderful of you all to stop by the 2Crafty blog, this is my first layout for the month of July. A while back I posted a layout of sweet little Phoenix {Jaime my cousin} her boy who tragically lost his life way to soon. The moment that happened Jaime was pregnant with a baby boy who was born on April 1st 2025, this was such a happy moment after such tragedy. His name is Bowden Dylan and I made a layout of this cute baby boy who looks so much like his big brother. 
Enjoy my post....

Tiny Fingers Tiny Toes:

Gorgeous 2Crafty Chipboard used: 
Filmstrips - Tiny 
Tiny Fingers Toes Title
 Mini Buttons
2025's
Foliage Set 13
Love You Balloons
Circle Arrow Journal Spots
Fine Word Set - Months
Baby Pram Set
Filigree Arrows
6" Circle Revolution Frames
Circle Heart Frames


I just love all the new chipboard pieces, especially those cute heart balloons with that "Love You" text you can use those on every layout you create it is so versatile. I treated the chippies with some white gesso and some of my aqua/alcohol twin markers. Which is so super easy if you don't want it to dark you use the aqua and if you want it a shade darker you use the alcohol markers. 


It was a long time ago that I created and I missed it so much. I cut the cute tittle here so it would fit my layout and I put the heart in my flower cluster on the bottom of that cute picture. By the way I spray painted the pretty new leaves {love them a lot my new favorite} 

Hope you all enjoyed my post thank you so much for stopping by, I will be back with another project soon hope to see you back then.... 
Meanwhile if you would like to see more of my work you could visit here: 
Amy's Pretty Papers

Wednesday, April 9, 2025

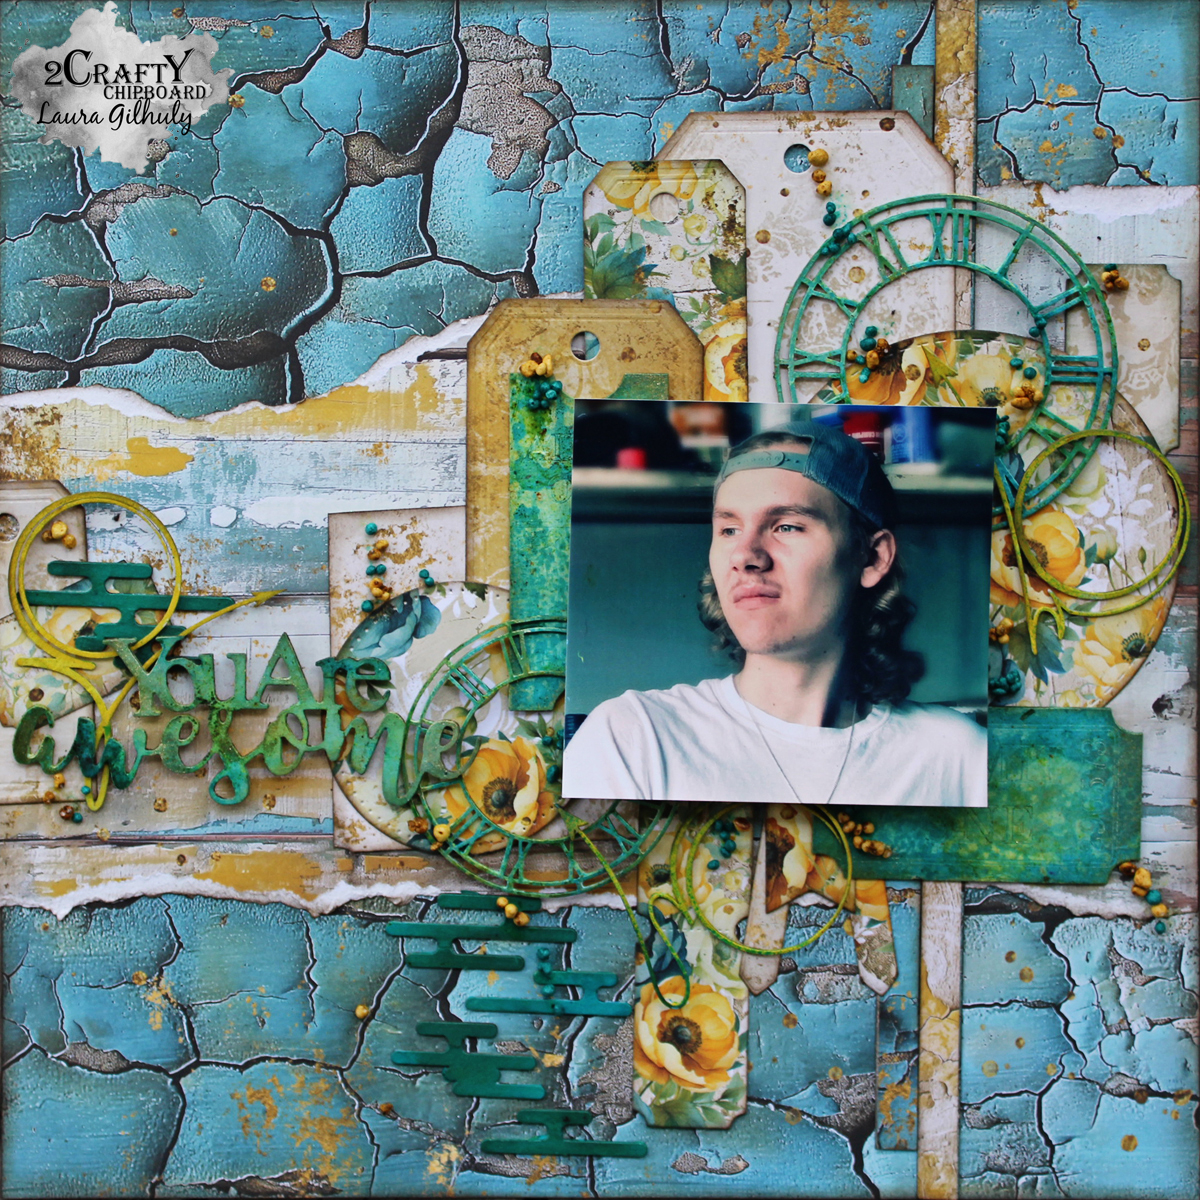
You are Awesome - Laura Gilhuly

 Hi everyone!
Laura back today to share my next project for 2Crafty!


2Crafty products used;


You Are Awesome title

Squiggly Circle Arrow Journal Spots

Mini Chunky Funky Bits

Clock Face Discs

Tickets


I love this photos of our oldest!


I painted each chipboard piece with gesso then added aqua or yellow paint.


I let the paint dry then added peacock feathers distress spray stain, Finnabair teal mica powder from the golden hour set spritzed with water and magicals Tibetan poppy teal also spritzed with water


Lots of layers!


Thanks for stopping by


Wednesday, March 19, 2025

"World Traveller"
Layout by Marie Sabatier

Hello everyone,

Welcome to the 2Crafty website.
I present you my second inspiration of this March.
An invitation to travel with a layout embellished with a collection of splendid chipboards, 
accompanied by photos of my grandchildren during a train trip.

"World Traveller"


The chipboard used:


I went a bit overboard with the number of chipboards, but I liked them all!
I outlined the center of my page with a solid-colored piece of paper.
I positioned my two photos that I framed with the chipboards "thin-square-stacked-frames" that I embellished using embossing powders of Lindy’s Gang color "Golden Angel Wings".At an angle of the photos, I create a cluster of embellishment, I add a tab "page-tab-set". They are great to bring a little bit of detail. In order to create a contrast, I add some "grungy-spatter-bits" that I tinted darker.


I used a piece of the 'luggage' chipboard.
    I used embossing powder to embellish it and personalized it with embellishments from the paper collection. I love how it turned out. It's what makes scrapbooking so magical. In the background of the title, I add a chipboard "circle-arrow-journal-spots".  To make it more obvious, I place a 'laser-cut' element in the center. I choose to leave the title covered with a single layer of white gesso, simply.


    On each photo, I added a phrase with the "mini-title-stick-set-6" chipboard, which I also embellished with embossing powder. For an extra touch of fun, I added white embossing powder. The first piece I glued to the center of the plain paper was the "world-globe" chipboard. I used a wide range of colors to achieve a result that suited me!!!


        A close-up showing the chipboards I used. 


As always, I loved the transformation of each chipboard.
Thank you so much for stopping by.


Thursday, February 13, 2025

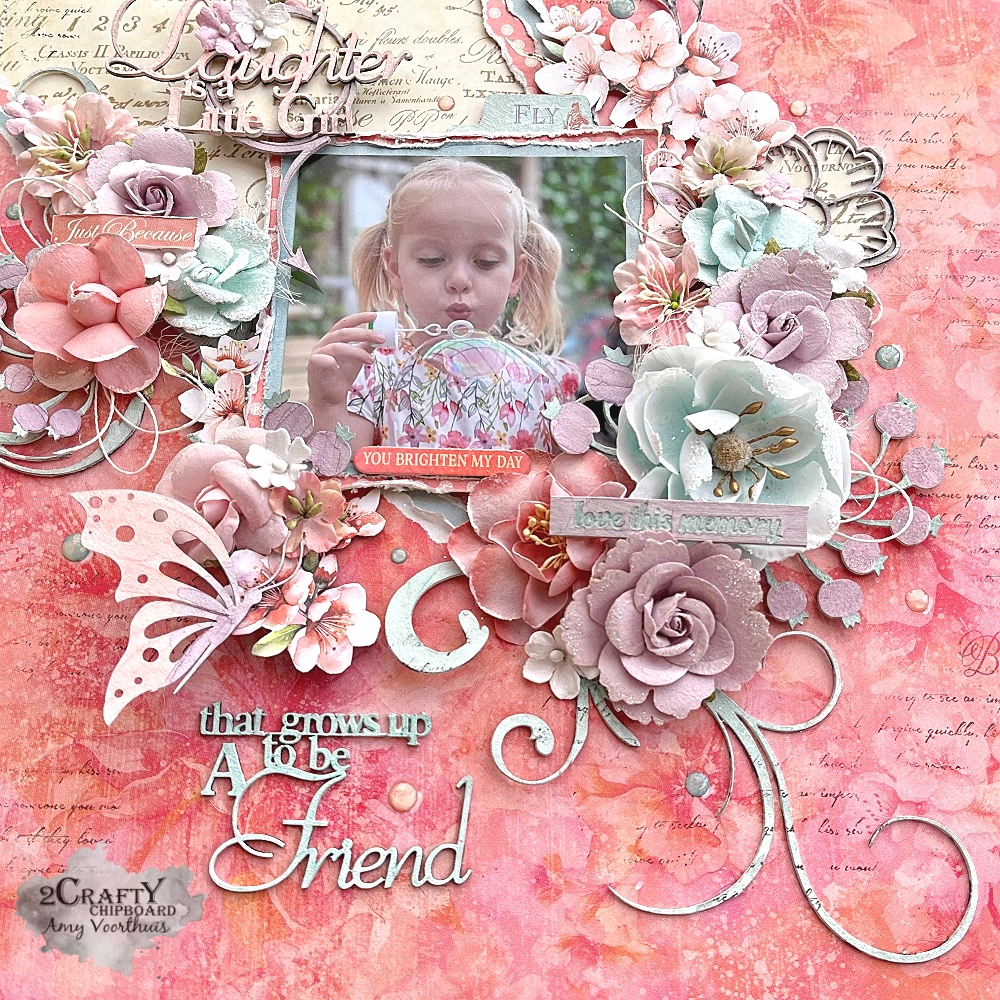
"A Daughter is a Little Girl"
Layout
with Amy Voorthuis

Goodmorning lovely 2Crafty friends,
I am so happy you stopped by the blog today, For today I have another layout to share with you, this time right up my alley a overload of pinks & a touch of teal/aqua. Those are my absolute favorite colors to scrap but who am I kidding lots of colors are. The picture I used is one of Abbey that I used once before for another project with 2Crafty Chipboard. Enjoy my post..


A Daughter is a Little Girl: 

Amazing 2 Crafty Chipboards used: 
 Bush Nut Floral Clusters
Page Tab Set
Victoria's Large Flourish
Mini Title Stick Set 4
A Daughter Friend Title
Delicate Butterflies
Hand-Drawn Flowers
Squiggly Circle Arrow Journal Spots


I did some fussy cutting for this layout and the chipboard pieces are treated with some white gesso. I used different colors of alcohol markers & and a text stamp on the pretty swirl that I cut up and tucked in my flower clusters.


Behind the pretty handdrawn flower & the arrow journal spot I added some of the light coloured text paper that is also in the top left corner of my layout. I cut the phrase apart and used on two spots on my layout. Loved making this layout!!


Hope you all enjoyed my post thank you so much for stopping by, I will be back with another project soon hope to see you back then.... 

Meanwhile if you would like to see more of my work you could visit here: 

Tuesday, May 21, 2024

"Enjoy the Journey"
Layout by Marie Sabatier


Hello everyone,

For my second inspiration this May, I made a layout using a photo 
of my grandson taken on the occasion of the school party. 
I opted for this beautiful paper that will accentuate the chipboards even more. 

"Enjoy the Journey"


The chipboards used:

- Enjoy the Journey
- 12X12 Weathered Clock Face Frames
- Textured Tile Bits
- Squiggly Circle Arrow Journal Spots


Sometimes it is complicated to select colors to embellish the chipboards, 
but for this arrangement, I opted for the black color without hesitation.

I used Oxide Distress inks.

I chose an imposing size for the chipboard "Weathered Clock Face Frames". 
I tinted it with the color "black soot".
For the title, I needed a flashy color. I mixed "spiced marmalade" and "mustard seed". 


In the latest news, there are these superb "Textured Tile Bits". 
It reminds me of an 'electronic circuit'. I like it.
With the black, I added a touch of green "peeled paint". 


To frame this pretty pendulum pattern, I use the chipboard "Squiggly Circle Arrow Journal Spots"
They are a perfect match!


I hope you enjoy this page as much as I enjoyed creating it. 

If your vendor does not have the chipboards, do not worry, 
they are available directly on the site. 


Thank you very much for your visit.


Friday, March 1, 2024

"EXPLORE dream DISCOVER"
Layout and tutorial by Marie Sabatier

Hello everyone,

I present to you my first inspiration of this month of March. A male layout on the theme of travel. 
Using for the first time this beautiful chipboard "Weathered Clock Face Frame".


"EXPLORE dream DISCOVER" 


I made a video tutorial that you can watch HERE


The 2Crafty chipboard used:


- EXPLORE dream DISCOVER Title
- 12x12 Weathered Clock Face Frames
- Summer Kombi
- Luggage 
- Squiggle Circle Arrow Journal Spots


As you can see in the video, I started by applying a layer of with gesso on each chipboard.

On the chipboard 'Weathered Clock Face', I used distress oxides of color "spiced marmelade", "brushed corduroy" and "frayed burlap". 
To bring shine I randomly rub with metallic wax color "Bronze Age" and "Firebird". 

I slightly adjusted the frame to match the drawing on my paper.


Here, on the chipboard "Summer Kombi" I play with two shades of blue to bring a touch of nuance.


I proceed in the same way on the luggage and on the chipboard "Squiggle Circle Arrow".
I like to see how chipboards can be transformed and sublimated. 


To finish preparing the chipboards, I opt for a nice green on the title. 


Watching the video is a good way to get more details. 


Thank you for your visit.