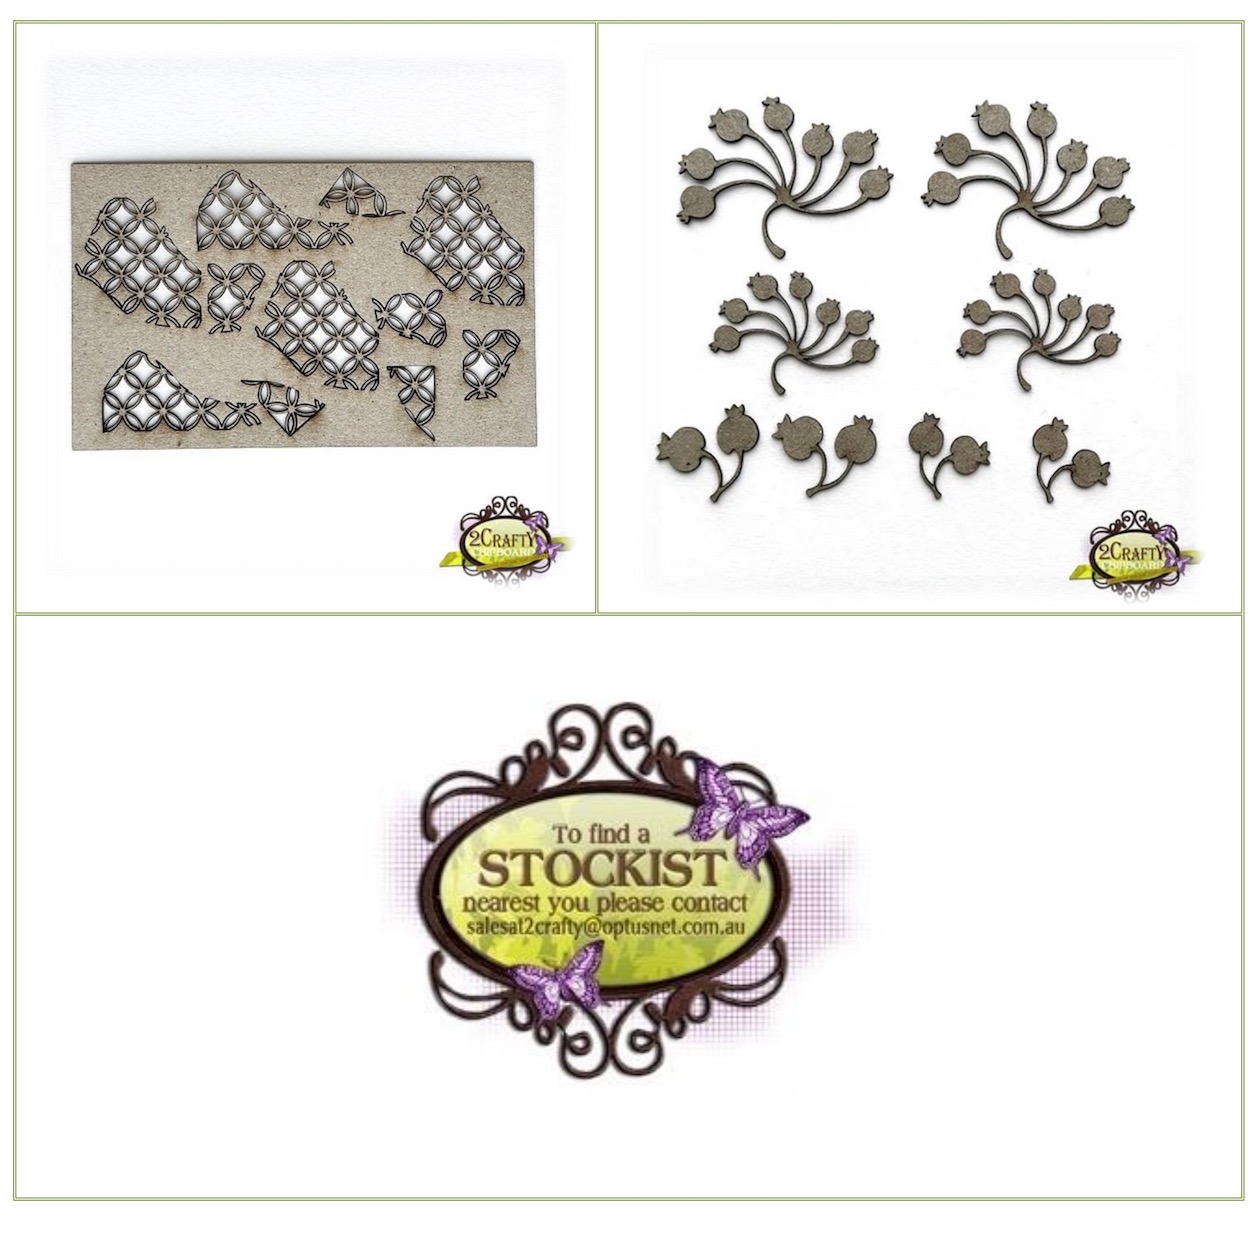
Showing posts with label Mini Lattice Bits. Show all posts

Monday, August 31, 2026

Memories - Laura Gilhuly

 Hi everyone!
I am back to share another layout I created for my husbands childhood album!


2Crafty Products used:


Fine Word Set 3
Mini Lattice Bits
Ariels Spray
Decorative Circle Accents


I love this flourish - it is so beautiful!  I prepped all the chipboard with gesso then used an orange and green gelato.  I spritzed with water then rubbed with my finger.


I tucked the decorative circle under the photo and embossed the title in white so it would stand out a bit.


I added the mini lattice bits with the flower clusters adding texture to the cluster.

Tthanks for stopping by


Tuesday, July 14, 2026

These Friends Are the Best - Laura Gilhuly

Hi everyone!
Laura back to share my next layout!!!


2Crafty Products used:


6" Squiggly Adornment Set
Mini Lattice Bits
Marianne's Butterflies
These Friends are the Best


My friends have bright and fun personalities and I wanted to celebrate that with this layout.  I love the colours of this paper line mixed with the black the colours really pop.  Following this color combo I used it on the chipboard.  


I used black ink on the adornment piece and the mini lattice bits.


The pretty butterfly and the title piece I used a pink metallic paint to add a little shine.  I layered the title over the adornment piece for a bit of visual drama

thanks for stopping by


Wednesday, April 8, 2026

Bees & Butterflies Cards by Tania Ridgwell

 Hello there! 
Tania joining you today to share the first of my DT projects for April. 
  I have created a set cards for my first share.


2 Crafty Chipboard Used:

*Mini Decorative Frame Set 8
*Mini Decorative Frame Set 7
*Flourish 2
*Mini Lattice Bits


I created each of my card bases using the gorgeous Paper Rose "Bees & Butterflies" Paper Collection. 

For these cards I kept all the chippie pieces raw as I think it suited the colours in the papers perfectly.  

To construct each of the cards I added either a Mini Decorative Frame (including the centre piece) 7 or 8 chippie to each.  I then embellished them with paper blooms. I tucked in Foliage chippies amongst the blooms on two of the cards and the other two cards I tucked in Mini Lattice Bits chippies pieces.

See each card below.


That's all from me today, I hope I have inspired you all a little with my Bees & Butterflies Cards. 
 Until next time thanks so much for stopping by.
Tania xx

Friday, March 20, 2026

'Cherish'
with Lisa Amiet


Hello 2Crafty fans!
It's Lisa here today to share some inspiration with you.

'Cherish'

 
2Crafty products used:
 
 
'Feather Outline Set' 
'Foliage Set 13' 
'Mini Lattice Bits'
'Mini Decorative Frame Set 2' 

 
 For this layout, I used some of the 'Mini Lattice Bits',
that I heat embossed in white, 
and tucked in among my paper layers. 

 
 I also used a few of the 'Foliage Set 13',
also embossed in white,
in among my flower clusters.  

 
 I also used one of the 'Mini Decorative Frame Set 2',
 which I have first sponged with white gesso 
to give a good base for my colour.

I then used yellow and green watercolour paints,
 to give it a two-toned watercolour finish, 
and tucked in among my layers. 


I used the same finish for
one of the feathers from the 'Feather Outline Set',
which I then tucked into one of my flower clusters. 
 

 I hope that you like what I created, 
I love the soft yellow pop on this layout.

 Until next time!

 Lisa


Monday, February 16, 2026

"Love"
Layout by Marie Sabatier

Hello everyone,

Today I’m sharing a new layout created in a soft and romantic atmosphere, perfect for celebrating Valentine’s Day!
The photos featured are of my son and daughter-in-law, taken almost two years ago. I chose these images for their softness and emotion, perfectly matching the Valentine’s theme and celebration of love.

"Love"


The chipboard used:


For this project, I wanted to highlight the chipboards by giving them an elegant and subtle finish without too much shine. I first applied a thin coat of white gesso to all the chipboards to unify the surface and soften the texture. The “Love Flourish” piece was enhanced with metallic wax in Old Silver, applied lightly with my finger over the raised areas to create a luminous, textured yet refined effect.


The “Mini Lattice Bits” and the phrase from the “6x4 Phrase Stick Set 4” help structure the composition and reinforce the romantic message of the page.


The “Sharon’s Butterflies” were enhanced with a very delicate application of White Gold, applied only on the raised areas. This subtle touch allows them to softly catch the light without creating excessive shine, preserving the gentle feel of the layout.


The foliage from “Foliage Set 10” was initially colored with Lucky Emerald, adding a subtle natural touch to the composition. To soften the intensity of the green and maintain a delicate harmony throughout the layout, I layered a light touch of Old Silver over the raised details. This technique tones down the green while adding a refined finish.


For the papers, I selected soft neutral tones blending off-white, gentle greys, and touches of sage green. The floral patterns and slightly distressed textures enhance the timeless and elegant atmosphere.


Thank you so much for stopping by!


Tuesday, July 1, 2025

"Cute"
Layout by Marie Sabatier

Hello everyone,

I present to you my first inspiration for this month of July.
A soft and romantic layout with a photograph of my grandson Milan.
For this layout, I opted for the use of mini-chipboards.

"Cute"

The chipboard used:

I'm using three separate mini frames. They're perfect for showcasing the beautiful embellishments from the "Little Dreamer" collection designed by Joanne Bain.

I start by applying a coat of white gesso. For the frame on the left, I'm using "Bronze Age" and "White Gold" waxes. I add a piece of "mini lattice bits" and the word "Cute," which are simply covered by the white gesso.


The other two frames were embellished with "Distress Oxide" inks in "vintage photo" color.
To achieve different shades, I spray them with water.


Here, I'm creating a cluster by adding these sublime "bush-nut floral clusters".
I'm using the shades "black soot" and "faded jeans".


There is no complexity in this layout. 
An assortment of exceptional products.

Good scrap to you!


Tuesday, March 18, 2025

Todays Moments, Tomorrows Memories Mini Box Album by Tania Ridgwell

Hi there!
Tania joining you today to share the last of my DT projects for March.
  I have altered an Mini Box Album to share. 

"Todays Moments, Tomorrows Memories"


2 Crafty Chipboard Used:

*Corner Swirly Heart Set
*Lattice Leaves
*6x4 Phrase Stick Set 5
*Lacey Border Set 1
*Mini Lattice Bits
*Frame Ingrid's


I have used the beautiful Uniquely Creative "Boho Soul" Papers to decorate the Mini Album Box.


I used Brilliance Dew Drop Starlite Silver to colour the Mini Lattice Bits and Todays Moments, Tomorrows Memories (6x4 Phrase Stick Set 5) chippies.  The Corner Swirly Heart, Lattice Leaves, Lacey Border and Ingrid's Frame chippies have been coloured with Summer Sky Opal Polish. 


I constructed the front of the album by adding the Corner Swirly Heart chippie to the left.  I added paper blooms to the top and bottom of the front cover of the album and then tucked in the Lattice Leave chippies.  I then added the Todays Moments, Tomorrows Memories chippie.  For the inside cover I added the Ingrid's Frame chippie with some Uniquely Creative Beautiful Oasis Die Cuts.  Each of the pages of the Album were created with photos and using an assortment of the Lattice Mini Bit chippies, paper blooms and Uniquely Creative Beautiful Oasis Die Cuts.


Inside the Mini Box Album.


Here's some photo's of the mini book inside the box album.


Thats' all from me today, I hope I have inspired you all with my Mini Box Album. 
 Until next time thanks so much for stopping by.
Tania xx