

For this page I used 3 pieces of 2 Crafty chipboard.
The largest piece, with the hearts, is the 'Corner Heart Spray.'
The two bottom pieces come from a set of 3 pieces called the
'Leafy Shrub Set 1' - a gorgeous set indeed!!

I have already edited & printed out my Christmas photographs
& am determined to get them all scrapped asap!

I enhanced the chipboard using a red gelato from Faber Castell,
applied randomly then spread with a baby wipe. I then sponged
highlights of gesso on using a small sponge & lastly I added some
sparkle to random areas using some glittery gold varnish.

I love the 3D 'shaded' look the chipboard takes on when given this treatment.
I also added in some other gold accents by means of glittered-up alphas, twine
& 'to die for' gold doilies sent to me from the USA - serious LOVE!!

You will usually see that I treat my chipboard in an uneven manner
rather than painting, embossing, etc all over in a uniform style.
To me this makes the effect look more artistic.

I LOVE the 'Corner Heart Spray' piece! It is really
substantial & makes for SUCH a dramatic focal point...

I also love how in this instance it reminds me of Christmas ornaments/
decorations draping down from a branch. Perfect for this layout!!
----------------------------------------------
I completed this next layout, also along the Christmas theme,
using three very different pieces of chipboard as I challenged
myself to see how effectively I could get them to work together!

The large piece of chipboard positioned under the photo, coming
out from the top right, is the 'Corner Christmas Star Spray', which
I cut into two pieces, placing the smaller piece underneath the photo.
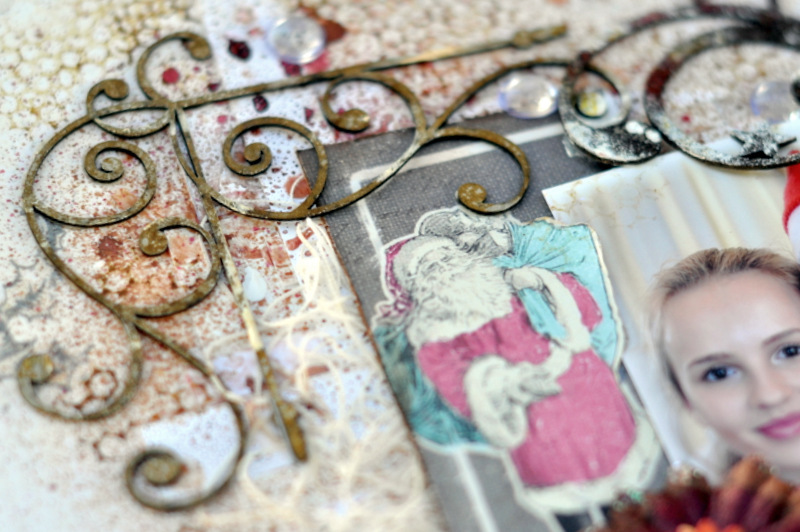
Working around the layout in an anti-clockwise fashion,
from the top right, here in the top left corner I have used
another piece of 2 Crafty chipboard - 'Corner Marisa'.

I gave the Marisa Corner a completely different treatment to the large
' Corner Christmas Star Spray'. On the large Star piece I embossed
using Lindy's Stamp Gang Embossing Powders in Midnight Copper
& Candy Cane Red Gold, both applied randomly then sponged with
gesso, with some areas deliberately left raw too.
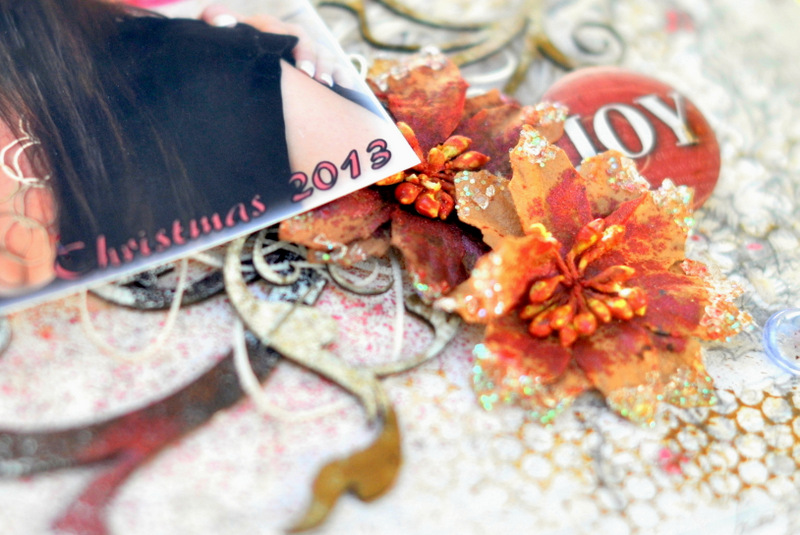
To add more texture & interest to my chipboard I added some white
threads underneath them, which I first swirled around to encourage
them to lie in a random pattern. I also added some staples here &
there as I love the industrial look this adds.

I used a beautiful swirl on the right of my photograph -
it is called the 'Elegant Flourish' & is sold in a pack of 2.

I treated the 'Marisa Corner' piece & the 'Elegant Swirl'
both in exactly the same way. I stamped randomly over
each using Vintage Photo Distress Ink by Ranger,
then sponged some small areas in white gesso.

I hope you enjoyed my two Christmas themed pages this month & that they
have inspired you to use 2 Crafty Chipboard on your layouts - it doesn't
even need to be specifically Christmas themed as I've shown you :)
--------------------------------------------------------
Now onto something completely different!

Here is the very beautiful Mood Board from Scrap Around The World,
together with my Design Team interpretation of it, using plenty of pieces
of 2 Crafty Chipboard tucked in here, there & everywhere!
{You can join in the fun too! Entries close 31st December midnight EST}

I layered up lots of different textures & cut up the 2 Crafty 'chicken-wire'
sheet into 4 different pieces to use on each side of my photo cluster.

Above, you can see I used a leafy branch 'Summer Leaf Stems' that I also
cut up into three different pieces to tuck into different areas of my paper cluster, forming
a visual triangle. I used about half the pack {it is sold in a set of 3 leafy branches}.
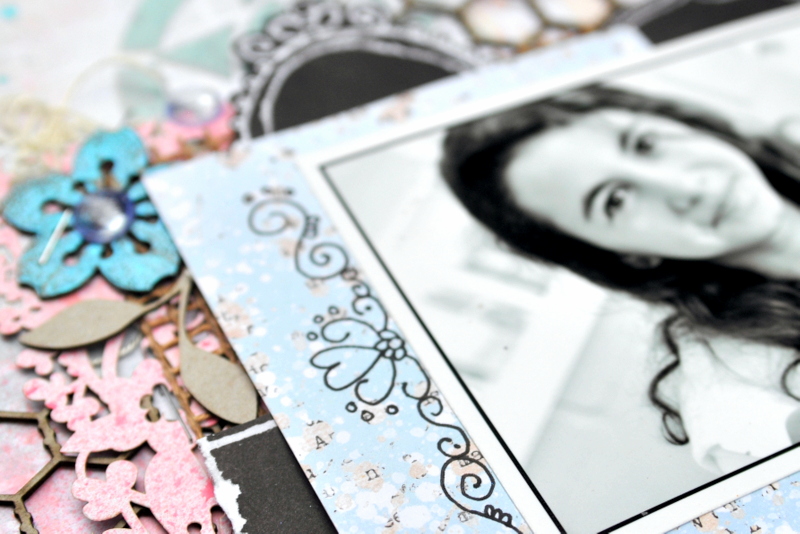
At the top right here you can see I used a chipboard flower, which I embossed
with Lindy's Stamp Gang Embossing Powder in Hydrangea Blue Mauve
- a truly beautiful colour! I have one in the opposite corner too...

These flowers are called 'Sakura Flowers' when you buy them from
2 Crafty. I chunky embossed them by using an embossing dabber
instead of an embossing pad, as it gives an uneven texture, which
is just what I love! With some areas left raw too...

I added a glass pebble on top of each 'Sakura Flower' & some pink
candy cane twine underneath them. Chipboard is SUCH FUN
as there are just so many ways you can add detail to it!

I added some doodling around the leafy stems above, just for a bit of fun :-D

Chipboard is often 'the cherry on top' of projects - in other words -
just what the doctor ordered to finish off a piece to perfection!

I hope I have inspired you to order your next (or first!) consignment
of 2 Crafty Chipboard & get experimenting! As you can see, the
possibilities really are endless. Whether you let the raw beauty of
the pieces shine through, by not enhancing the chipboard pieces at
all - like I have done in the layout above, or whether you dress-it-up
with all sorts of glitzy paints, powders and/or varnishes - chipboard
is a MUST HAVE & 2 Crafty Chipboard has an awesome selection!!


