Showing posts with label linear snowflake. Show all posts

Friday, January 1, 2021

"Snow Happy"
Layout by Marie Sabatier


Hello, I am very happy to be with you again this year. I would like to thank Vanessa 
very much for her trust and for allowing me to continue 
creating with these magnificent chipboards.

I take this first day of the year to wish you all 
a happy new year and especially good health so important at this time.

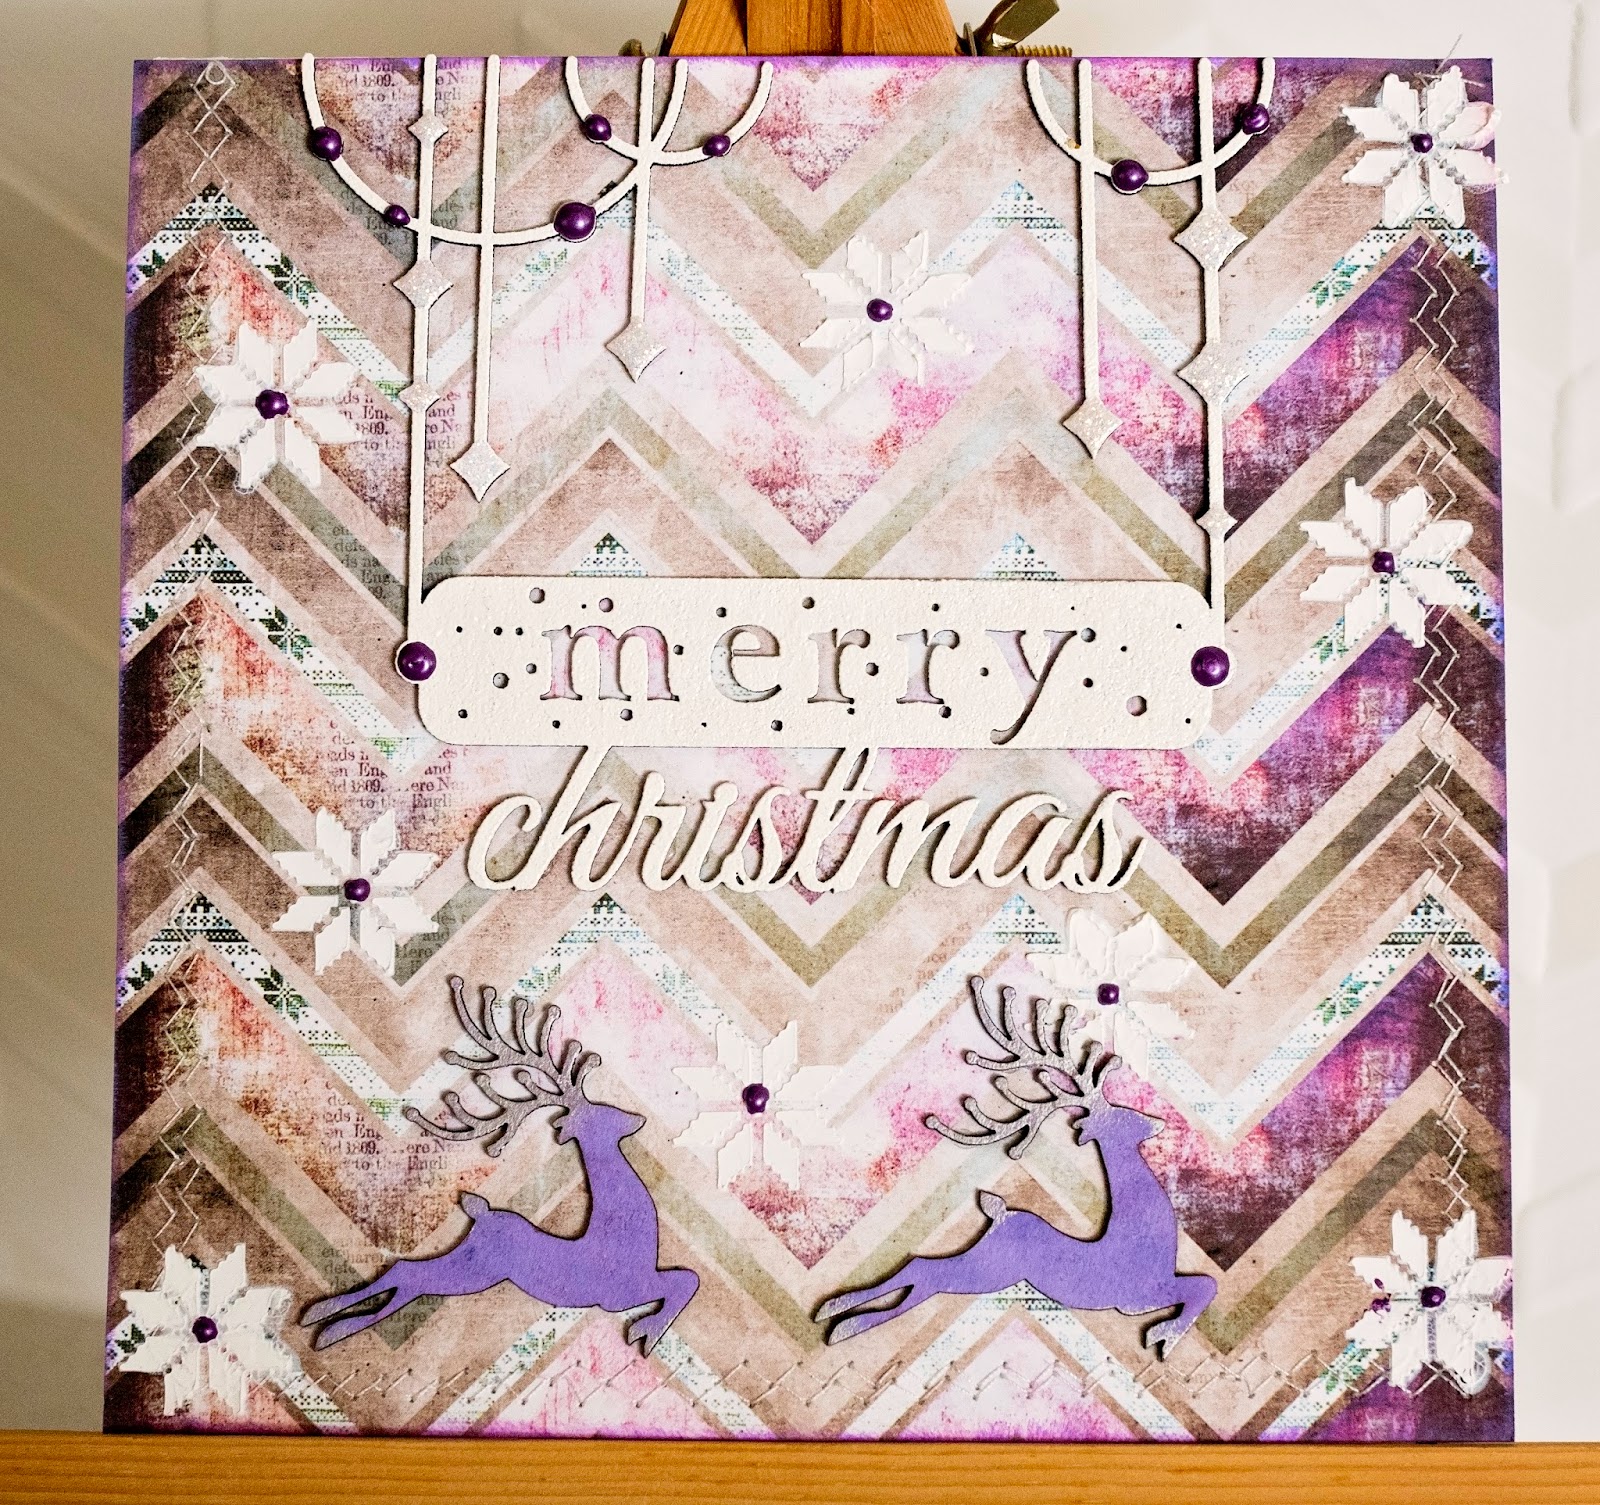
Here is my first inspiration of the year, I chose to make a page on the theme of snow 
with a photo from last year.

"Snow Happy"


The 2Craftychipboard used:

- Word Snow Happy
- Frame Dotted Doily Circle
- Corner Twig Branches
- Linear Snowflake


I started by applying a coat of white gesso on the chipboards.


On the "Frame Dotted Doily Circle" and "Corner Twig Branches" chipboards, 
I applied "Lucky Emerald" antique wax to my fingers.


For the "Linear Snowflakes" I applied Lindy's Gang "Prima Donna Purple" 
embossing powder in a bright color to catch the eye.


I really like the finesse and the different sizes of these snowflakes.

Here I also used the "Frame Dotted Doily Circle" chipboard on a small scale, 
which I embellished with embossing powder.


Finally, the title, 
I find it so important to give a title to a page to express our idea.


I finish by adding a lot of pebbles, metallic pearls, sequins for a mixed media effect.

Thanks for watching, hope you enjoyed it.

I wish you a happy new year of creativity with 2Craftychipboard.


Monday, December 11, 2017

Tammy's December Shares

Hello lovely 2Crafties!!
Tammy here today to share two of my latest creations with you all.
My first one is titled:

"A Christmas Tradition"


It's all about baking and decorating the Gingerbread biscuits every year at Christmas time.  It's one of the many things we do as a family to celebrate this time of year.  The kids look forward to it and spend ages decorating their various shapes, and yep then I spend ages afterwards cleaning up the MESS!!
I used the following 2Crafty Chipboard:
"Grid Bits"
"Wire Stars"
"Stars"
"ATC Tiny Stars and Hearts"
"A Christmas Tradition Title"
"Star Circular Frames"


I added a lot of different finishes to the Chipboard.


The "Grid Bits" are heat embossed with a chunky white emboss powder.


The "Wire Stars" are heat embossed with a gorgeous white emboss powder with flecks of gold through it.  There are shimmers of gold that really jump off the page.
Hard to capture the beautiful shine.


To the "Stars Circlular Frame", the "Stars" the "Mini Stars" and the "A Christmas Tradition" I applied white gesso, and then added some Mica Powder and some water to create the colour.
They have a lovely subtle metallic sheen.


The blue and the green look just lovely together.


Love the little pops of red too.


The frame around the photo really draws your eye into the layout and the details of the photo.


My second project is titled:

"Ugly Sweater Love"


My daughter and I have a big crush on Ugly Sweaters. 
On our recent trip to USA we had a lot of fun and lots of laughs finding them.
This layout is all about this and features us in our thongs (or should I say flip flops) and ugly sweaters!! Yep such a great combination.


I used the following 2Crafty Chipboard:
"Grid Bits"
"Linear Snowflakes"
"Majestic Reindeer Set"
"Fine Word Set 1"
"Starbright Snowflakes"


I applied a gorgeous emboss powder to the "Grid Bits" that has a hint of  blue and gold in it.....it almost looks white but not quite, so subtle, and so gorgeous.


I also did the same to the "Starbright Snowflakes"


To the "Majestic Reindeer" I added white emboss powder.  You can see the pale blue a bit more as it contrasts against the white of the deer.


To the "Linear Snowflakes" I embossed some in the pale blue and some in white.


I selected the 'love' from the "Fine Word Set 1" and painted it black.
I popped this on top of the photo, and added some letter stickers to finish off the title.


I just love the texture that chipboard adds to my projects, and I love that I can do so much to alter them!
I've got an extra bonus share today.
A project I created a couple of months ago, but thought I'd share it here too.


It has the following 2Crafty Chipboard:
"Grid Bits"
"Mini Word Set 1"


I applied a Rust paste effect to the "Grid Bits". 
I love doing this to chippy, giving it an old, distressed metal feel.


I love the contrast of the rust effect with that bright blue colour.


I painted the 'Escape' from the "Mini Word Set 1" pack in black.
I love how there's a 2Crafty Chipboard piece to suit every occasion.


So that's it from me for this year!
I hope you've enjoyed seeing my work throughout 2017, I've absolutely loved sharing it with you all.
I will be back in 2018 with some more shares, but until then, happy creating!!


If you'd like to see more, you can pop over to my BLOG.


Sunday, December 3, 2017

December Projects with Lisa Amiet


Hello 2Crafty Chippy fans!

It's Lisa here today with some Christmas inspiration for you.

For my first project I have a wreath that I purchased.
It was just a plain twisted vine wreath with some silver glitter on it.
I obviously could not leave it in this neglected bare state :)

Here is how I decorated it.


I picked up some decorations in a colour scheme I liked and set to work sticking them on. 
I wanted the 2Crafty Chipboard pieces to stand out so I left them until last.


I have then used a couple of the "Starbright Snowflakes", that I have embossed in white.
I used my hot glue gun to glue them into place on top of the baubles.


I have then used some of the "Linear Snowflakes", that I have embossed 
in a teal to match the baubles I had stuck to the wreath.


I have then used some of the "Mini Reindeers", that I have embossed in a pale pink.


Another close up :)


I am in LOOOVE with these snowflakes, they're so pretty and delicate.


I really love how it turned out, it looks great hanging ready for Christmas.


2Crafty Products Used:


To keep with the Christmas spirit I have created a set of two cards.
]

Up first is "Merry Christmas"


For the first card I have used modelling paste to stencil the snowflakes on.


I have then used the "Dangling Christmas Sign", that I have embossed in
white. I have then used Nuvo Drops & Stickles to highlight the 
baubles on the sign. 


I have then used two of the "Mini Reindeers", which I have inked purple to match my papers. 
I have then used silver to highlight their enters, tails and feet.


Up next I have "Joy"


For this card I have used one of the gorgeous 
"Mini Bauble Trees"
I have again used Nuvo Drops and Stickles to highlight the baubles.


I have also used the word Joy from the
"Christmas Mini Word Set 2",
that I have embossed in dark purple.


Lastly I have used one of the "Linear Snowflakes", embossed in 
white, tucked into my layers.

2Crafty Products Used:


I hope you have liked your visit and are feeling a little more festive :)

I hope you all have a wonderful Christmas and I will be back next year
to share some more inspiration with you!

Lisa xo