Hi everyone!
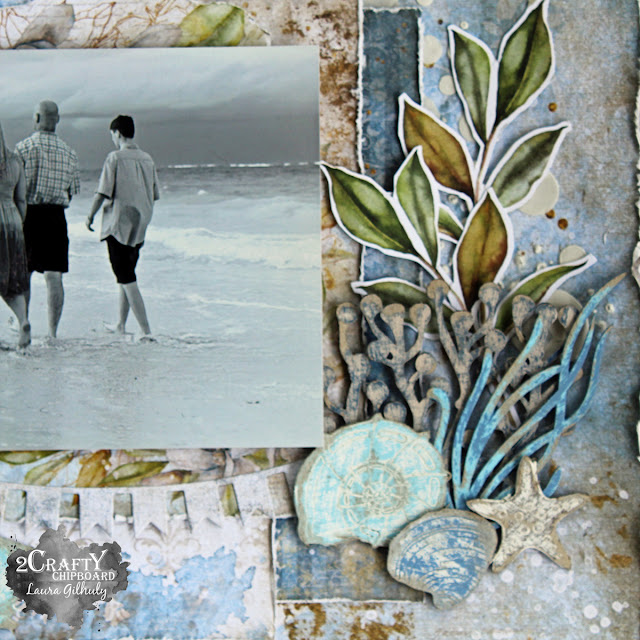
I'm back today to share my newest layout for 2Crafty and a small tutorial on how I
created this layout and altered the fabulous chipboard!
2Crafty Products used
Part of my creative process is to gather all the products I may need even if I don't use them all
I used
2Craftys seashells
2Crafty day at the beach title
2Crafty Seaweed set
1-12" sheet of paper
3 - 6" squares
4 - tags
1 - 5" circle and 3" circle - cut the 3" circle in half
1 - die cut banner
3 - 12" paper strips cut from the end of papers or 1/4" cut in half
a few fussy cut flowers/branches/leaves
stencil
modeling paste
clear gesso
edge distresser or scissors
heat gun
sand paper (I used 100 grit)
Step 1 - paint all your 2Crafty chipboard with coordinating colors to your paper. Allow to dry or heat set. I used white, blue, and brown. I had to mix paints together to get my desired colors.
Step 2 - Paint all the 2Crafty chipboard a second color - not the same as your bottom coat
Step 3 - using your sandpaper, sand some of the top coat of paint off so the bottom layer and some of the chipboard shows through. It will look something like this;
Step 4 - Cover your background paper with clear gesso
Step 5 -apply your stencil using modeling paste in various spots on your paper and heat set
Step 6 - Use your edge distresser on all papers
Step 7 - Layer your tags, then your 3 sheets of 6" paper and circle and your photo
Step 8 - Cut your paper strips to desired lengths and apply to top and bottom of your project along with cut circle, images and a seashell
Step 9 - add your banner and create your cluster using your 2 crafty chipboard on the right side of your photo
Step 10 - Add a couple of die cuts/fussy cut images then your title and your seashells
Hope I have inspired you to create!


.jpg)


