Showing posts with label words. Show all posts

Monday, October 27, 2014

Helen's October Inspiration
{A cute pair of Canvases & a couple of Layouts!}


Hello 2Crafty fans!  HELEN here to share with you what I have been playing
 with this month :)


In a recent parcel I received my new stash was braced on either side with mounting board, 
which was so nice & thick I decided it would work perfectly to use as "canvases" - score!!


A while ago I bought some Greeting cards with profound printed sentiments 
on the covers.  I purchased them with future art projects in mind, so I cut 
this one into 2 pieces so I could make a pair of matching canvases.


On each canvas I used 3 pieces of 2 Crafty Chipboard - 

1 Berry Branch per canvas


1 "Ingrid's Frame" per canvas


1 "Polaroid" Frame per canvas


I painted all my chipboard pieces white with white acrylic paint & a sponge then
 sprinkled the Ingrid's Frames & the Berry Branches with chunky white glass glitter.  


On the Polaroid frames I sprinkled diagonally across them 
using gold, lilac & teal glitters {one at a time of course :)}


I clustered a selection of flowers in various sizes at opposite corners of 
the sentiment, adding gauze & glass beads for additional texture.  


Before adhering my chipboard I added a few loops of waxed 
white thread as well as a Prima lace doily to each piece.  


The blue glittered frame you see above is actually a very old Making Memories
sticker.  Above it you can see a peek of the randomly glittered Polaroid frame.


These canvases measure 6 x 8 inches each & are very cute!  
I can't wait to get them up onto my studio wall, side by side :)
 
 
"You Make Me Happy"

Next up is a layout I created using a photo of my younger son, Reilly. 
 I used a lot of 2Crafty Chipboard on this one, namely 'You Make Me Happy
 When Skies Are Grey' title, 2 packs of Summer Leaf Stems & a set of Dandelions :)


I began by sponging across my background with white tempura paint to mute it a bit. 
 This is a good trick to make your patterned papers a lot more usable as background sheets.


I started by sponge painting all my chipboard pieces with white acrylic paint
 then painting them randomly using Color Bloom Sprays, then sponging
 lightly with more white acrylic paint. 


I added some random stamping to my Summer Stems & adhered them 
overlapping one another for a lovely tactile look, adding in some hand-dyed 
gauze, some teeny roses & some gold glass beads. 


I use a fine nozzle glue {Tombo} to adhere my finer chipboard pieces & a glue-gun 
to adhere the more solid pieces but without a mixed media background any 
good paper glue should work well.


Chipboard works great with other embellishments too!  
I added some teeny roses, flairs & faceted gems to the leaves & dandelion flowers.


If you find your chipboard isn't standing out enough from your background 
then a touch of stamping & some white acrylic paint applied with a small
 kitchen sponge works well to 'lift' it.


Last up is a layout I did for Scrap Around The World last month.
 
"Celebrate Today"

I used the 'Celebrate Today' title that I gave an ombre effect too, using 
my Ingvild Bolme chalk inks.  

 
I hope you enjoyed taking a look at my latest 2Crafty creations & 
that I inspired you to get creating too!
 
 
And remember, to find a 2Crafty stockist near you, drop an email to...
salesat2crafty@optusnet.com.au
 
 
Photobucket

Tuesday, April 1, 2014

Hello Again from Helen!


Hi there everyone!
  HELEN here again with my March shares.  
 
Today I'm going to share with you a page I made for another design team 
I used to be on, Lindy's Stamp Gang.  I also have a video of how I put this
 layout together & the different techniques I used on the chipboard pieces. 

 You can see that on my Youtube channel HERE
 Please subscribe if you enjoy it!  
There are also more closies in my blog post HERE.

"Gateway to Growing Up"
 
I used the Leafy Shrub Set 1, which I split up according to my requirements.
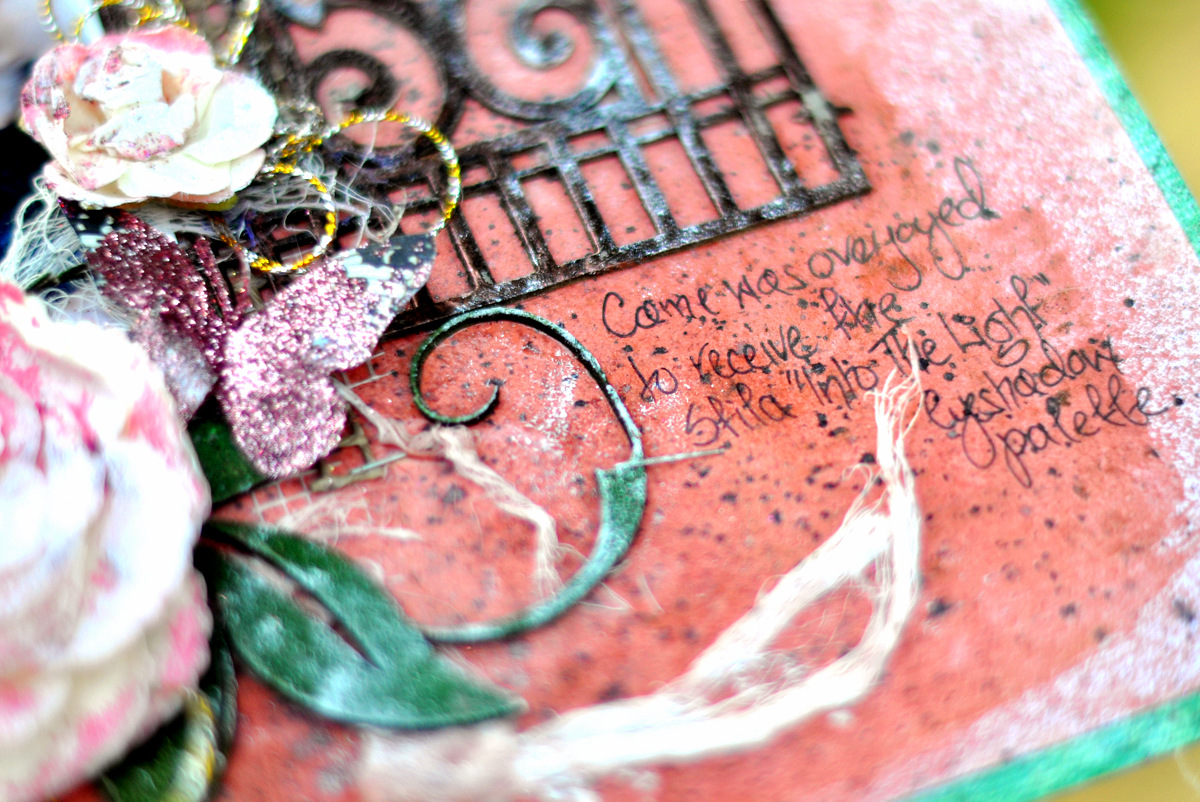
I also used the Iron Gates, which I again split up.
{into two - one for each side of my photo}.


I treated the chipboard with chunky embossing - using a Stamp it!  
Paint dabber from Ranger,using a couple of bronzey colours, 
before sponging over with some white acrylic paint to give a rusted look.


I applied the same treatment to the leafy shrubs too.


Just a few close-ups for you....


Now here are the 2 layouts I created especially for 2Crafty this month!
 
 
"Happy  Love"

I could NOT resist the Prima Product Pick for March & entered this layout - above.

2014 March ppp

I used the 2Crafty words "happy" {loopy font} 
 & "love" {loopy font} to make up my title -
 Happy Love.


I used a few different colours of embossing powder 
for a more interesting effect when I embossed each word.


The great thing about chipboard is it's versatility. You buy 
 it in it's raw state then customise it to suit your project.


These hearts {Squiggly Heart Cluster} are definitely 
MY FAVOURITE CHIPBOARD  ITEM EVER -
 I really want to use them repeatedly - on everything!!  


I used Tombo mono glue to adhere them lightly in just a few places,
 {that glue is incredibly strong & dries clear} & I used the same
 embossing effect on the hearts as I did on the words.


If you find embossing on intricate chipboard shapes tricky with an embossing pad
 you need to buy yourself one of these.  They last an incredibly long time
 & make the job waaaaaaaaay easier...


You just roll it over your piece & the effect can be made to look
 "chunky" if you squeeze out a thicker or uneven layer.


Photo overload so you can study things from every angle!


This chipboard piece in person is way more awesome than you realise
 when you look at it in it's raw state.  There's no way you won't love this!


Using your punches to "mirror" the design on your chipboard 
pieces, if possible, is an easy trick to help create a co-cohesive layout.


Next up is a layout I created using some new 7Dots Studio
 papers that just arrived for me from Poland - Happiness is...


"All Because Two People Fell in Love"

I used one of 2Crafty's awesome chipboard titles for this. 
{All Because Two  People Fell in Love title}
 I sponge painted it with white acrylic paint then dipped it into some
 chunky glitter for a sparkly effect that doesn't show up too well in photos sadly...


I also used the circular panel which I cut into 3 pieces, using one in the
 centre of my layout, under my photo, & the other 2 pieces under my layers 
at each side of my photo.   I treated my circular panel the same way as my
 title but for the smaller pieces of circular panel at each side, I left those raw.


I also cut up one Berry Branch & painted it with a Ranger 
dabber in 'Juniper' {must-have colour!}


Adding chipboard over threads is a good way to secure 
them in place as I have done in the photo above.


Placing your chippie title onto some contrasting 
paper is a good way to help it to pop off the page.


Cutting up your branches is an economical way to use them on your work.


Chipboard makes for great layering as it's light & not too bulky.
I hope you enjoyed taking a peek at my creations with
 2Crafty chipboard today.  See you all again next month!


Photobucket