Showing posts with label Title. Show all posts

Sunday, July 9, 2017

July Video inspiration with Kripa Koushik

Hello friends,

Kripa here with my July projects and video tutorials for two scrapbook layouts.

'LOVE' 

My first project is an A4 layout using kraft cardstock as base. 


All the chipboards were first covered with white gesso, dried and then painted over with Colourarte Vivid Ultra Metallics. The pink paint on Doodled Heart was looking very bright after painting, so Ive dabbed some white gesso to soften the colour and give a distressed look.


Gigi's flowers got the tiniest amount of twinkling H2O watercolour, for the most part they retain their white from the gesso. The tile from the Fine Words Set was painted over with 3 shades of pink.


I hope you enjoy the video. 


2crafty Supplies used:

- Gigi's flowers
- Doodled heart
- Fine Word Set 2 


'COOL DUDE'

My second project too features my son who is the muse for most of my layouts as you would have all realized by now. At that age he used to be full of energy and always ready to give a cheeky smile for the camera! I used the Triangle clusters chipboard and colours to compliment his playful & unpredictable bursts of energy especially at bedtime!


 All the chipboard pieces were first coated with white gesso. I stuck the Triangle clusters on the layout and then dabbed Twinkling H2Os on them using a brush; a tiny bit of yellow, a touch of blue and a dot of red. Remember to leave some white space. It brightens the colours (visual illusion)


Using foam dots between the layers of patter paper behind the photograph, makes it easy to tuck in chipboard to embelish the layout. I outlined the pattern paper and Cool Dude Title chipboard with a Sharpie so the letters standout.


To balance the Triangle clusters without taking the spotlight away, Ive used 3 pieces from Chevron Bits.


Here is the video. I hope you enjoy it. 
Look forward to reading your comments.


2crafty chipboard used:
  • Chevron Bits
  • Triangle Clusters 
  • Cool Dude Title
  • Cute Cogs
  • Gears
  • Steampunk Gears Small
  • Steampunk Gears Medium 


 Thank you for visiting us today.
Happy crafting 
Cheers,
Kripa


https://blogger.googleusercontent.com/img/b/R29vZ2xl/AVvXsEipZHkT4ud_foU35-RPQCT4i6a8jdan80OLJ01cOfqBU6sZLV_NTMPKVKXHUyRgdO652TzTy0p-iFG1jL3bhISmxjQB_U48JgYBFYu0siMNCz4O1bdARniKD8lJRVrR3TGkV1aPPUSdN1sR/s1600/Stockist-Tab-300px.png

Thursday, October 13, 2016

October Layouts By Lilibleu


"Timeless Beauty"

Hello everybody !

This is Lilibleu today sharing two layouts with you.

For my first project, I wanted to use the title "Timeless Beauty" that I find 
beautiful with a feminine and delicate writing.

I simply painted the title with gold to give a shiny effect.


I chose the beautiful setting "Frame Bec's" that I find ideal for framing my picture.
 I initially painted it with white gesso, then I colored parts of the frame with gold ink.


I also used a small padlock set "Key Set Mini's" to melt in my layout.
 I first painted it in gold before putting a layer of glitters on it.

2 Crafty Chipboard Used :


Title - Timeless Beauty 
Frame Bec's 
Key Set Mini's 


"Forever"

For this one, I chose to work colours very different from my first layout.


I used the "Edgar Swirls" ornaments on each side of my picture and to make
 them visible, I painted them with metallic blue paint.


The butterfly is embossed with blue sky colour to give more softness.


To frame the photo, I chose to use the "Corner Twisted" I also painted 
it in metallic blue. I added green glitters on the leaves.

The title "Forever" is painted in black.

 2 Crafty Chipboard Used :

- Corner Twisted
- Edgar Swirls
- Addy's Butterflies
- Mini Word Set 2


Sunday, May 4, 2014

More 2Crafty Inspiration from Helen Tilbury

Hello again!
 
HELEN here, back with you today to share my latest pages
 using 2Crafty Chipboard.
 
"Always Wear Your Invisible Crown"

As you can see I had a blast with 2Crafty products on this layout!

I used the "Always Wear Your Invisible Crown" title, 
the Circle Revolution Frame {the smallest of the set of 3}
 & Flourish Adornment Set 3.


I used the Circle Revolution Frame directly on top of & around my photo.

I used a couple of colours of Ranger Paint dabbers {Citrus & Gold}
to colour my chipboard & sprayed water on my background paint to
 encourage the drips, as well as using a plastic bag for the mottled effect.


I used the chipboard leafy swirls to anchor some black threads on my page 
whilst underneath my photo & Circle Revolution Frame I used some craft wire.


I painted my chipboard title with the "Citrus" paint dabber from Ranger
then sponged over parts of it using the "Sandal" coloured paint dabber.  


I used a white Paper Pen from Viva Decor to add the 3D - raised
 - dots & dashes - on top of my leafy swirls.  I used the Citrus & Gold
paint dabbers on my leafy swirls before sponging with black ink.


I love not only decorating my chipboard pieces but also the area
underneath it & remember that chipboard is a great way to anchor
other elements such as wire, thread & gauze, in place.


"Be Your Own Kind of Beautiful"

For this layout I also used LOTS of 2Crafty chipboard.

I used the "Be Your Own Kind of Beautiful" title as well as some "Berry Branches"
{these are one of my favourites & great for tucking in here, there & everywhere!

As well as the beautiful "French Lace"decorative border  which I cut up to use
like a frame around my photograph.


I painted the Berry Branch with white acrylic then embossed over
 it with pearl embossing powder for a pretty, feminine sheen.


I used some awesome shades of green embossing powder
on the French Lace border strip {which I cut into 4 pieces}
as I was trying to create a vintage verdigris effect.


I used a pearly silver white embossing powder on my title then sponged
over it with some bright yellow acrylic paint & used it to anchor the
pharmaceutical gauze {just like cheese-cloth} underneath it.


I absolutely love the dimension that chipboard adds to a layered
layout & honestly you can't live without it if this is your scrappy style!
 
 
Lastly I am sharing with you a canvas I created a while ago now.
You can watch the video of how I created it HERE & if you
enjoy it you can subscribe to me on Youtube HERE.
 

I used the 11" Circular Leafy frame, embossed with bronze
 embossing powder, as my dramatic chipboard statement!


I used a Ranger Embossing Dabber to give my chipboard this
very chunky effect you see, which also requires several layers.


I hot glued my flowers onto the chipboard frame,which I hot-glued onto the canvas. 
 I find hot-glue the best option for Off-the-Page projects due to it's strength.


Canvases are actually really easy, yet look so impressive, & make the most 
well-received gifts, especially if you match them up to the recipient's decor colours!


If you love chipboard, you've GOT to love embossing powder!
It is really simple to apply & the effect is always outstanding!!


I slightly altered this chipboard piece to suit my canvas,
so don't be afraid to snip away to customise your 2Crafty pieces!


 That's it from me for today.  
I do hope you have enjoyed a little peek into my 2Crafty creative life!  
See you all again next month!! 
 STAY CRAFTY :-D


Photobucket

Tuesday, April 1, 2014

Hello Again from Helen!


Hi there everyone!
  HELEN here again with my March shares.  
 
Today I'm going to share with you a page I made for another design team 
I used to be on, Lindy's Stamp Gang.  I also have a video of how I put this
 layout together & the different techniques I used on the chipboard pieces. 

 You can see that on my Youtube channel HERE
 Please subscribe if you enjoy it!  
There are also more closies in my blog post HERE.

"Gateway to Growing Up"
 
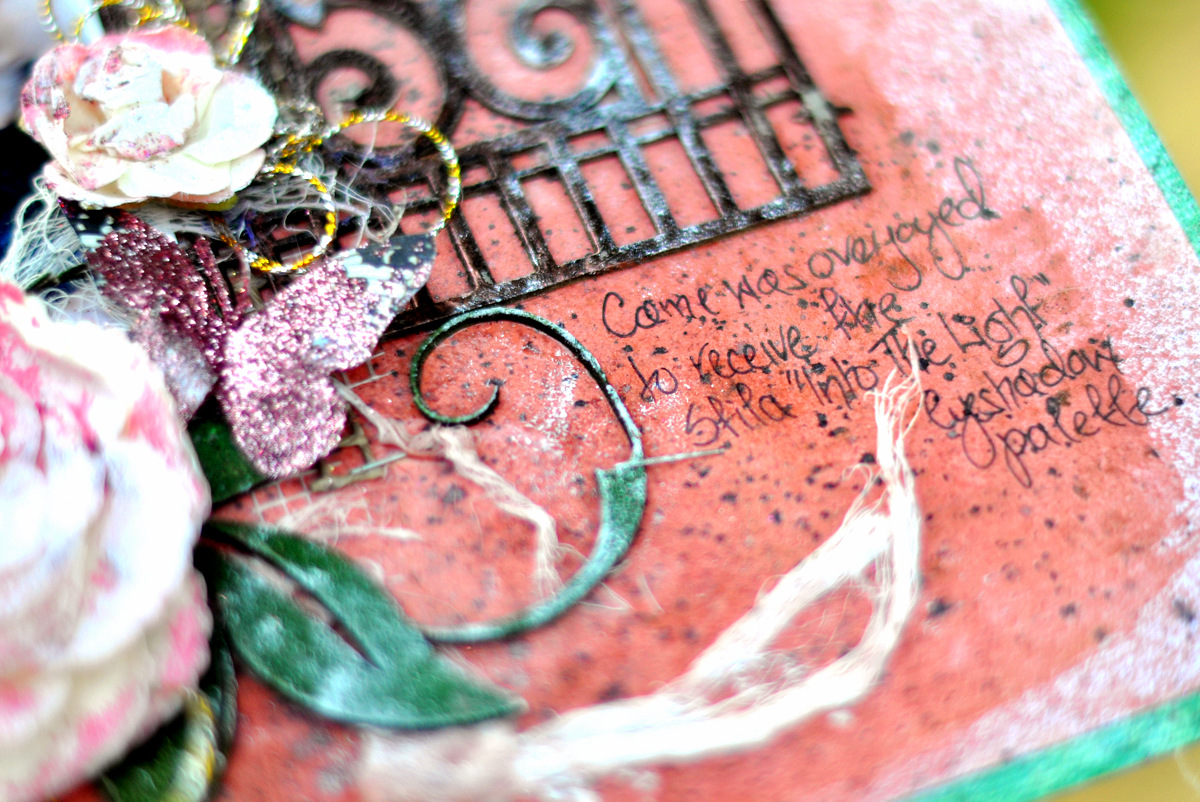
I used the Leafy Shrub Set 1, which I split up according to my requirements.
I also used the Iron Gates, which I again split up.
{into two - one for each side of my photo}.


I treated the chipboard with chunky embossing - using a Stamp it!  
Paint dabber from Ranger,using a couple of bronzey colours, 
before sponging over with some white acrylic paint to give a rusted look.


I applied the same treatment to the leafy shrubs too.


Just a few close-ups for you....


Now here are the 2 layouts I created especially for 2Crafty this month!
 
 
"Happy  Love"

I could NOT resist the Prima Product Pick for March & entered this layout - above.

2014 March ppp

I used the 2Crafty words "happy" {loopy font} 
 & "love" {loopy font} to make up my title -
 Happy Love.


I used a few different colours of embossing powder 
for a more interesting effect when I embossed each word.


The great thing about chipboard is it's versatility. You buy 
 it in it's raw state then customise it to suit your project.


These hearts {Squiggly Heart Cluster} are definitely 
MY FAVOURITE CHIPBOARD  ITEM EVER -
 I really want to use them repeatedly - on everything!!  


I used Tombo mono glue to adhere them lightly in just a few places,
 {that glue is incredibly strong & dries clear} & I used the same
 embossing effect on the hearts as I did on the words.


If you find embossing on intricate chipboard shapes tricky with an embossing pad
 you need to buy yourself one of these.  They last an incredibly long time
 & make the job waaaaaaaaay easier...


You just roll it over your piece & the effect can be made to look
 "chunky" if you squeeze out a thicker or uneven layer.


Photo overload so you can study things from every angle!


This chipboard piece in person is way more awesome than you realise
 when you look at it in it's raw state.  There's no way you won't love this!


Using your punches to "mirror" the design on your chipboard 
pieces, if possible, is an easy trick to help create a co-cohesive layout.


Next up is a layout I created using some new 7Dots Studio
 papers that just arrived for me from Poland - Happiness is...


"All Because Two People Fell in Love"

I used one of 2Crafty's awesome chipboard titles for this. 
{All Because Two  People Fell in Love title}
 I sponge painted it with white acrylic paint then dipped it into some
 chunky glitter for a sparkly effect that doesn't show up too well in photos sadly...


I also used the circular panel which I cut into 3 pieces, using one in the
 centre of my layout, under my photo, & the other 2 pieces under my layers 
at each side of my photo.   I treated my circular panel the same way as my
 title but for the smaller pieces of circular panel at each side, I left those raw.


I also cut up one Berry Branch & painted it with a Ranger 
dabber in 'Juniper' {must-have colour!}


Adding chipboard over threads is a good way to secure 
them in place as I have done in the photo above.


Placing your chippie title onto some contrasting 
paper is a good way to help it to pop off the page.


Cutting up your branches is an economical way to use them on your work.


Chipboard makes for great layering as it's light & not too bulky.
I hope you enjoyed taking a peek at my creations with
 2Crafty chipboard today.  See you all again next month!


Photobucket