Showing posts with label steampunk cog strips. Show all posts

Friday, March 19, 2021

Good Vibes
by Sabrina Turpin

Hello 2Crafty friends!

One good thing to come out of the various pandemic lockdowns is that I had time to pick up a new crafting skill: I started sewing! At first, I was doing facemasks to help people stay safe&stylish. But over the months I became more comfortable and I recently completed my first pieces of clothing for my kids. 

Last week, I completed my very first long-sleeved t-shirt, custom made for my son, using fabric he choose! We are both super happy with the result so this really deserved a nice picture so I could create a layout to celebrate this success! I've picked some awesome chipboards that fit my son and a color pallette that matches the t-shirt's.

 "Good Vibes"


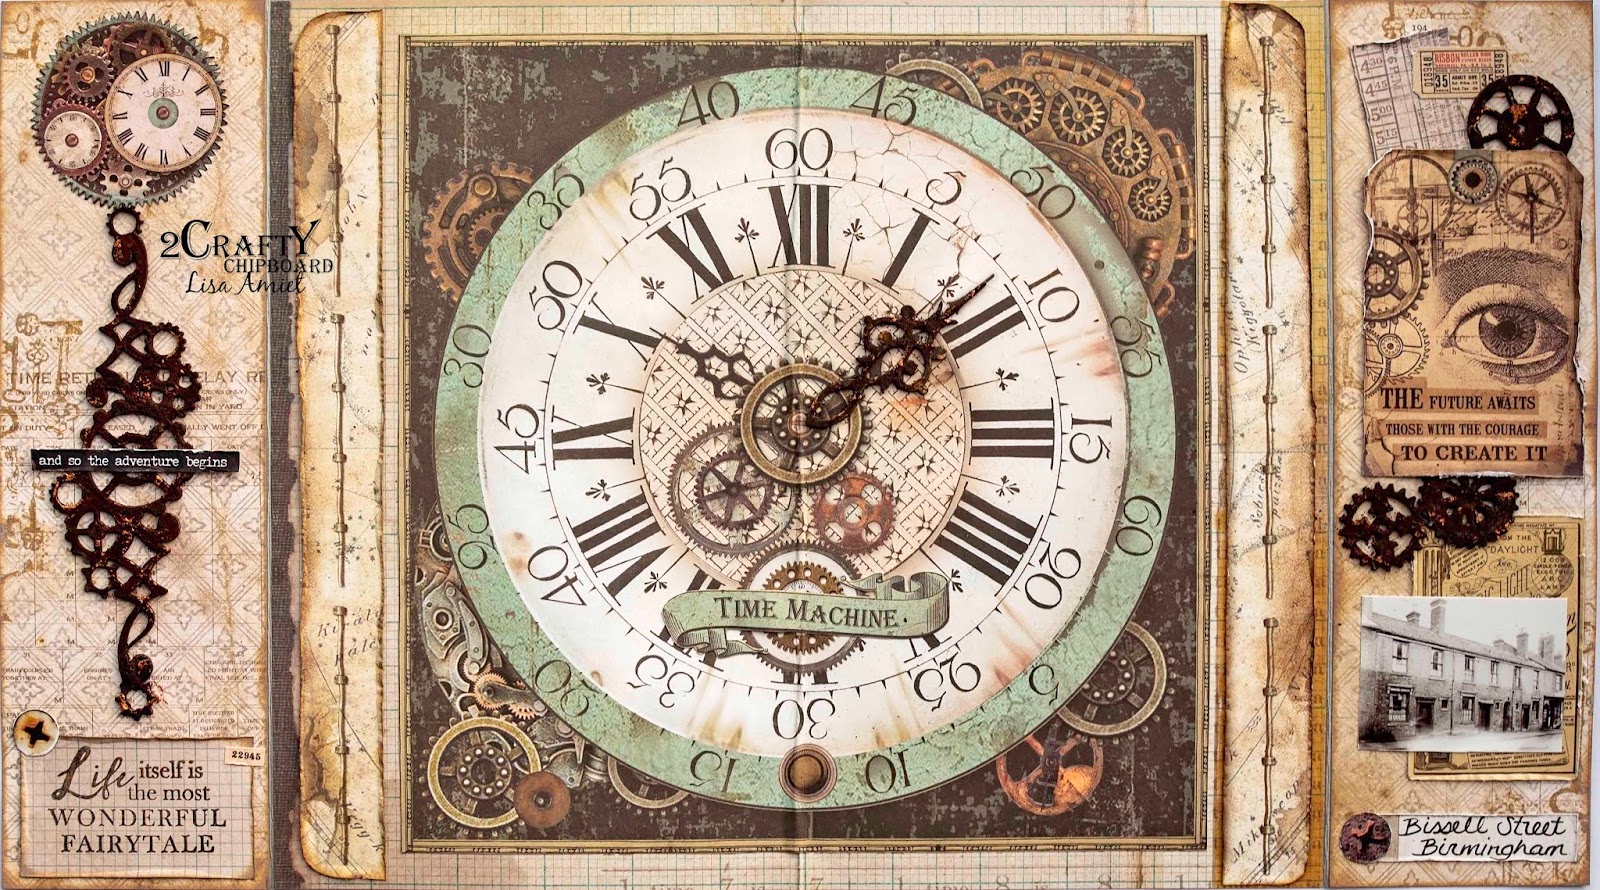
On the "Brick Panel", I roughly applied some diluted green-gold shimmering paint, still letting a bit of the chipboard color and texture show through.


For the "Foliage Set 5", I used green-gold embossing enamel then inked the borders in black. On the "Steampunk cog strips", I applied pewter paint, then added some rustic mint paint applied very roughly and finally applied some gold wax with my fingers.


On the "Steampunk Gears Medium", I applied the same rustic mint paint and gold wax as on the "Steampunk Cog Strips" (but not the pewter paint), then inked the borders in black. For the "Circle Frames", I just roughly rubbed gold wax, to let a lot of the chipboard color through. On the title, "Good vibes", I used black-gold embossing enamel.

For this layout, I used the following 2Crafty chipboards:

Brick Panel [660038]
Foliage Set 5 [M00802]
Steampunk Cog Strips [M00783]
Steampunks Gears Medium [M00646]
Circle Frames [120022]
Good vibes [W00583]


That's all for me today! I hope you enjoyed this layout and that it gave you some inspiration for your own creations. I'll be back in a few weeks with a new layout to share with you guys! See you soon!


Sunday, January 31, 2021

To Dreamland by Emma Zappone PLUS VIDEO

Hello friends!

Emma here with you today with another share.
Todays project is a keepsake made for my scrap room wall using wooden planks. 

Here are the awesome chipboard items used:

Assorted Chain Borders
4" Mandala 2
Steampunk Cog Strips


These rectangles only measure 13x15cms. So I knew it was going to be tricky to fit everything
on them that I wanted. But somehow I managed to achieve the look I hoped for.

The chipboard I painted in black Gesso ready for a finish.

I chose to cover them with waxes as this looks really great over black Gesso.
I used a combination of colours to add light and dark shade.

Because of the size of the projects, I had to trim each piece to either share on both or to fit
and suit the size, without taking away the awesomeness of the chippy.

I'm really happy with the finished result and can't wait to hang them.


Here is the video of it all coming together.....Please enjoy.


Happy scrapping everyone and will see you all again soon.

Em xx


Tuesday, August 4, 2020

Mixed Media Banner
”Open Yourself”
by Elena Martynova

Hi, Elena Martynova here with a vintage styled project.

The amazing 2Crafty Chipboard products are beautifully
 composed with layers and vintage style.
I created lots of layers and using different elements
 and incorporated the chippies therein.

For all the chipboard pieces here, I have applied acrylic paints, 
embossing powders and sprays.


 I used these pieces of 2Crafty chipboard:


I love vintage photographs and this one I cut from papers 
& I decided to use in my project.
 

As a rule, I rarely do men's work, but we girls like flowers
 and bright colors more, but I had a great steampunk chipboard,
  Corner Steampunk  1 that I had long wanted to use somewhere.


For the vintage look and dull finish on the project I added some splashes with a sprays.


That's all for today.
We thank you so much for coming by and for supporting us here at 2Crafty.

I'll see you next time!

Cheers, Elena.

Wednesday, June 17, 2020

'Time Machine'
with Lisa Amiet


Hello 2Crafty fans!
It's Lisa here today to share some inspiration with you.
I have something a little different this time round.

'Time Machine'

This is the first centre spread of the album,
that I am creating for my Grandfather,
who has recently turned 90.


2Crafty Products used


I am going to be sharing the album inserts with you, as I create them,
then I will share the completed album with you.

This is where it all began :)


I have used one of the 'Steampunk Cog Strips',
that I have first finished with a Rust Effect Kit,
then I have highlighted parts of it with Brass paint.


The side pieces will fold over the front of this page, when complete.
I love the chunky rust effect on the chipboard, 
it fits well with the aged feel of my page.


I have also used one of the 'Fancy Clock Hands Set 2',
trimmed to fit the centre of my clock.
I have again used the Rust Effect & Brass highlights. 


On the other side of the page, I have used some of the 'Steampunk Gears Medium',
again with a rust finish, layered in among my elements.


I have managed to get my hands on some amazing photos,
of where we used to live in England,
and of my grandfather back in the day :)


This is the street that my Grandad lived on when he was a child, 
with my Great Grandparents and his sister, 
up until he was married to my Grandmother.


It just amazes me to be able to look back on these photos and imagine him living there. 

I hope that you like what I am creating, 
and that you will join me on the journey of creating this album.

Until next time!

Lisa


Wednesday, April 8, 2020

' Blood Sweat & Gears' layout
By Rachael Funnell

Hello Everyone!
Today I have my first share for this month...


This masculine/grungy layout featuring a photo 
I captured last yr of my son, hubby & nephew...
And have incorparated  some awesome chipboard 
pieces, including a few from the Steampunk range!!!

2 Crafty Chipboard I've used::


Steampunk cog strip
A Couple of medium stars from the stars pack
 Tiny stars from ATC - Tiny Hearts & Stars 
2019
a  couple medium Steampunk gears
Corner Steampunk 2
Blood Sweat & Gears


Starting with the perect title for this page
 'Blood, Sweat & Gears' & 2019
Both inked with black...


To incorporate the assortment of stars used for 
the page I inked the ATC - Tiny Stars and
other sized stars with either black or brown.....


The base page used, already had a great steampunk cluster image
SO I decided to ink a the Steampunk Strip with a teal,
adhering it over part of the image, then finishing it with a
couple of the Medium Steampunk gears that I had inked blue....


Lastly the Corner Steampunk 2 
I randomly inking this again with a brown & the 
adding another Medium Steampunk gear 
that I had inked blue..
Finalizing my layout with splattering of gold paint...


Hopefully I hve inspired you in some way  
 to create your next masculine page...
Take care & until next time!


Tuesday, March 31, 2020

Live Your Dream with Emma

Hi Everyone, Emma with you all.
I hope everyone is doing ok and are safe in this unusual time.
Today I hope I can inspire and help take your mind off the outside world for just a small time.
I really enjoy Steampunk themes and so today's layout is a 'pretty' version of that, using awesome chipboard to compliment the theme.


Chipboard used:

Harlequin Clumps
Decorative Dangling Bits Set1
Steampunk Cog Strips
Fancy Clock Hand Set2


The perfect choice for this theme!


Most of the chipboard is painted white and then coated with 3 different emboss powders.
A chunky Pink one and a smooth shiny pink one, mixed with a smooth silver. And I love how the soft pink looks against the green, they really compliment each other.


The Harlequin clump I coated with a distress oxide and then I clear embossed.


I just love the Fancy Clock Hands so much, will need to add these to my stash so I never run out. They are perfect with any layout but I love how they look on this one especially.

I hope this has been a small distraction and inspires you to have a play in your scrap room at some stage.

 Stay safe everyone and I will see you all very soon.

Emma xx


Wednesday, January 22, 2020

This moment
by Sabrina Turpin

Hello 2Crafty fans!

Today I'd like to share a layout I did last week that about one of those little moments of pure joy in life where you remember that being with the ones you love is all that matters.
 Sometimes you're not doing anything special, just sharing a little moment of cuddling and playing, and it is still the most rewarding moment as a mom.

"This moment" 


On the "Chicken wire panel", at the back, I used silver embossing powder and dabbed some black embossing ink on top. For the "Steampunk Cog Strips", behind the button, I applied blue embossing powder roughly and then traced the border with black ink.


On the "Frangy", I applied blue embossing enamel and then traced the borders with black ink.


For the "Frame Alissa", I applied white paint to which I had added blue pigments. Then, once it was dry, I used a sandpaper to give it a more rustic look.


For the title, "This moment", I applied textured embossing powder, giving something of a coal look.

I used the following 2Crafty chipboards in this layout:

Frame Alissa [fr0125]
Frangy [m00121]
Chicken wire panel [m00400]
Steampunk cog strips [m00783]
This Moment [w00526]


That's all for me today!
 I hope you enjoyed this layout and it gave you some ideas for your own creations.
 I will be back in a few weeks with more ideas to share with you guys.
 Until then, I wish you the best.