

Hello everyone & a warm welcome to the 2 Crafty blog!
Rach with you sharing this bright, fun, grungy, Masculine layout,
featuring some really great 2 Crafty Chipboard peices...

2 Crafty Chipboard used:
light bulb word set 1
Fine word set months
2019
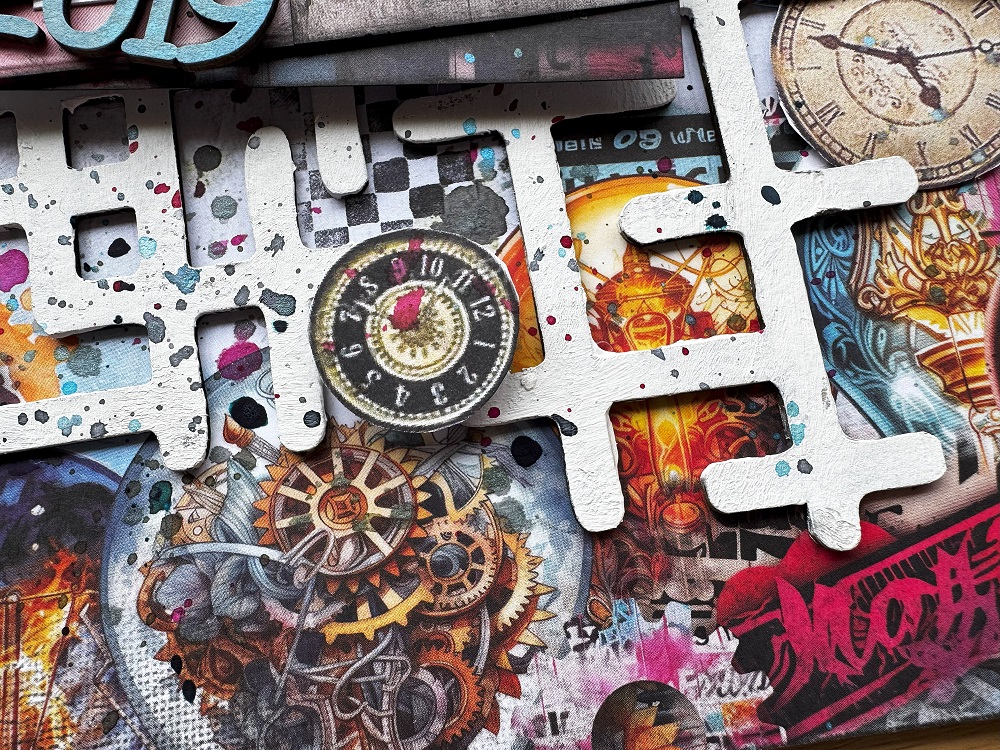
10" Decorative Panel - Grid
Let's start this awesome 'Light bulb Journey' I have simply inked it black..
I think it loooks so GOOD sitting amoungst the color spalttering..

Next up of course I have added the date,
using the month June from the Fine word set months, Giving it a coat of gesso
& year 2019 inking this with a pale blue...

AND lastly for I would say besides for the photo,
is the main feature of this layout is
this fantastic 10" Decorative Panel - Grid,
where I did cut about a 1/3 away, then have given it a thick coat of gesso
gluing it down & finishing off with some splattering...
I hope I have inpsired you in some way
Thanks for popping by
Rach x


