Showing posts with label Groovy flowers. Show all posts

Friday, September 12, 2025

"Love"
Canvas Embroidery Hoop
with Amy Voorthuis

 Good morning lovely 2Crafty friends.
How wonderful of you all to stop by the 2Crafty blog. 
For this post I made a canvas embroidery hoop with a picture of Jeroen and I during our
wedding back in 2012. We didn't have great weather on April the 20th but we still got
some nice pictures that I have scrapped during the years but this one I haven't as far as I remember. 
Enjoy my post....

Love

Wonderful 2Crafty Chipboard used: 
11" Celia Frame 
Line Words Happiness
Fine Floral Corner Set
Foliage Set 6
Foliage Set 3
Groovy Flowers
Frame Fine Circle With Butterflies
2021's


All the chippies are treated with some white gesso for the fine floral corner set I added some white embossing powder and I cut that one up and added them around my picture and in my flower cluster. The line word love is also treated with some white embossing powder. 


For the groovy flowers they are treated with some pink embossing powder and I place a metal screw head in the middle. For the rest of the chippies I just added some acrylic paint in different shades to match my canvas. 

Hope you all enjoyed my post thank you so much for stopping by, I will be back with another project soon hope to see you back then.... 
Meanwhile if you would like to see more of my work you could visit here: 
Amy's Pretty Papers

Monday, May 8, 2023

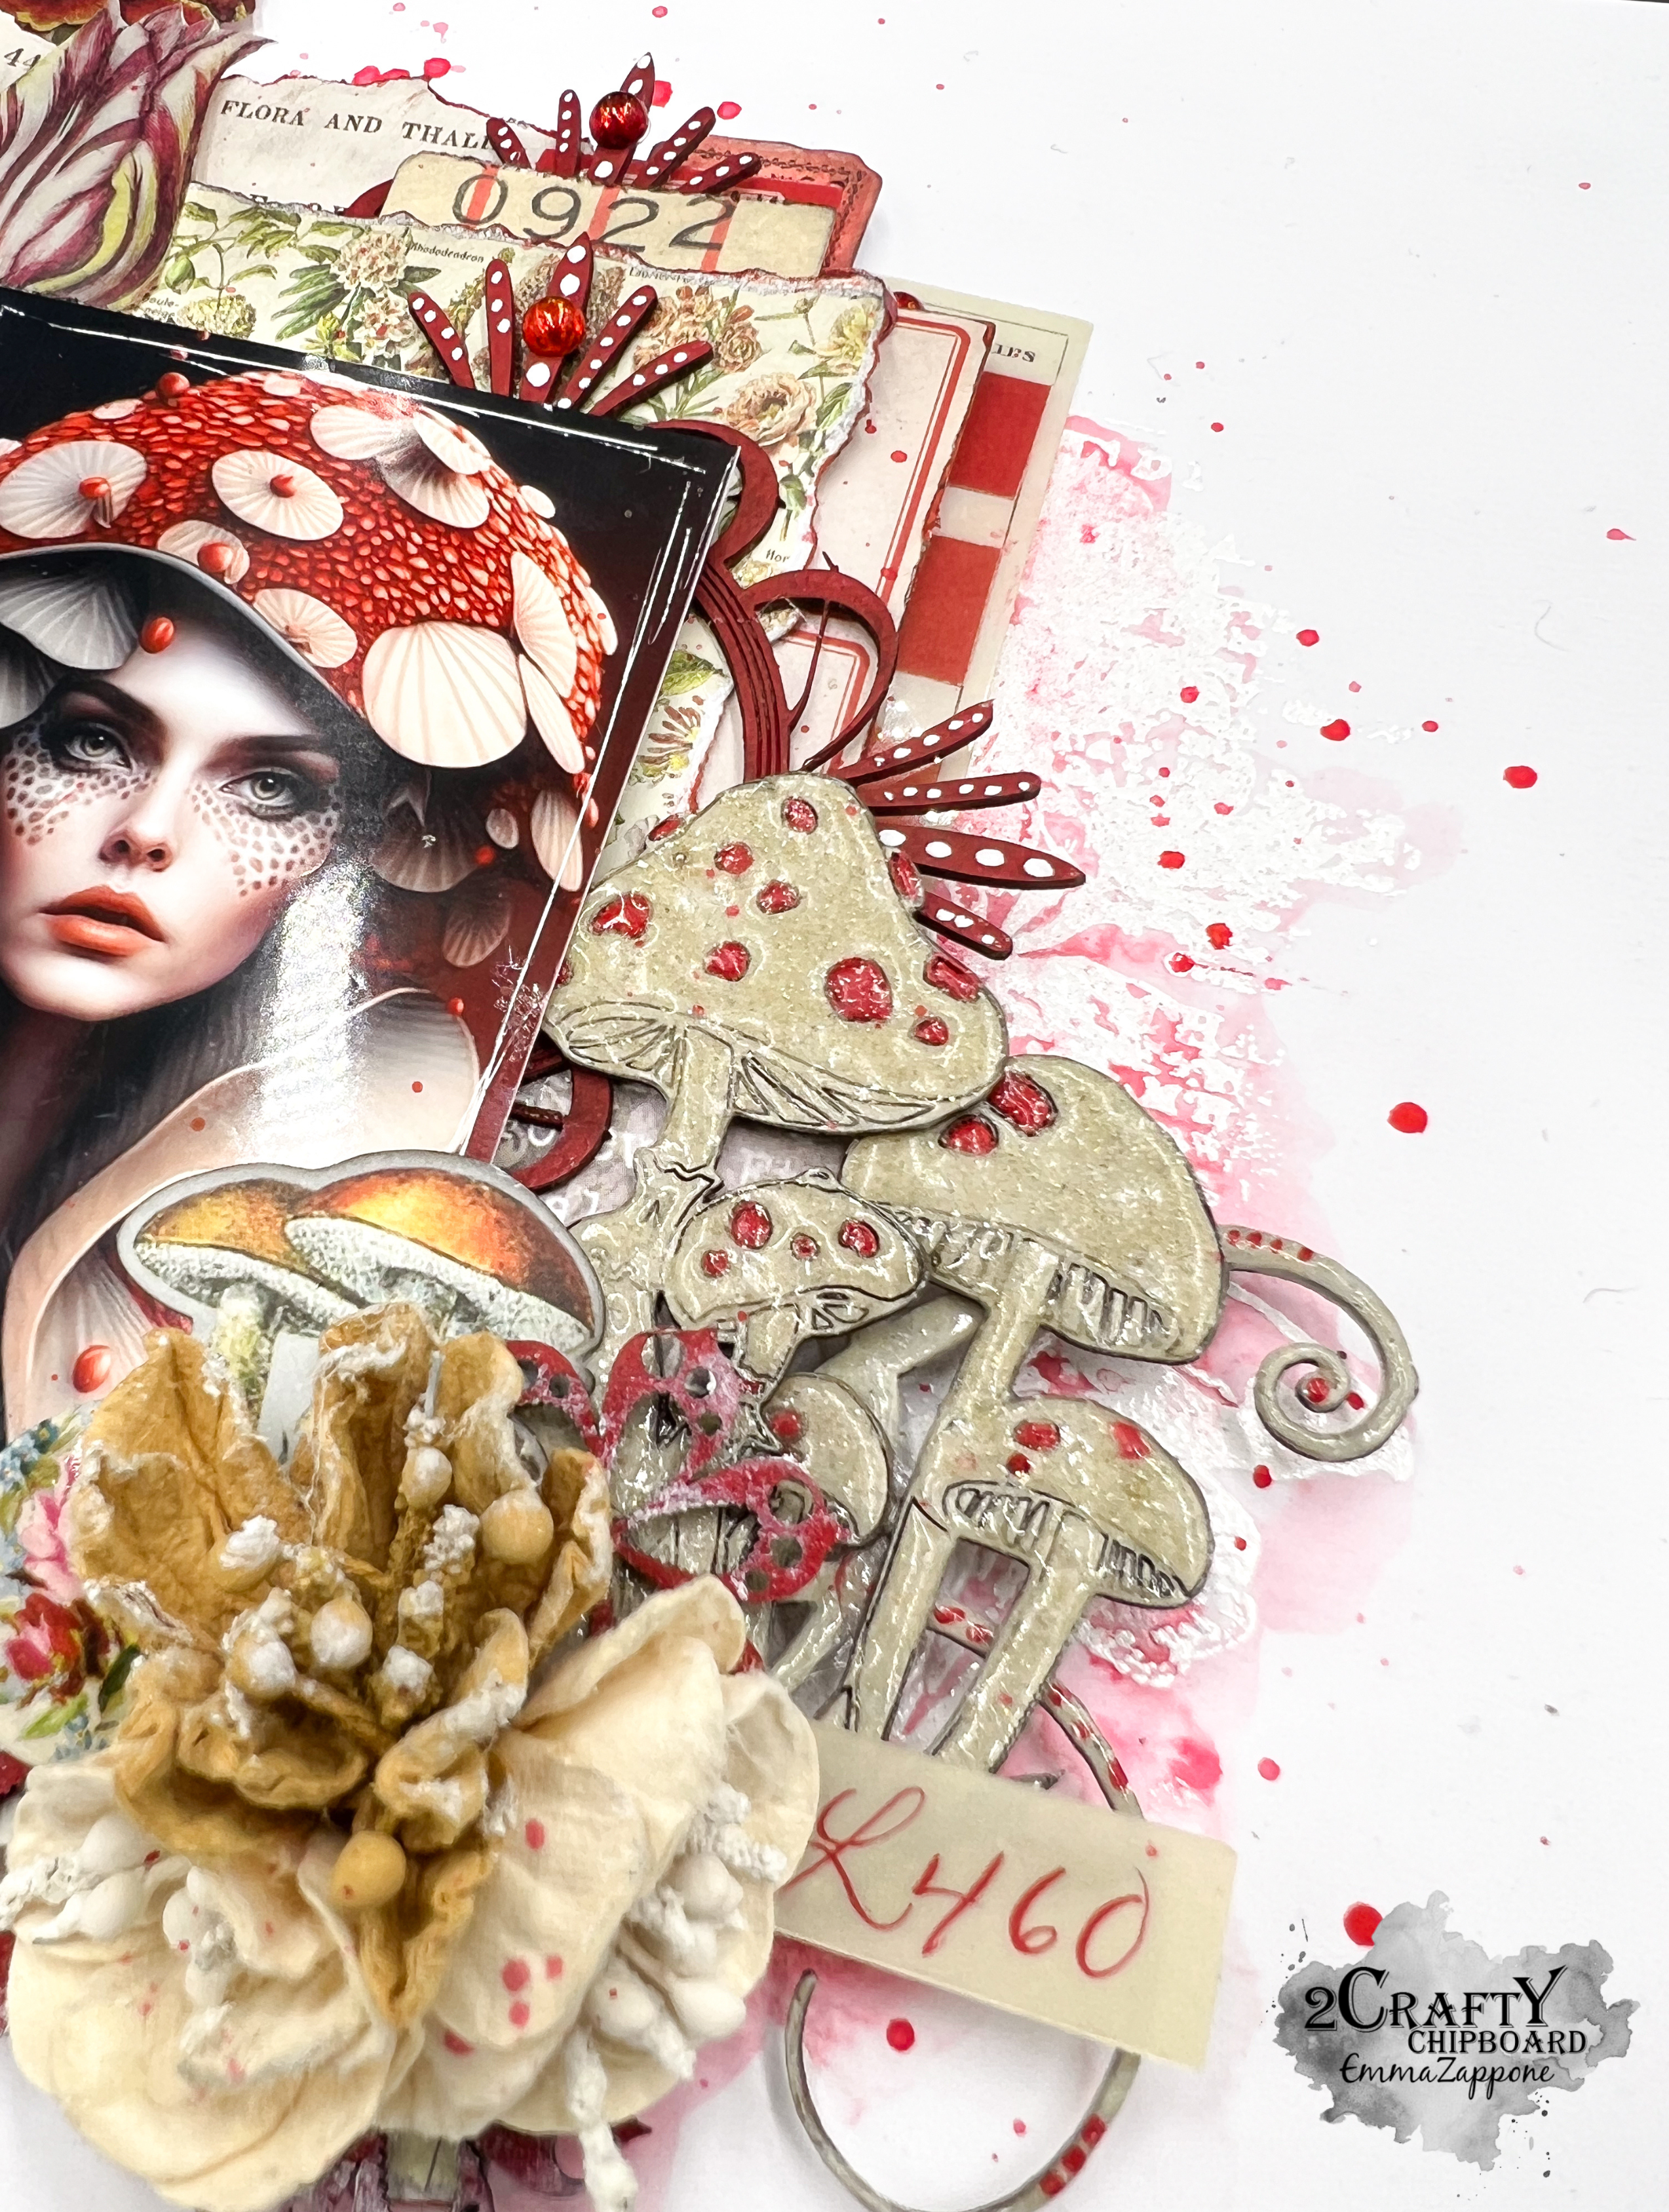
'Nature Lover' by Emma Zappone

Welcome to a new week!
Emma here today on the blog, and I'm sharing a 9"x9" Layout with you.
This page is entitled

 'Nature Lover'


This page is created on a White cardstock base with a white embossed stamp print to create texture behind our main composition.

Lets check out some of the awesome chipboard pieces chosen for this page.....

I knew that I had to play with the mushrooms as they are just the cutest. And it matched this awesome image I found on Pinterest. So this then became my main theme. 


These amazing flourish's are painted with a cream acrylic base. I then dotted some red acrylic in sections to mimic the mushroom tops and the patterns in the image. Once these were dry, I added a clear emboss powder to add a beautiful shine.


The Louisa frames are one of my absolute fabs as it adds a little bit of glam, grunge or in-between.
I painted these with a red acrylic and once dry added white dots, again to mimic the mushrooms.


The Groovy flowers were also painted in red acrylic but finished with a matte white wax.


These absolutely fabtabulous mushrooms were painted in a cream acrylic first. Then I delicately painted the mushroom 'markings' with the same red acrylic as the other chipboard elements.
Once I was happy with the painting, I added clear emboss over the top.
A double coating  of emboss to really make the tops shine.


I really love how I can tell the story of the page with the help of these amazing chipboard elements.


I hope this has inspired you a little today.

Thanks for joining me, and I will see you again later in the month.

Till then, Stay Crafty.
Em xx


Tuesday, April 4, 2023

Love Step x Step Layout by Tania Ridgwell

Hi there!

Tania joining you today to share a layout I created for my first share for April.
  I have a short step x step photo tutorial for this layout.

"Love"


2Crafty Chipboard:

*12 x 12 Clock Face Frames
*Scroll Set 3
*Groovy Flowers
*Fine Word Set 1


I gave all the chipboard pieces a coat of gesso first.  I then painted all the pieces with Art Alchemy Pearl and Green Opal Magic Paint.  Once dry I roughly sponged Rose Gold Wax over all the chipboard.  To finish off how I wanted the chipboard to look I randomly sponged on some more of the Pearl Paint, adding a little extra to the Scrolls and Love word.


To create the background page I tore the top and bottom edges of the papers and distressed the edges.  I then placed the clock faces on the background page and then tucked my photo between the chipboard.


I then embellished around my photo with lots of fussy cut elements.  Once I was happy with the arrangement I then tucked a Scroll chippie into the top and bottom embellishment clusters.  I them tucked the Groovy Flower Chippies in and around the embellishment clusters too.  


To finish off my page I added lots of flowers around the clusters and then added the Love Chippie Title along the bottom left of my photo.


Thats' all from me today, I hope I have inspired you all with my Layout. 
 Until next time thanks so much for stopping by.

Tania xx

 
For those of you who can't locate a local stockist, we are now accepting orders via our new Website, which we have opened up for all, including International customers.
 

Tuesday, September 17, 2019

'Good Vibes'
with Lisa Amiet


Hello all! 
It's Lisa here today to share some inspiration with you. 
I have created this layout, using some of the fabulous new designs that are now available!

'Good Vibes'


2Crafty Products used:


For this layout, I have gone with a retro theme to suit my photo. 


I have used some of the 'Groovy Flowers', that I have embossed in white and orange.
I have used some layered atop one another.


I have also used two of the 'Mini Embroidery Hoop Set',
that I have embossed in white.
I have then used some of the patterned papers to back the hoops.


I have also used some of the 'Groovy Flowers' individually and layered onto my hoop. 


For my title, I have used the 'Good Vibes' words,
that I have embossed in white and orange.  


The perfect title for my page!


 It feels like these pieces were designed for my layout!
I love the vintage feel.


I hope that you like what I have created. 
Maybe it inspires you to create something groovy today :)

Until next time!

Lisa 


Monday, January 21, 2019

Once Upon a Dream
Layout by Marie Claude Rodier


Hi 2 Crafty fans! Marie Claude back today to share another
project with fantastic 2Crafty chipboards.

This time I was inspired by a spring theme and created an almost
monochromatic layout using earthy tones.


I started by applying white gesso on my title.
I then used an avocado green Lindy's Magicals to color it.

Once dry, I embossed it with a clear shiny powder over which I dried brushed white gesso.


I basecoated the groovy flowers and keyhole with vintage gold wax and
then applied brown Gelatos over them to get a vibrant contrast.


I used gold/green embossing powder on the leafy twig branches and
then dry brushed white gesso on top of them.


2 Crafty Chipboard products used
Once upon a dream
Groovy Flowers
Keyholes and locks
Leafy Twig Branches

Thanks for stopping by today. See you soon with a new 2Crafty project.
XX

Sunday, July 1, 2018

July Inspiration #SELFIE by Marie Sabatier

Hello everyone,

I present you my first page for this month of July which promises to be very sunny here.

I chose this selfie photo of my little girl and her mom "smiling and accomplice"

I wanted bright, cheerful colors


I worked my background with white gesso, stencils, inks, stamps to make a mixed media effect

I applied a black embossed powder on all chipboards, which gives a nice contrast

Some details....


I added some embellishments


The 2Crafty Chipboard used :

- Grid Panel
- Groovy Flowers
-Hastag Word Set 1


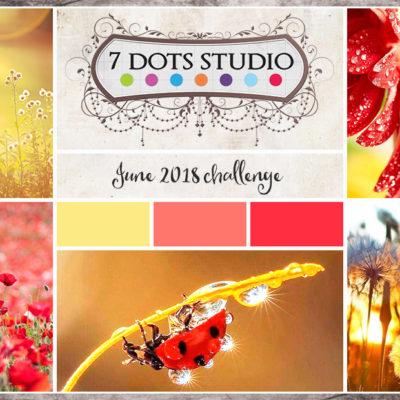
I have based it on the challenge 7 Dots Studio


Always a pleasure to scrap with these beautiful chipboards

Thank you for your visit, see you soon.