Hi there!
Tania joining you today to share a layout I created for my first share for October. I have a short step x step photo tutorial for this layout. I have to apologise I'm missing one of my photos for my step x step I had a little mishap with my phone - technology and I don't always see eye to eye!!! LOL
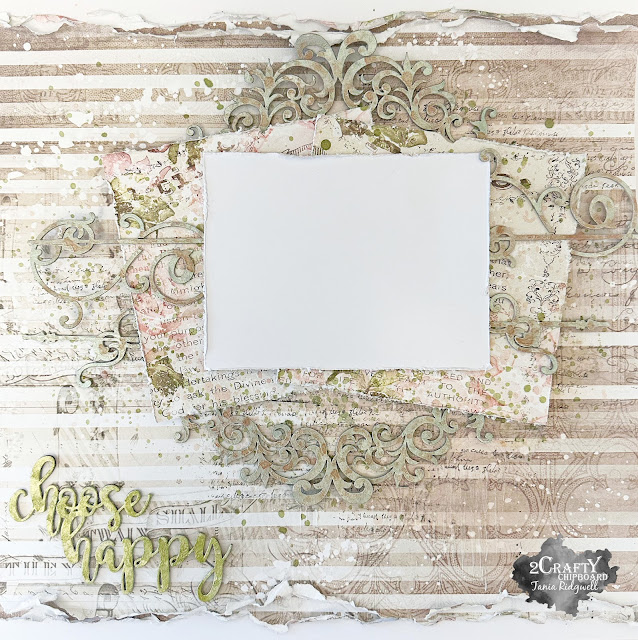
"Choose Happy"
2 Crafty Products Used:
*Choose Happy
*2023's
*Addy's Butterflies
*Tahnya's 6" Border
*Photo Adornment - Formal Flourish Set 3
I chose the gorgeous AB Studio's Somewhere Collection for this Layout. To create the background page I tore the top and bottom edges of the papers and distressed the edges. I added some texture to the page using the Tim Holtz Stripes Stencil. I also added some script stamping in black ink around the page and randomly flicked on some Dylusions White Linen Spray. Once dry I added a couple of distressed papers layers for my photo to sit on.
I first gave all my chippie pieces a coat of gesso. I painted the Choose Happy, Addy's Butterflies and 2023 chipboard with Acrylic Opal Magic Green Gold paint and while they were still wet I also painted on a coat of Heidi Swapp Charteuse Color Shine to give a bit more of a brighter green look. I also painted the Tahnya's 11" Border and Photo Adornment - Formal Flourish Set 3 with the same Opal Magic paint and while these were wet I randomly dabbed on Heidi Swapp Blush Color Shine over different areas of the chipboard. Once I was happy with the colours of all my chipboard pieces I set about arranging them onto my page tucking them in and under paper layers and adding the Choose Happy Title to the bottom right of my page.
I added my photo and then embellished around my photo with more fussy cut elements.
To finish off my page I added some flowers around the fussy cut elements, tucked an Addy's Butterfly into each of the flowers and then added 2023 to the bottom left of the photo.
Some close ups....
Thats' all from me today, I hope I have inspired you all with my Layout.
Until next time thanks so much for stopping by.
Until next time thanks so much for stopping by.


.jpg)


