Showing posts with label Vintage Elements 1. Show all posts

Monday, March 18, 2019

Fantasy Layout Inspiration by Elena Martynova

 Hello scrappy friends!
 My new layout is about spring, waking up nature, new discoveries and impressions!
I let my fantasy spread its wings and sent her flying free :)))
No rule, restrictions, patterns and norms!
The composition was formed easily and naturally, and bright details revived the layout.

In the background is a sheet of paper from ABStudio.
I also added pages from the old dictionary and paper from Prima from the Forever Green collection.

 I made the leaves of the oak from the  Foliage Set 2
bright green as the first spring leaves.


To support the mushroom cap on the card at the top of the page, 
I painted the Turkish Lanterns  in  flashlight bright red. 
I really like how it attracts the eye!

 Added such a remarkable phrase

  I used the following 2Crafty Chipboard:


 But that's not all for today!

From scraps of paper and small chippys I made these ATCs.
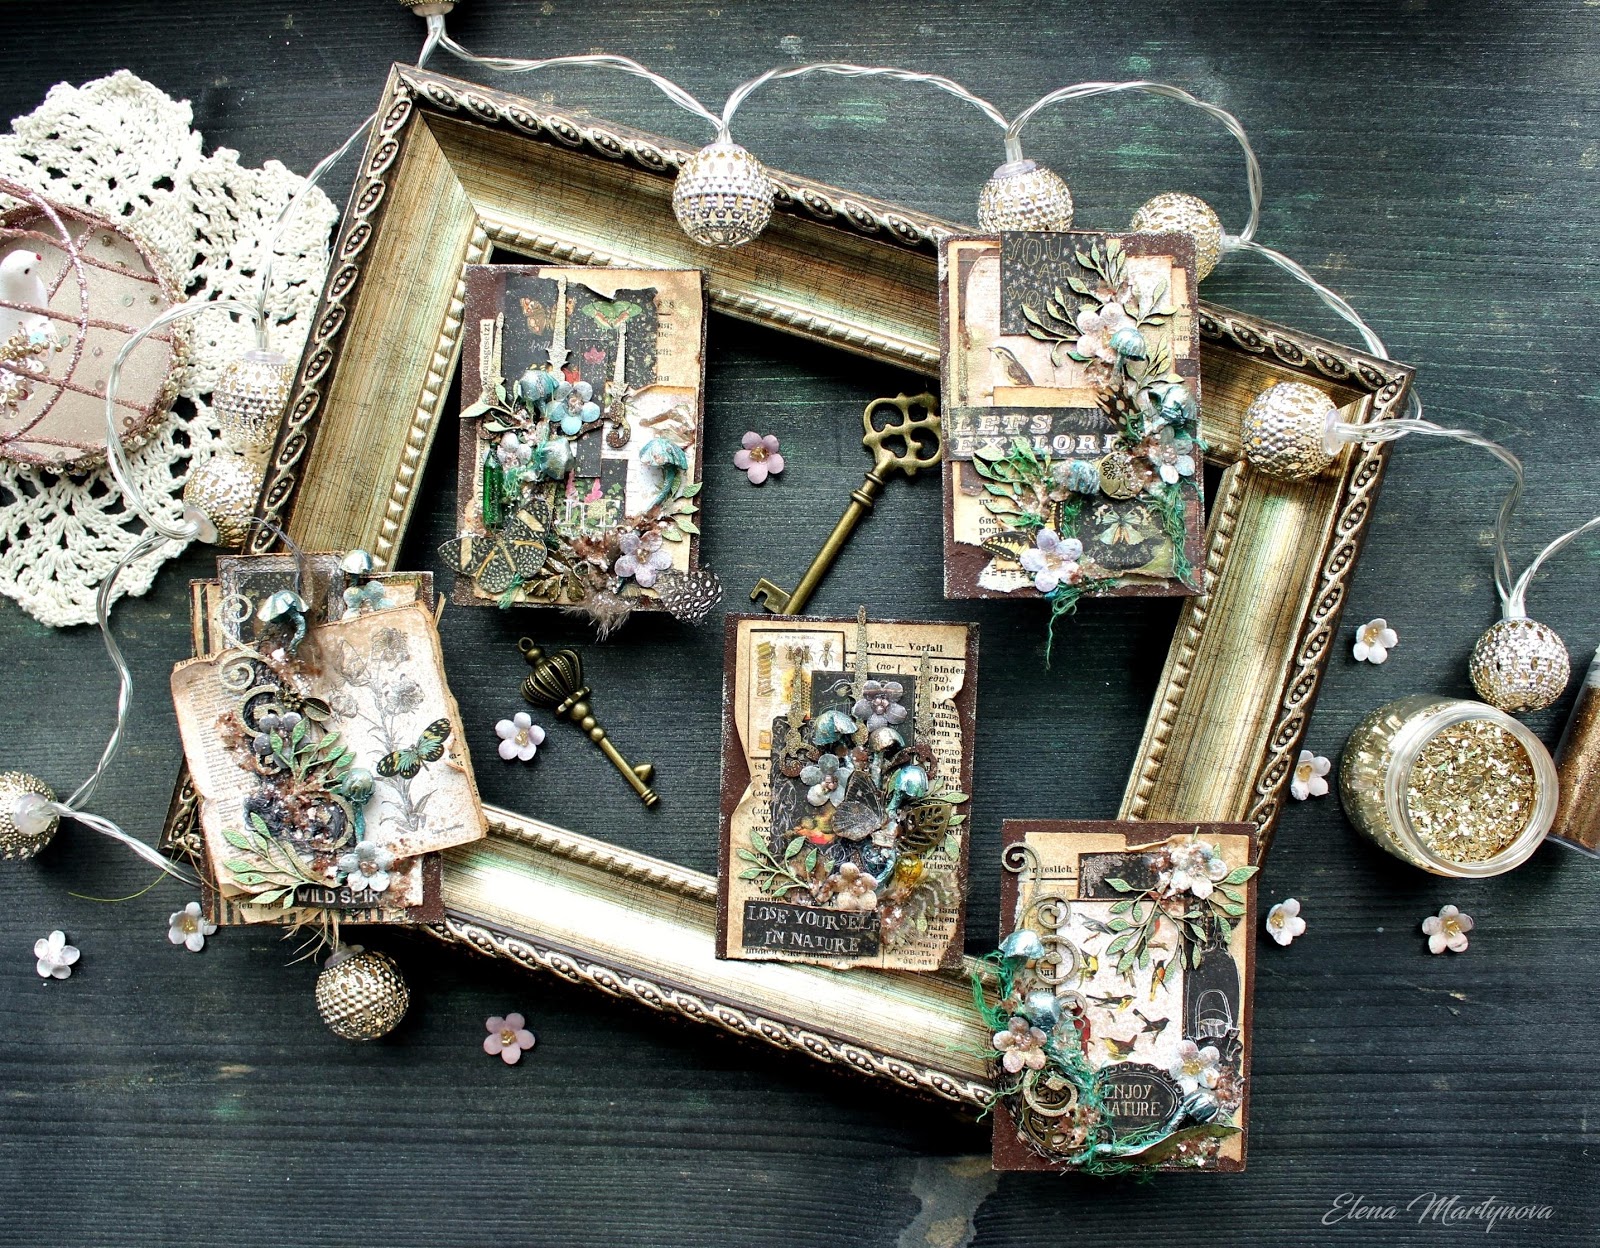


  I used the following 2Crafty Chipboard:

I hope you enjoyed my works, 
 and you also wanted to try to do something unusual and interesting!

Thank you for visiting, have a lovely crafty day!

 Don't forget to check out my BLOG.
 

Wednesday, September 23, 2015

September Projects by Lisa Griffith

"Girl in Blue"

Hello crafty friends, I have two layouts and a canvas to share today.

2 Crafty Chipboard used:
'Frames Tiny Henri's'
'Frames Tiny Vivian'
'Vintage Elements 1'
'Mini Branches'


I treated all the chipboard pieces the same in this project. First I embossed
 them with sparkly black embossing powder, then a second more uneven 
layer of embossing, this time in gold to pick up the small gold accents in the photograph.


"Remember"

For my second layout I used the following pieces:

2Crafty Chipboard Used
'Frame Yvette's'
'Freda Butterflies'
'Lattice Leaf'


For this project I first painted my chipboard pieces with a coat of white gesso and then rubbed on some Inka Gold in pink. Once that was dry I stamped over the pieces lightly with brown ink.


I thought I would share a project made for another team, but just would not have come
 out as pretty as it did without some lovely 2 Crafty Chipboard.


"Dream" - CANVAS
For this small canvas I altered the butterflies and the word chipboards by
 painting them white and then embossing them in copper.

2Crafty Chipboard Used:
'Addy's Butterflies'
'Friendship Mini Word Pack'


Until next time.

Photobucket

Thursday, October 25, 2012

An Angel Story by Elena Olinevich


    Hello 2Crafty fans. Today I would like to share some  layouts I made for my baby son. He had his Christening ceremony this summer and I have found so many extraordinary photos that I decided to make an album for him.
   This time all my projects are inspired by a story I read recently in a Russian book. The idea is that you have to live your life in a good way, & that while you are being good, your angels can rest, because they can rely on you, that you won't do something bad, and thus they can help someone else who needs their assistance more, at this moment.  Beautiful story, isn't it?
So let's start and keep in my mind, that babies are like angels.
  My first layout  is called

 "While the Angels  Rest"

 I decided to use just very simple techniques this time,  to keep the
 delicate  mood of the layouts..
  So I have used Chandalier 1 


 I covered it with primer, then I added modelling paste, embossed it
 with a heat gun using Starburst embossing powder.
After that I inked the edges with brown chalk ink.
 

For the Clock Face Frames I used just the primer and embossing powder,
crackle paint and random dots of modelling paste.
 For the second part. The same technique was applied on Corner Rosie's


My second layout  is called
 "The Main Thing"

  Nothing special again, I just misted the
 Esther Name Plate
with Starburst mists.

Next I have just used the same techniques as I did
 with the  Helena's Corner.


Here I have  just added  some touches of gesso.
For the Iron Fence I covered it with Gesso, then Crackle paint
and embossed with Ruby Black embossing powder.


Here  I have  embossed the chandelier from Vintage elements 1.


  Here I have used a  Mini Fob Watch, which was just inked with Distress ink.


My last layout  was made for Manor House Creations,
& since the photo was taken on this same special day,
I have decided to include it also.
This layout is called
   Cherished Moments

 I have used the same techniques that I have already shared above.
 Here are some close ups on title Cherished Moments:


 Frames Tiny Henri's
(Great for a spot of journaling which I will do later)


Thanks for calling by today.
For more inspiration and projects using 2Crafty
you can visit  my blog.
http://eleele-handmade.blogspot.com/

Also we would love you to visit
2 Crafty on Facebook too.

Elena Olinevich