Hi everyone and welcome to the 2Crafty Blog!
Hope you are all having a fabulous day!!
I'm back to share my September projects created with some awesome 2Crafty Chipboard pieces.
This time around I have a card, a canvas and a masculine tag to show you.
So, first of all, here is the card.
2Crafty products used
Mini Chicken
Wire Barbed
Heidi's Vines
I lightly sprayed the back of the Heidi Vine with some water so it could be slightly shaped.
It was then coloured with Distress Inks and brushed with gesso. I also added some
texture paste to the 'bulbs' on the ends and coloured them with Distress Ink and then
swiped over the top with gold Versa Color.
The Chicken Wire Barbed comes in a 6" x 6" panel. I simply cut off some small pieces
and painted them with white acrylic paint. While they were still wet, I sprinkled them
with clear glitter and, when dry, tucked them in between the paper layers. I love the
look of torn paper and making some small tears over the chippies helps to show them off.
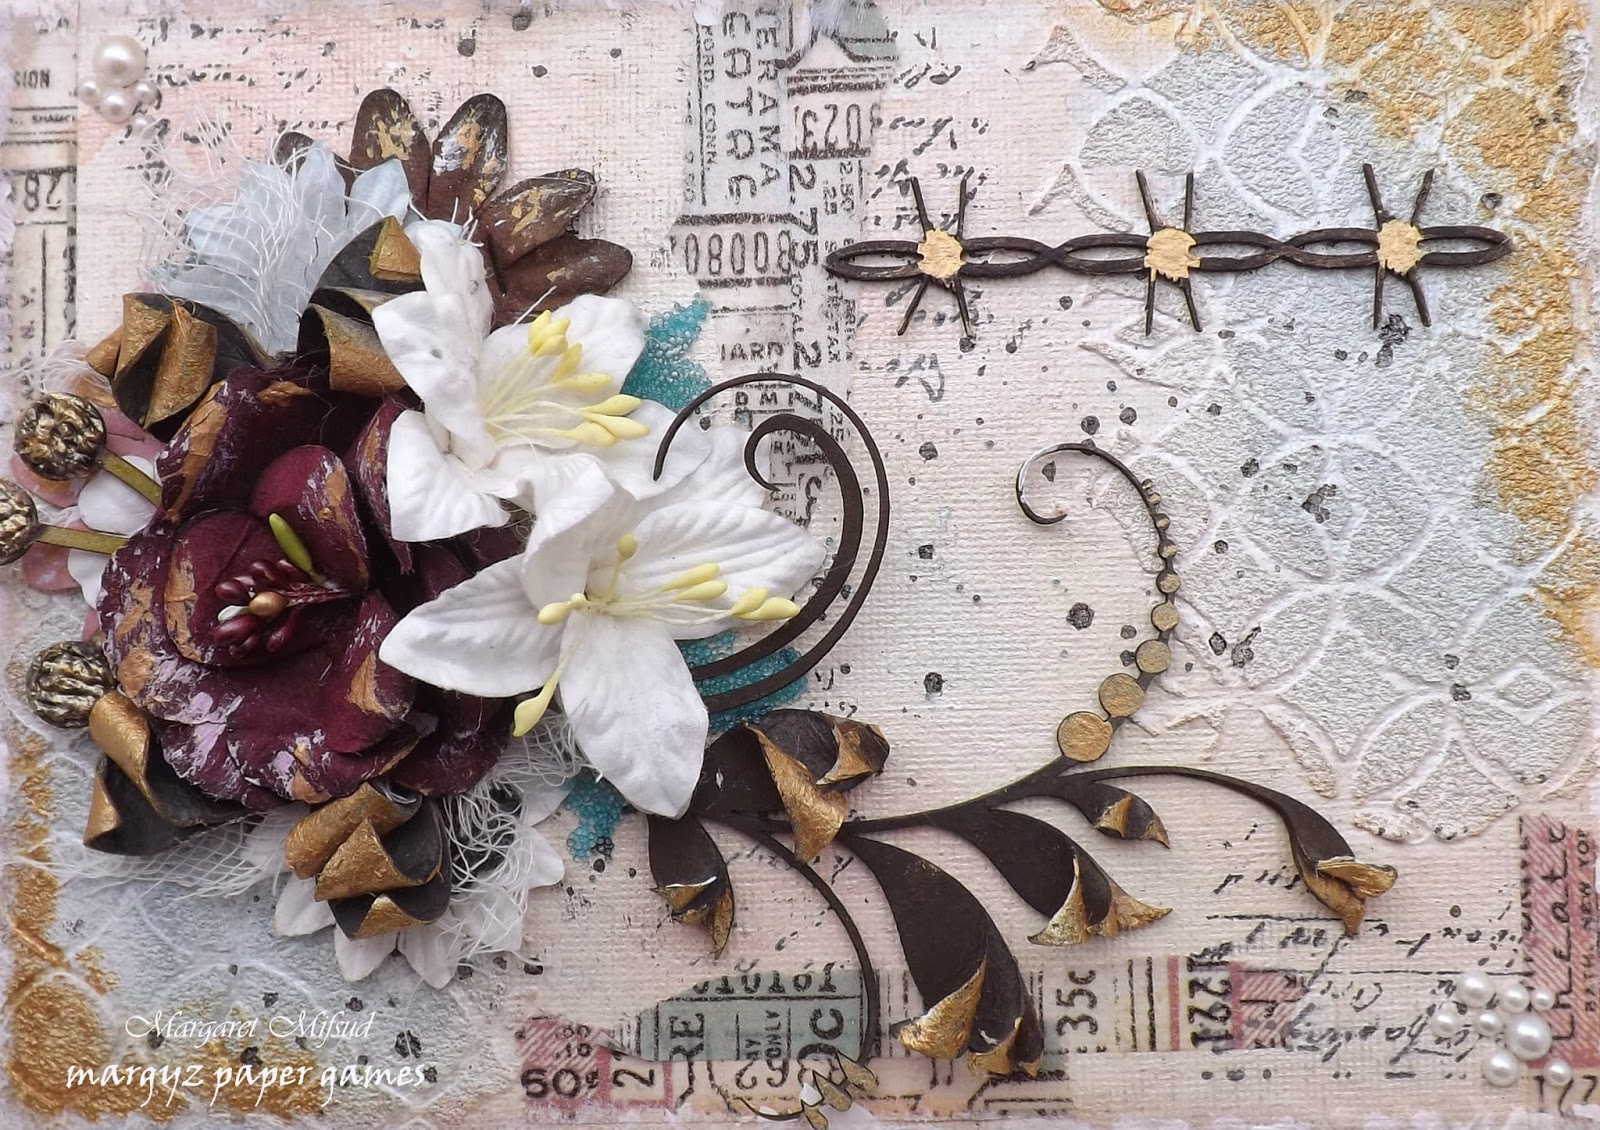
Next, I have a small canvas. It measures 5" x 7".
2Crafty products used
Heidi Vines
Leafy Shrub Set 1
Barbed Wire Border
I took a leaf out of Di Garling's book here in that I coloured these chippies black.
I love the dramatic effect of the black against the pale background and it really
does make them stand out beautifully. Thank you for the inspiration Di!
I had some left over pieces of the
Heidi Vine from a previous post
HERE and decided
to use them in the flower cluster. As I did for the card, I again added a little
texture paste to the 'bulbs' and coloured them with Distress Ink but then used
gold acrylic paint for the accent. The leaves were sprayed with water and then
I gently separated some of the layers. Shaped and curled the layers while they
were still wet and coloured them with Black Soot Distress Ink. Once they were
dry I used the gold acrylic paint to colour the ends of the leaves.
The leaves on the Leafy Shrub Set were shaped and coloured in the same way as the
Heidi Vine leaves. I really love how they turned out. This is a fairly delicate piece
but it was still robust enough that it took the shaping very well. I really love these
chippies & they are so easy to work with and they look stunning!!
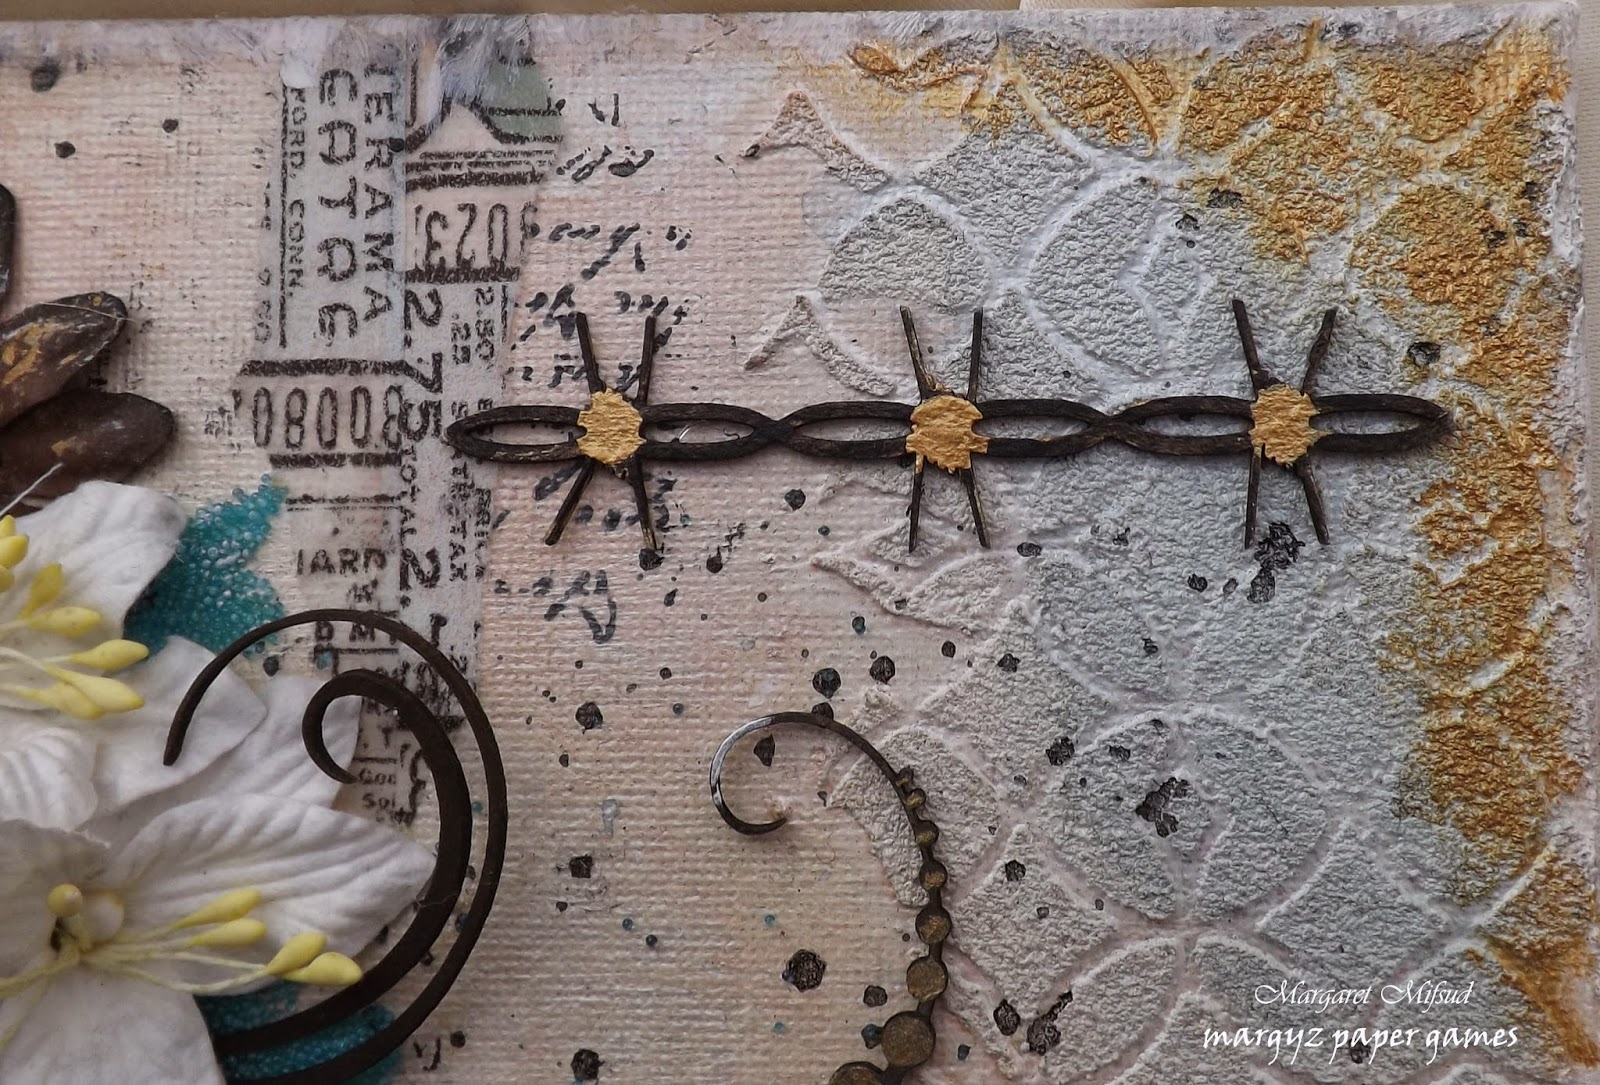
The Barbed Wire Border comes in a pack of two and they are about 12" long.
I had intended to put a quote in the corner but decided instead to use a small piece
of the Barbed Wire Border as an accent. This was also coloured with Distress Ink
and gold acrylic paint.
My last piece is a Masculine Tag.
2Crafty products used..
Barbed Wire Border
Compass
Mini Fob Watch
Mini Rulers
Gears
A blank from the Tiny Edwin Corners
The small piece of the Mini Rulers was brushed with some watered down with
gesso and, when it was dry, I swiped it with Tea Stain Distress Ink. I coloured the
Compass with Distress Inks as well and then covered it with Clear Rock
Candy Crackle Paint. Except for the ring around the edge which was left raw,
the Fob Watch was coloured with gold Versa Color and then covered in
Glossy Accents. I love that the details of the watch still stand out really well
even after colouring it. Awesome!!
I randomly swiped the gears with Midnight Black Versa Magic and then with
Lapislazuli Versa Color. I also used some Kaisercraft Red Gum and then Silver
Versa Color so that they appear old and rustic. The Barbed Wire Border was also
coloured with the Midnight Black Versa Magic and then randomly swiped
with a little silver and gold.
Originally I was just going to tie the word band at the bottom of the Tag but, it looked a
little bare and needed something underneath to fill the space. As I was looking through
my chipboard pieces I discovered the blank from the Tiny Henry Frames
which I had used on a previous project. I simply cut away one of the centers and
inked the edges. Trimmed a piece of scrap paper to fit and then just tied the word
band over the top. It fills the space up nicely!!
Once everything was assembled and dry, I randomly swiped around the
finished Tag with some watered down gesso.
That's all from me for this month. Thank you so much for visiting and taking a look
at my projects. I hope I have inspired you to get some fabulous 2Crafty Chipboard
for yourself. There are so many different shapes to choose from and, no matter
what size your project, you are sure to find something that will add that special touch
you are looking for.
And remember, to find a 2Crafty stockist near you, drop an email to...
salesat2crafty@optusnet.com.au
Take care and God Bless.
oxox Marg