"Best Birthday"
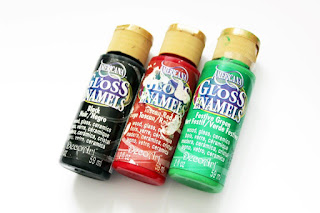
For this first layout I decided on using Gloss Enamel paint. I love how easily it coats the
chipboard, adds a little gloss and also dries rather quickly for paint. I used these three
colours on the different chipboard pieces.
Sometimes when I want to achieve a brighter colour on the chipboard I will apply a coat
of gesso first to give it a white base. I decided upon doing this with the title and also the red arrows.
I also used Faber-Castell Design Memory Craft Gelatos and Tinby Designs Metallic Melts
in my background to contrast the strong colour of the chipboard pieces.
2Crafty Chipboards Used:
"Live Laugh Love"
For my second layout, I focused on the use of Copic Markers to colour up my pieces.
I didn't use any priming such as gesso as a base on any of them and I was quite pleased
with how the colours came up. Sometimes in the past I have used Gesso for a brighter
look with some of the lighter colour markers.
These are the Copic Colours I used:
The "Live Laugh Love" word comes up so nice with the orange marker against the other colours.
It was SO easy to colour up the Interlocking Grid panel with the marker.
I used the wedge tip end when colouring up each of the pieces.
I used the black for the circle as I wanted to create some added depth but not take
away from the title. Just love how it came!
Layering up the pieces really takes focus to the photo.
I co-ordinated the coloured chipboard with watercolours and stencilling in my background
as well as some background stamping.
2Crafty Chipboards Used:


