I embossed the chipboard with Lindy's Stamp Gang
Geranium Coral Blush after first painting it with Glass
Bead Gel from Golden. Lastly I rubbed over with gesso.
I also used the Cherry Blossom, which I cut up & placed
at both the top & bottom of the Florabella frame.
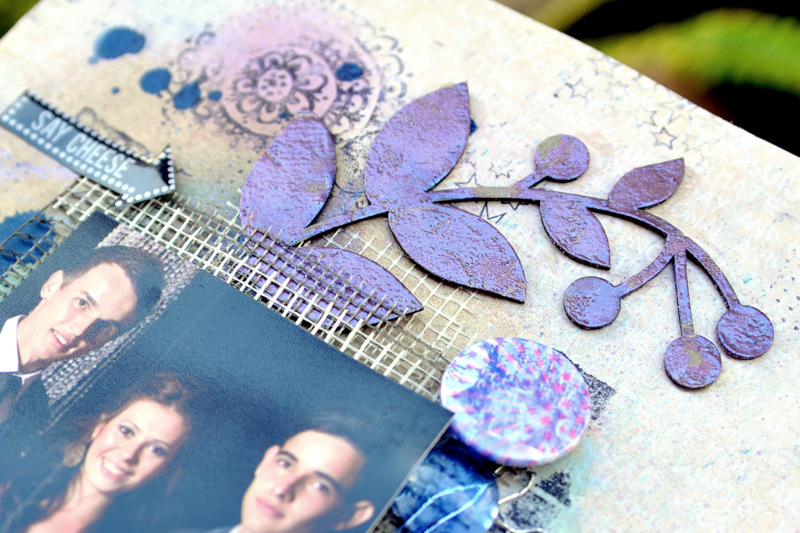
I embossed the Cherry Blossom branches with Hydrangea
Blue Mauve embossing powder then rubbed over random
areas with gesso, using my finger.
I misted some cheesecloth & added it underneath the chipboard
for some extra texture. The chipboard works as the perfect
anchor to hold it in place.
I adhered the chipboard to my canvas using my hot glue gun
as hot glue is the strongest adhesive known to man
{well known to me anyway!!}
Next up is my dedicated 2Crafty work for the month.
For my first layout I was inspired by the Prima BAP
{sketch} for February as I could see there was
opportunity for A LOT of chipboard embellishment :) .
I don't generally enjoy following sketches as my layout design
is often pretty predictable. {I enjoy centering my photo/s
& favour a diagonal design} but I did love this sketch
as it is so interesting & so embellished!
It gave me the opportunity to use just about
all my favourite things all on the same page!
I used the "Love You" title but I cut off the "you" & saved it for a future project.
I embossed the title with Venus Violet Blue from Lindy's Stamp Gang.

I also used the "Chicken Wire" sheet behind the photograph,
which I cut up into 3 different pieces, each tucked just a tiny
bit beneath the photo - to give the ILLUSION that it extends
all the way underneath the photo. GREAT WAY TO SAVE!
I used one branch from the "Leafy Shrub Set 2", which I
coloured using Adirondack Brights Alcohol Ink in Pool & Raspberry.
I misted some cheesecloth pale lilac then dabbed it with matching alcohol ink
& adhered it with some dabs of hot glue before attaching the chipboard on top.
For fine chipboard pieces my go-to glue is Tombo Mono Adhesive
as it has such a fine tip which works perfectly for precision application.
Lastly I used 3 out of 6 "Indian Feathers" which I treated
with droplets of alcohol ink, which blended into each
other beautifully {pink & blue = purple!}
For my 2nd layout I simply had fun playing with my mists & chipboard, together with
Of course, as I was only using one photo my layout ended up having
I had fun mixing textural elements on this page.
Chipboard is such a tactile element that it works perfectly with my layered style.
Layer 1) Mists Layer 2) Stamps Layer 3) Mesh tape Layer 4) Metal mesh
Layer 5) Photo Layer 6) Silver Thread Layer 7) Chipboard Layer 8) Flairs.
I used some wonderful new stamps and flairs that I recently
purchased from 3rd Eye, a Polish Manufacturer.
From 2Crafty Chipboard I used Heidi's Vines, Shrub Set 1
{bottom right} & a couple of Sakura flowers.
I added a flair to the centre of the top flower & a glass bead
to the centre of the lower flower,using them as pinning
points to run some fine silver wired thread in between.
Until next month...Happy Crafting!! Helen


