I hope you're having a good time!
On our side, the long winter here in Quebec is finally showing signs that it might not
last forever as the temperatures start rising above the freezing point every day
(and hopefully we won't have winter #2 in March as sometimes happen).
This brings us a nice boost of happiness, leaving the "winter blues" feeling behind.
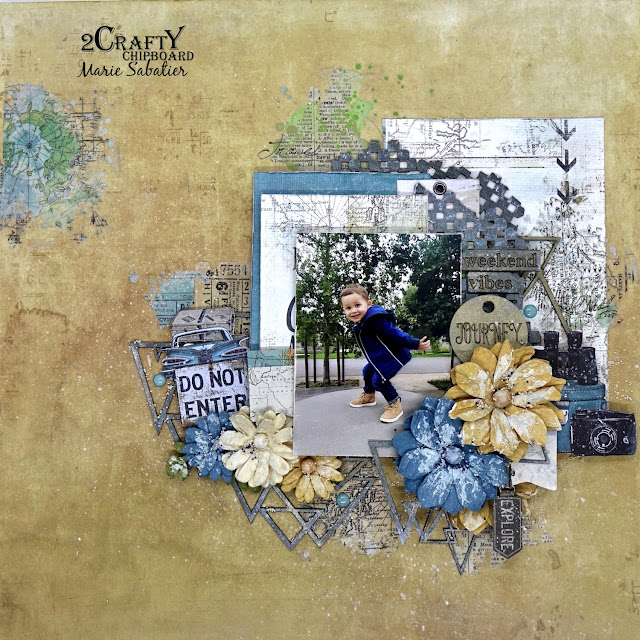
The layout I'm revealing today reflects that mood, with a warmer feeling,
perfect for the spring that's starting for us!
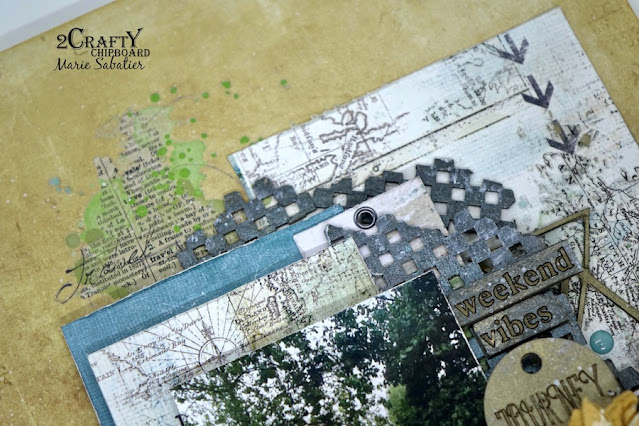
"Cherished Family Memories"
For the "Frame Handrawn Hearts", I applied one coat of red metallic paint.
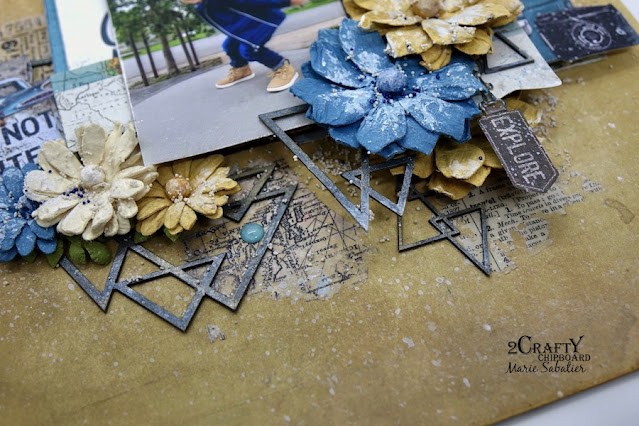
On the "Aztec Flower Set 1", at the bottom left, I dabbed a red embossing ink
then applied a gold wax on top roughly, with my hands.
On the "Heart and Circle Arrow Set", I've applied honey coloured ink.
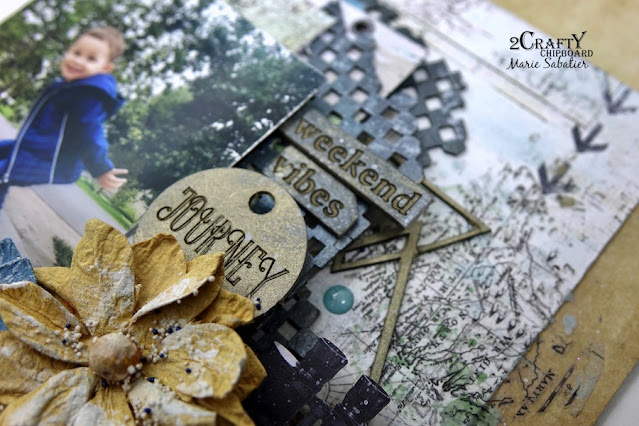
Behind the picture frame, on the "Checkerboard Panel", I used a teal embossing powder.
For the title, "Cherished Family Hearts", I used a black embossing powder with a sandy finish.
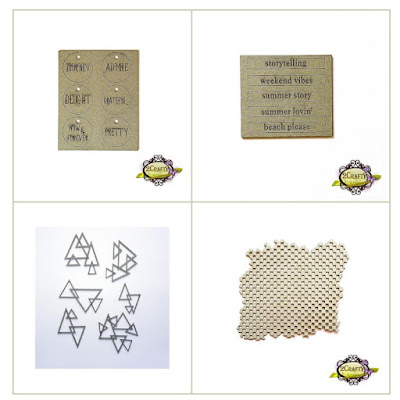
I've used the following 2Crafty chipboards in this layout:
Cherished [w00568]
Frame Handrawn Hearts [fr0082]
Checkerboard Panel [660045]
Aztec Flower Set 1 [m00810]
Heart and Circle Arrow Set [m00811]
That's all for me today!
I hope you enjoyed this and it gave you some inspiration to go create something amazing!
I'll be back in a few weeks with some more inspiration to share with you guys.


