Showing posts with label 6" Ariel's Spray border. Show all posts

Thursday, October 23, 2025

Hello - Laura Gilhuly

Hi everyone!
I am back today to share a fun and bright layout of our oldest son!


                      2Crafty Products Used;


Word Circle Set 1
6" Ariels Spray Border
Sequins Negative


After prepping all the chipboard pieces with white gesso I used gelatos.
I used a combination of mango and banana on the sequin negatives and title ones and a combo of green and pistachio on the sprays.  I coloured the pieces, applied a spritz of water then using my finger I rubbed the pieces to achieve the look I wanted.


Once the pieces were dry I inked the edges with brown ink then used an embossing pad and clear embossing powder.


Thanks for stopping by


Tuesday, February 20, 2024

How sweet It Is To Be Loved By You - Laura Gilhuly

 Hi everyone!

I am back today to share my second layout I created for February - the month of LOVE!
I thought to celebrate the month of love I would create a layout of my wonderful husband and I. 
 Been married almost 25 years (August of this year).

How sweet It Is To Be Loved By You


2Crafty products used


6" Ariel's Spray Border

Photo Adornment - Evan's Swirls

Chunky Hearts

How Sweet It Is To Be Loved By You


For the wonderful title I painted it (very carefully) with two shades of pink acrylic paint then heat embossed to add a bit of shine.


I painted the Evan's swirls with white pearl paint and created a clustering with cut out elements and the chunky hearts painted pink.


Ariel's Spray border was the perfect accent to one of my favourite photos of my husband and I.


Thanks so much for stopping by


Monday, January 22, 2024

"Happy Life"
Layout by Rachael Funnell


Hello & a warm welcome to the 2 Crafty Chipboard blog today
Rach back with you sharing my first layout for 2024,
 created using some fabulous  2 Crafty Chipboard pieces...


 2 Crafty Chipboard used:
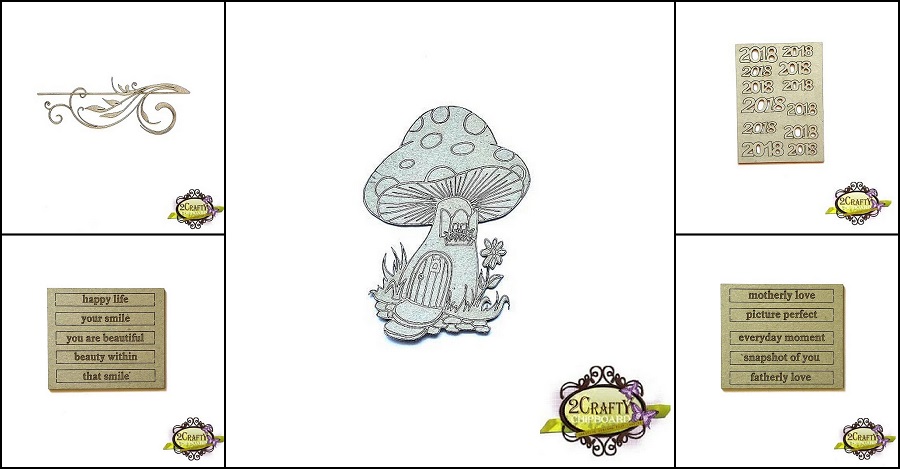
6" Ariel's Spray border
ATC - Title stick set 3
Large Toad Stool
2018
ATC - Title stick set 1


How GORGEOUS is this Large Toad Stool & it works perfectly with 
some of the Studio 73 - Pixie Hollow & Clockwork tea party papers...

I have just simply inked the top of the Toad Stool 
using Tim Holtz - Distress Oxide - Brushed Corduroy a blending brush..


Next up I have added the year 2018 to the bottom left of the larger toad stool &
the 6" Ariel's Spray border I have sitting on the right side of my photo 
Both of these chipboard pieces inked again using the Tim Holtz - Distress Oxide - Brushed Corduroy


Lastly I selected 3 lovely sentiments from the Title sticks that 
would work well with this photo of my gorgeous girl & 
inked all 3 Title sticks with a different shade of blue...

I hope I have inspired you in some way, thanks for stopping by
Until next time